How to Add a Shadow in Adobe Photoshop
This page may contain links from our sponsors. Here’s how we make money.

One of the best benefits of the digital design process is that it has provided us the freedom to play with the designs to reach the final product. Adobe Photoshop is one of these masterpieces. We can produce any concept graphics and design. With Photoshop's tools and a wide variety of options, we can do any creative task. Whether it's to cut a person into two, change the weather in the landscape, fly a person in space without an oxygen mask, or put your face on the body of your favorite actor. All of these things are just a few clicks away when we work in Photoshop.
Like the above-mentioned tasks/skills, in this tutorial, we'll be going through a commonly used skill which is to add a shadow in Photoshop. Adding a shadow can be useful in the editing of a product as we photograph it, or it could be adding the shadow of a person whom we've just pasted on another background. In all cases, adding a shadow becomes mandatory as it makes the editing look more realistic and adds more details.
This 5-7 minutes tutorial is divided into two parts. First, we'll add a simple drop shadow to some objects to understand the basics of product photography. Second, we'll add a shadow of a girl whom we paste into another background. So, without any delay, let's get into the tutorial.
How to Add a Shadow to a Product Image
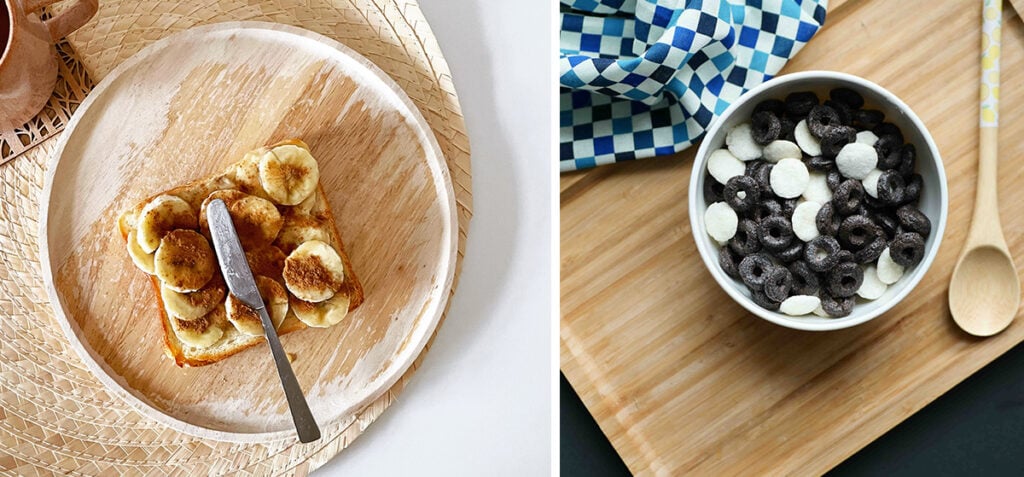
When you shop for anything online, you come across different products. Many of those product photos are photoshopped, but these look realistic. And their realism is due to the shadow that has been added during the editing. To understand it better, we will add a shadow to a bowl and a plate that has been photographed from above. The photographs are shown in the following.
If you want to follow along, you can download these images:
Separate these two objects from the images with the selection tools (see our tutorials on how to cut out an image in Photoshop and how to use the lasso tool) and paste them on another flat background of your own choice.
After we've pasted our cut-out object on the flat background, the image will look like this.
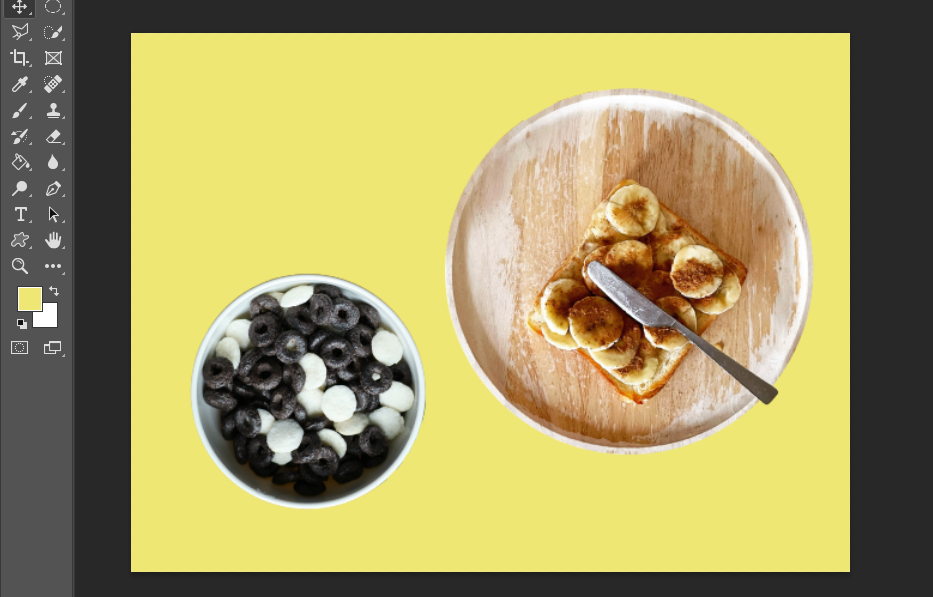
You might notice that after pasting, I have rotated both objects, and I've added a flat yellow background. This image doesn't look realistic as the objects seem to be floating above the yellow background, and it looks like they don't belong to each other. This problem will be solved after adding the shadow to these objects.
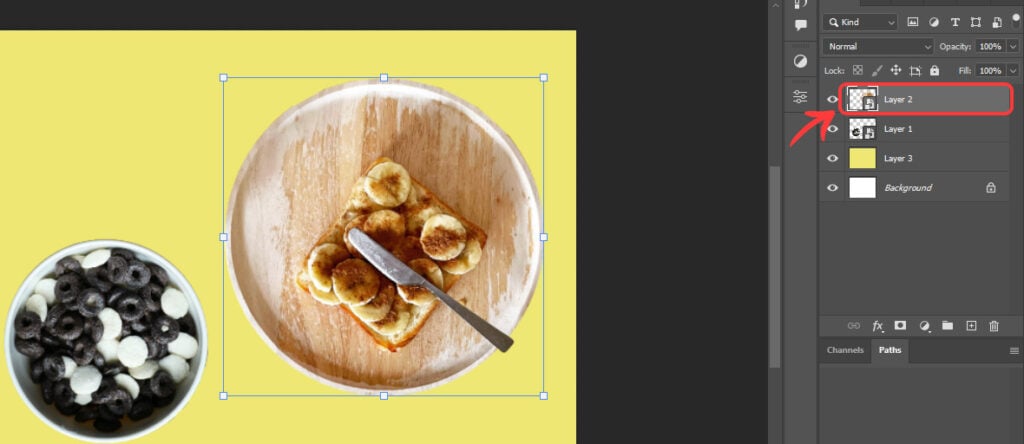
To add shadows, select any of the objects using the Selection Tool and then go to the Layers Panel. You'll see that the layer of the object is selected.
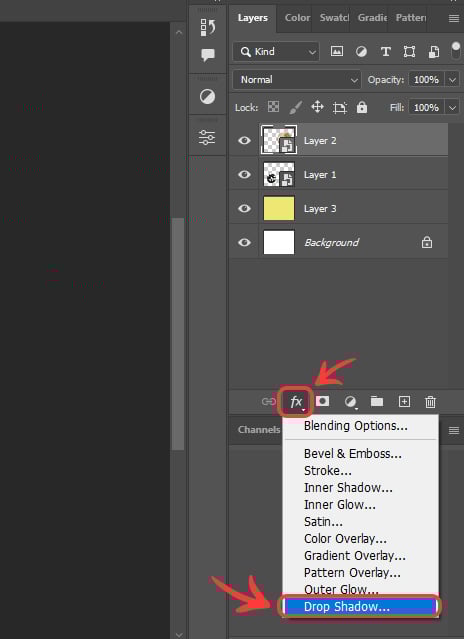
Now, click the fx icon in the Layers Panel and select Drop Shadow in the newly appeared window.
A huge window of Layer Styles will open, and it will show the drop shadow options on the right side. On the left, you'll see other options and styles.
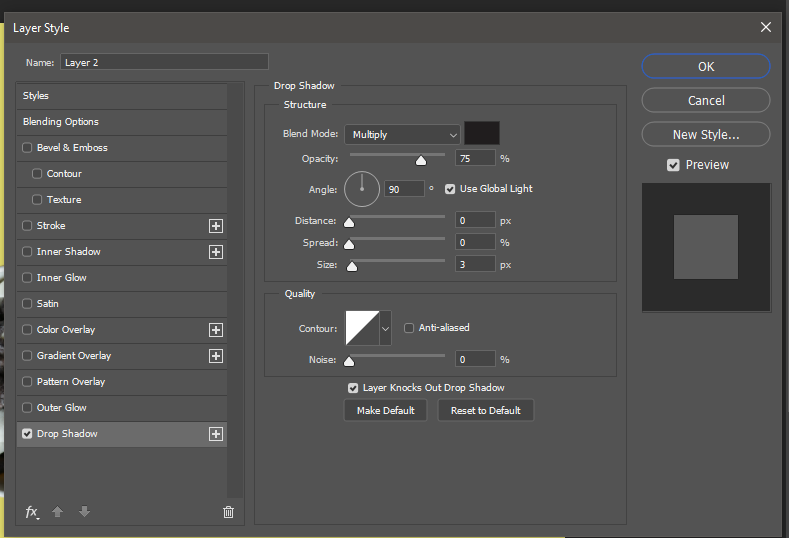
You can change the values of the different options in the shown window. Tick the Preview option before you change any settings. It will allow you to see the changes on the original image as you change the settings.
Here, I've changed the Blend Mode to Multiply, set Opacity to 66%, Angle to -139 degrees, Distance of the Shadow to 25, Spread 28, Size (determines the blur size) to 13, and Noise (to add some roughness) to 5%. Finally, click on OK.
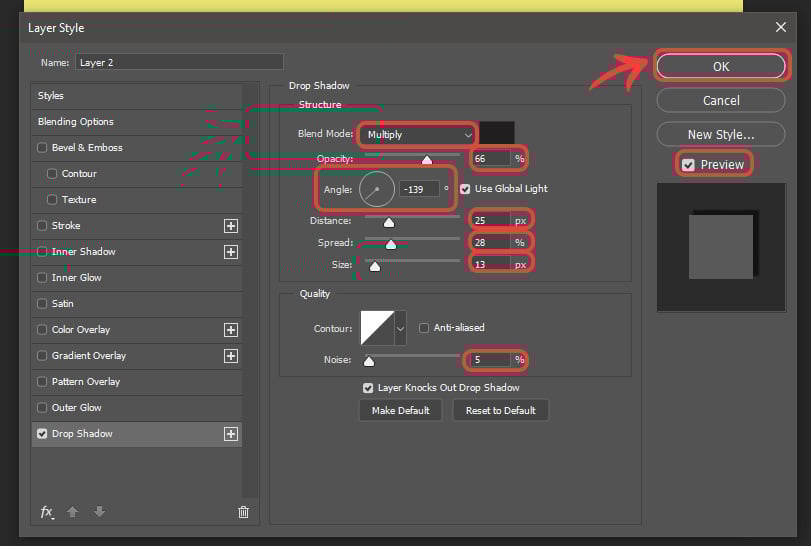
A drop shadow based on your settings will be added to your image or layer of the product. Of course, you can adjust the settings and experiment to see how they impact the shadow.

Similarly, add a drop shadow to the placed bowl. You'll notice that entering all the settings will not be required a second time. The settings you used the first time will automatically be filled in the settings here. The final look of the image with drop shadows will look like this;
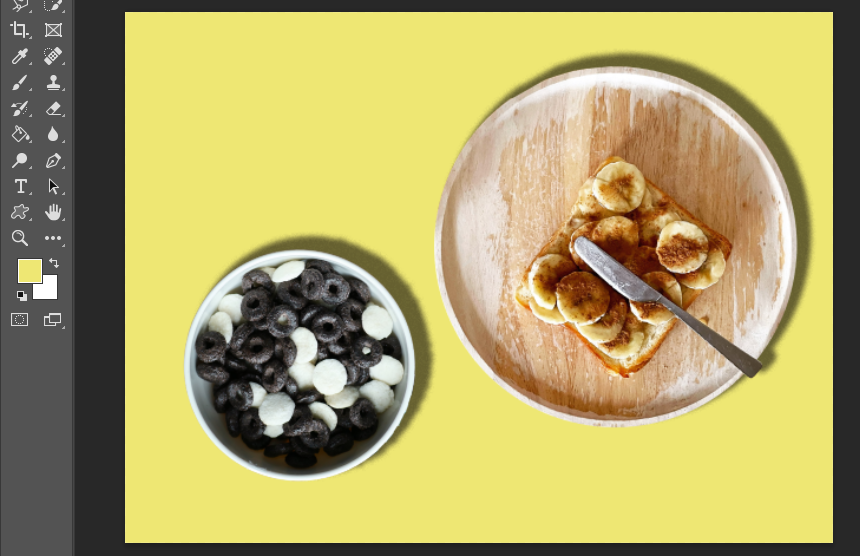
You can see that, the mere addition of the drop shadows will have a huge impact on the overall look of the photo. It provides a sense of depth and a sense of realism in the overall look of the photo.
For different products, you can play around with the settings of drop shadows to meet your needs.
Adding a Shadow to a Figure on a New Background
For this part of the tutorial, let's look at two images that we'll use to understand the whole process of adding shadows.
If you want to follow along, you can download these images:

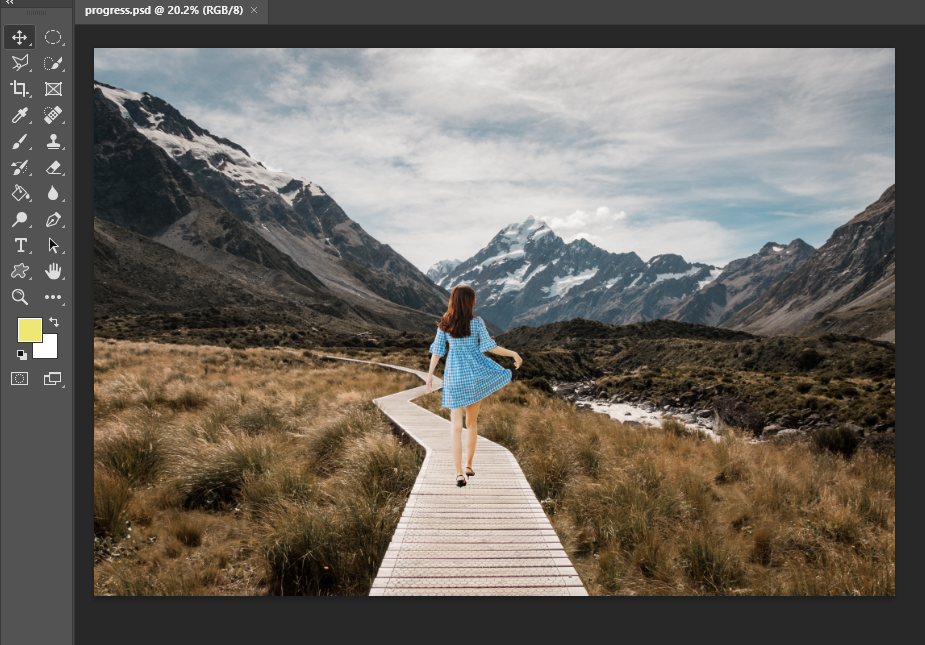
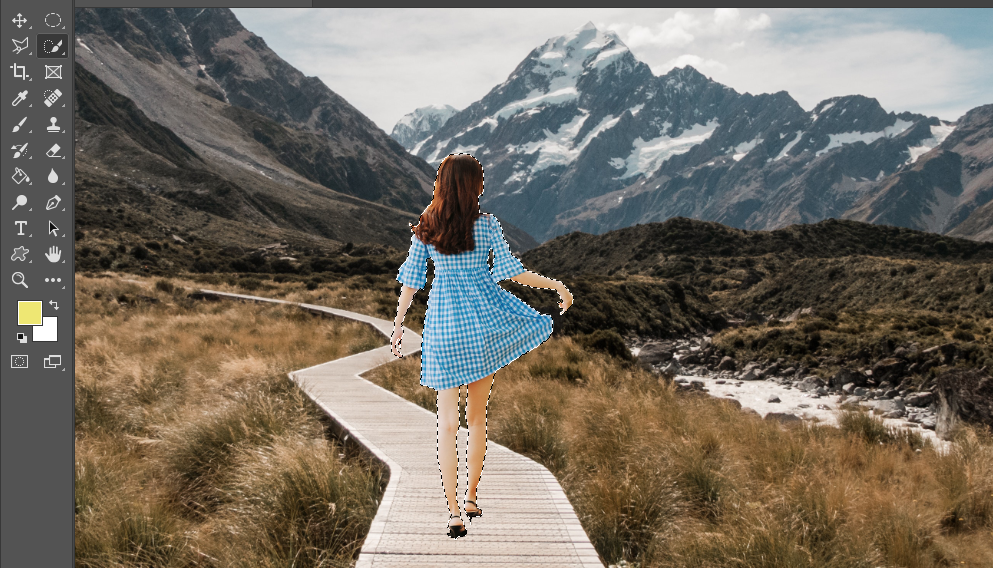
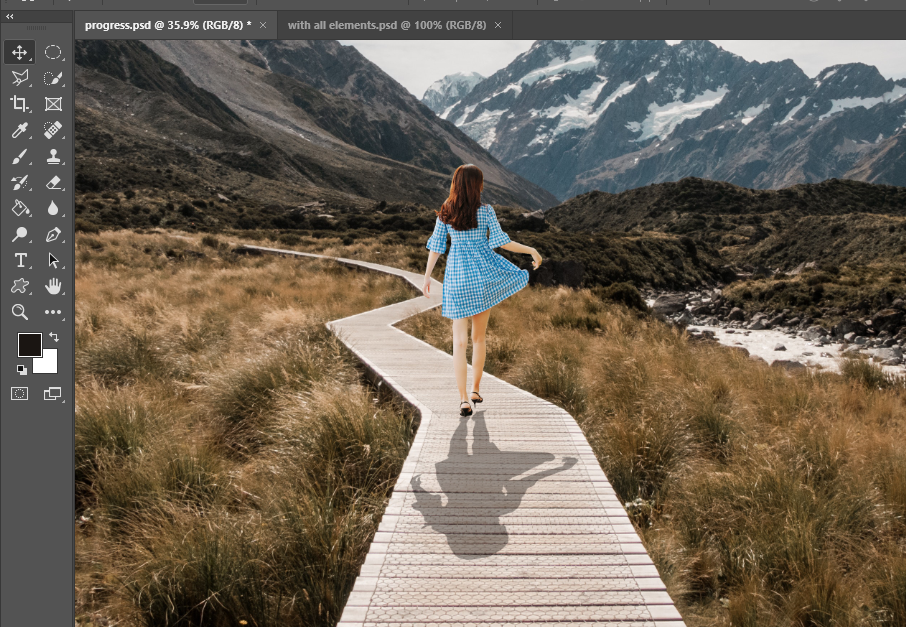
Next, separate the girl from the image and paste her on the path that has been shown in the background image. After adjusting the figure in the background, the overall image will look as follows.
Now, select the layer of the girl from the Layers Panel and select all of the pixels of the girl's image using the Quick Selection Tool.
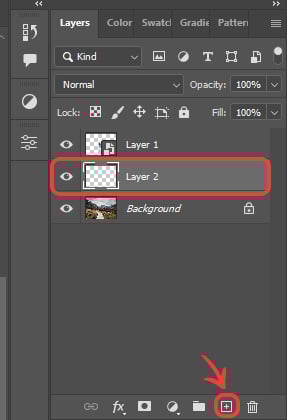
Make a new layer below the girl's layer in your Layers Panel.
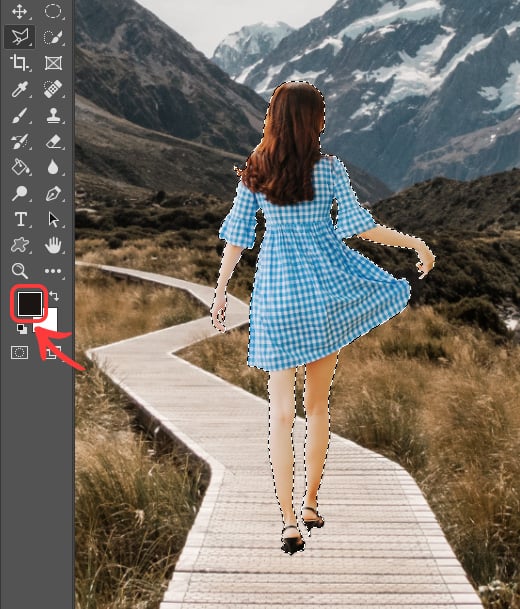
Next, fill the solid color in the girl's selection area on the newly made layer. The fill color should be darker than the cast shadow. You can fill it with black, but considering what darker tone will suit this background according to the given condition will make you fill it in the best cast shadow color. For example, I have filled in the darker shade of brown.
You can fill the selection using the brush tool or simply using the shortcut, “Alt + Backspace”. The shortcut will fill in the foreground color in the selected area.
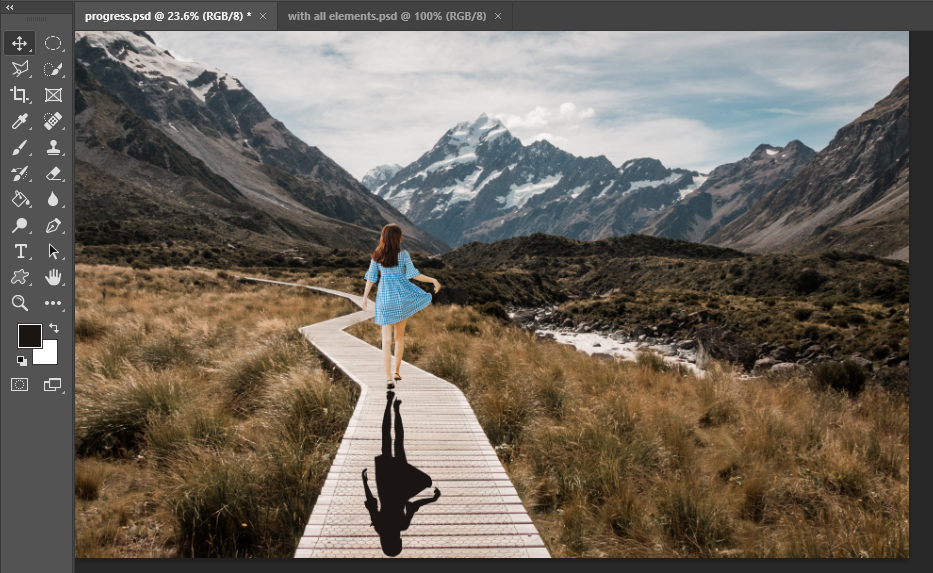
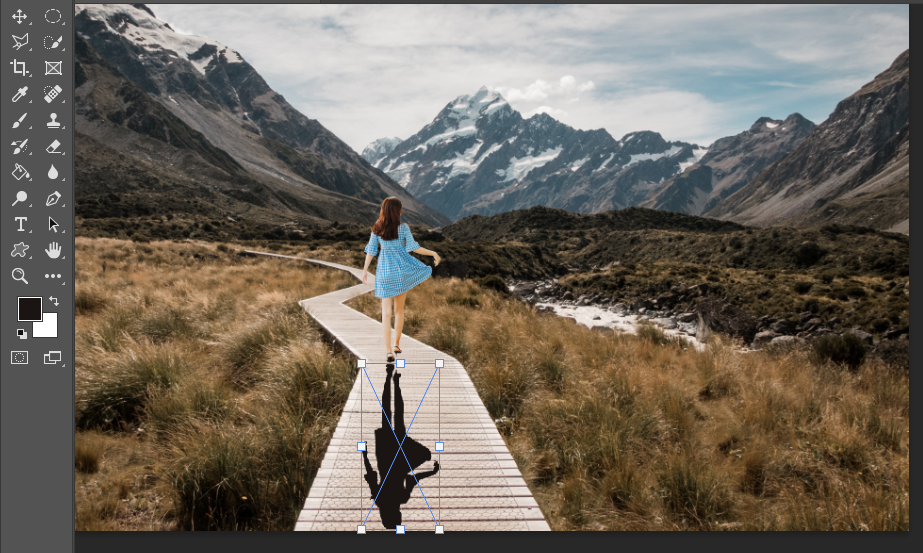
Now, you can deselect the selected area using the shortcut, “Control + D”. And now, flip the newly filled layer vertically by going to “Edit > Transform > Flip Vertical” on the Menu Bar above. The layer will look as follows.

Now, displace the shadow layer downwards to set the position of the shadow you add to the picture. The image will look like this.
As you can see that the perspective of the shadow doesn't fit into the perspective of the picture, so we'll adding the perspective to the shadow. For this, simply select the shadow layer and use the shortcut, “Control + T” to activate the transform command into the shadow. And then, right-click on the shadow and select “Perspective”.
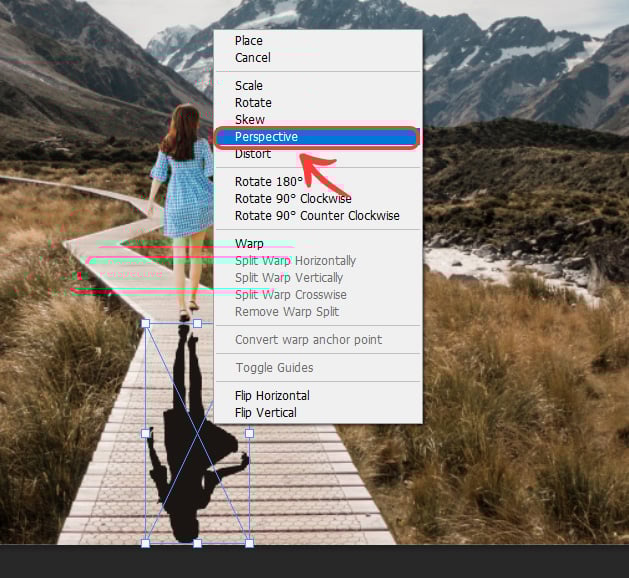
The image will look like this.
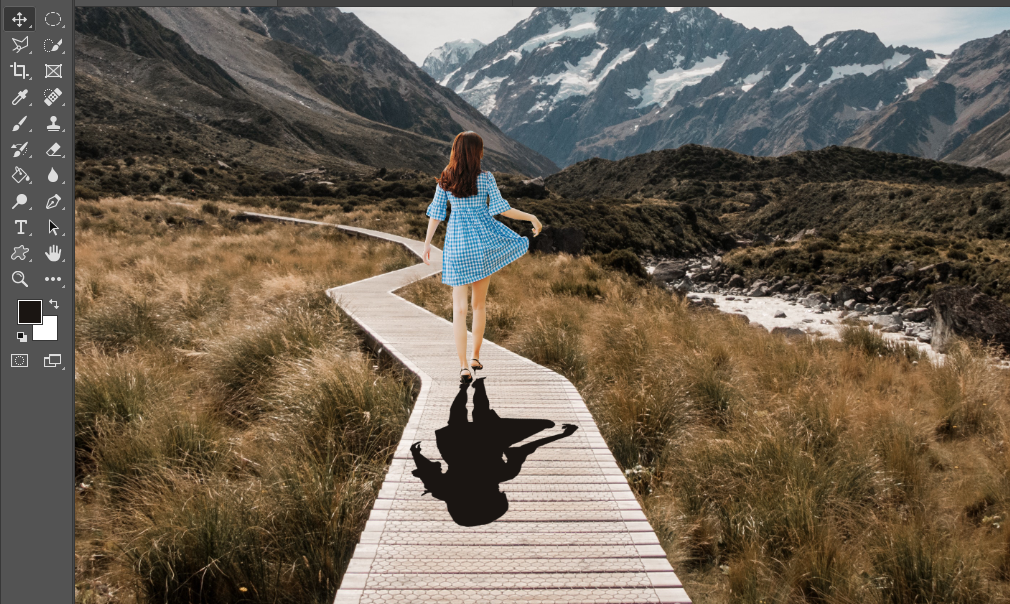
Now, drag the corners of the selected shadow to make it meet the perspective of the background, as I have done in the following.

You may notice that it is still not placed in the right way. To make it look more appropriate, we can use the Puppet Warp. To activate the Puppet Warp, simply go to the “Edit > Puppet Warp” in the above Menu Bar.

You can adjust the contact points of the shadow and girl's figure with the Puppet Warp.
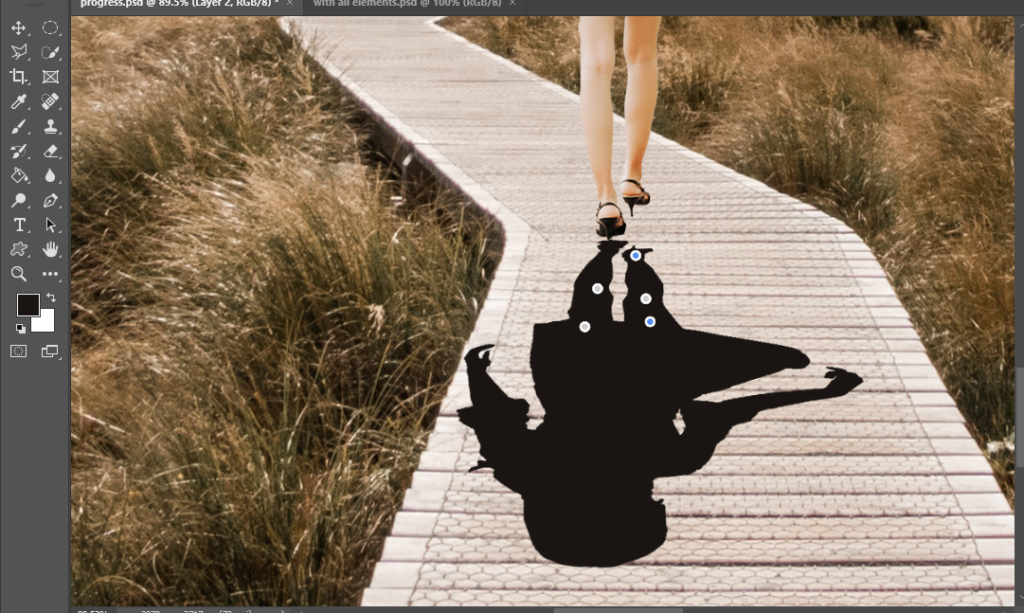
The overall image with the adjusted shadow will look like this.
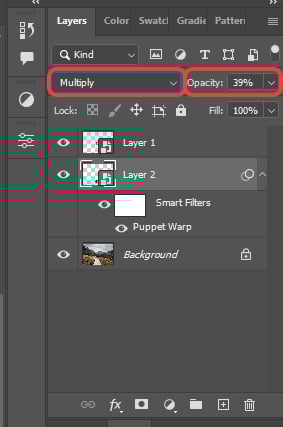
Here, the shadow looks very sharp and solid, so we must adjust it to the background. For this, change the Blending Mode of the shadow layer from Normal to Multiply. And also lower the opacity of shadow per your needs from the Layers Panel.
On adjusting the settings, the image will look like as follows;
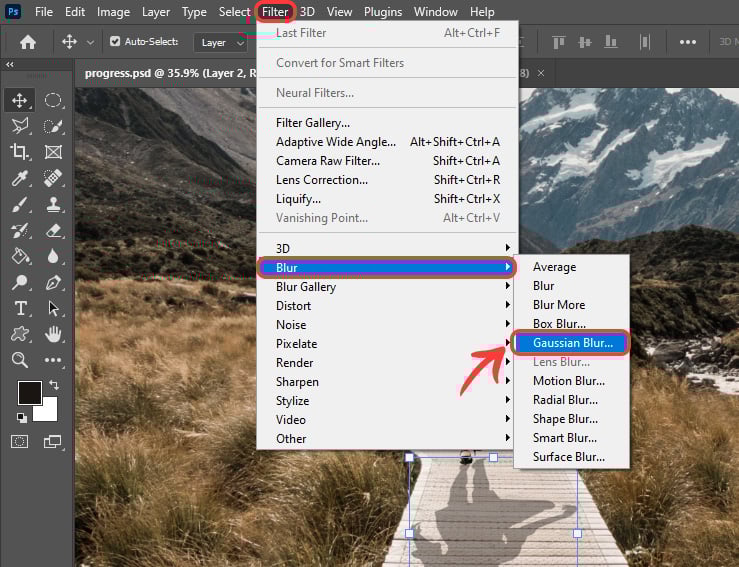
The added shadow still looks very sharp and solid, so we need to blur it a bit to add a realistic effect. To do this, we can add a Blur Filter to it.
To add the blur, select the shadow layer and go to, “Filter > Blur > Gaussian Blur”.
From the newly opened window or panel, adjust the blur value according to your needs.

After all the adjustments, the overall image with the added shadow will look like this.

Final Thoughts on Adding Shadows in Photoshop
Congratulations, you've just learned one of the most demanded skills of adding a shadow to an image in Photoshop. Play around with your photographs and try to add shadows to make them look different and unique.