How to Use the Live Paint Bucket Tool in Adobe Illustrator
This page may contain links from our sponsors. Here’s how we make money.
You can fill your Illustrator art objects using the Live Bucket Tool. This tool is very easy and quick to use. The only thing you need to keep in mind is that your artwork must have closed paths as the live paint bucket only works on closed paths or when the paths have very small gaps.
In this tutorial, we'll learn about the Live Paint Bucket Tool and how to use it. So, let's get started.
What is the Live Paint Bucket in Illustrator?
Live Paint Bucket is a tool in Adobe Illustrator that lets you add color to your artwork. Talking about the Live Paint Bucket tool reminds me of my childhood favorite windows app Paint where a bucket-like tool called “fill” added color to my paintings. The use of the Live Bucket Tool is almost similar to that. The only difference is that you cannot use the Live Paint Bucket tool for all types of objects.
Where to Find The Live Paint Bucket
You can find the Live Paint Bucket on the left toolbar in Illustrator. The shortcut key for this tool is (K).
Note: Before using the Live Paint Bucket tool, you need to turn your work into live paint groups. You'll find this option on the top toolbar. Object> Live Paint > Make
Why is the Live Paint Bucket Not Working?
When you use this tool for the first time, you may face this problem. Your Live Paint Bucket tool is probably not working because you haven't turned the objects you want to fill with color into live paint groups. One of the conditions of using the live paint bucket is that your artwork must be made by paths and turned into live paint groups.
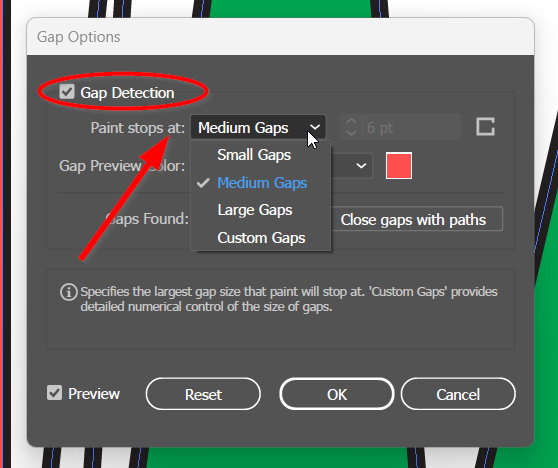
Sometimes it may show a restricted sign because of small gaps between the paths. However, you can solve this problem by closing or reducing the gaps. Go to Object > Live Paint > Gap Options.

In the Gap Options, select the gap direction and change the “paint stops at.” You can change it to small gaps, medium gaps, or large gaps, and you can even customize the gap size.
There's another option below the gap preview option, “Close gaps with paths“. Selecting this option will close the gaps that have been found. Once you are fine with the gap options, click Ok.
Related reading: How to Change the Background Color in Adobe Illustrator
How to Use the Live Paint Bucket Tool
The Live Paint Bucket tool is not difficult to use. Just follow these few steps mentioned below.
Step 1
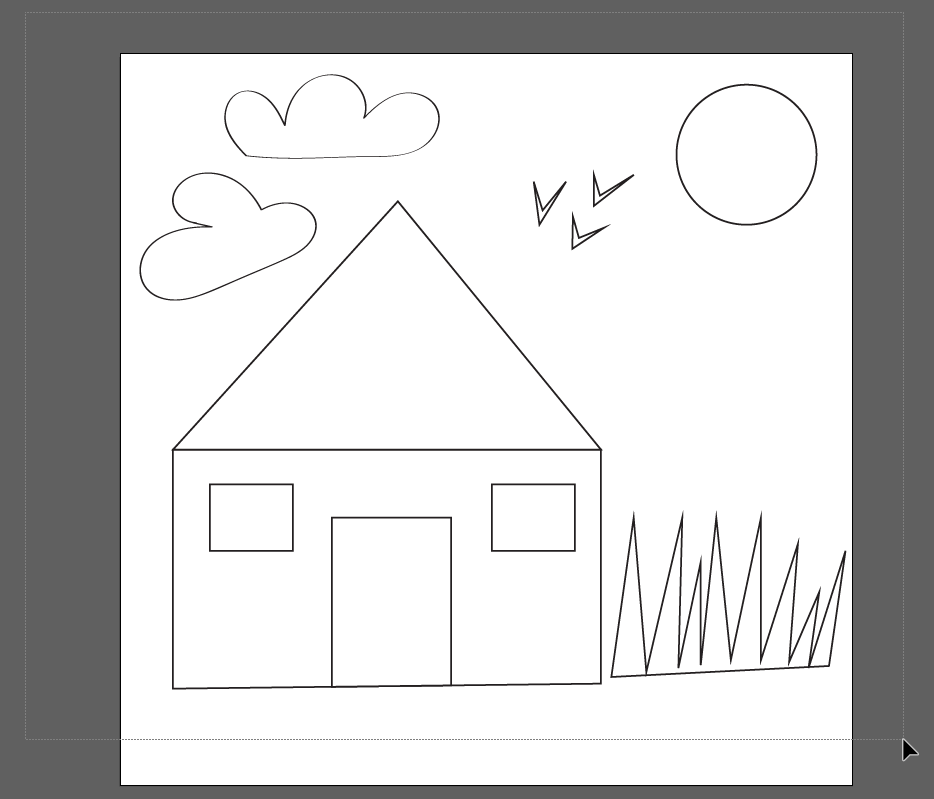
Using the Selection Tool (keyboard shortcut V), select the area or objects that you want to add colors to with the Live Paint Bucket tool.
Step 2
Now turn these objects into live paint groups. Go to Object from the overhead toolbar while the objects are selected. Choose Live Paint and select Make from the extended menu. This will turn the objects into Live Paint Groups.

Step 3
Select the Live Paint Bucket tool from the left toolbar or press the shortcut key (K) to activate the tool.

Step 4
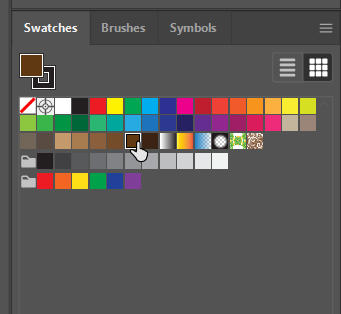
Choose the color you want your artwork to be filled with from the color swatches.
Step 5
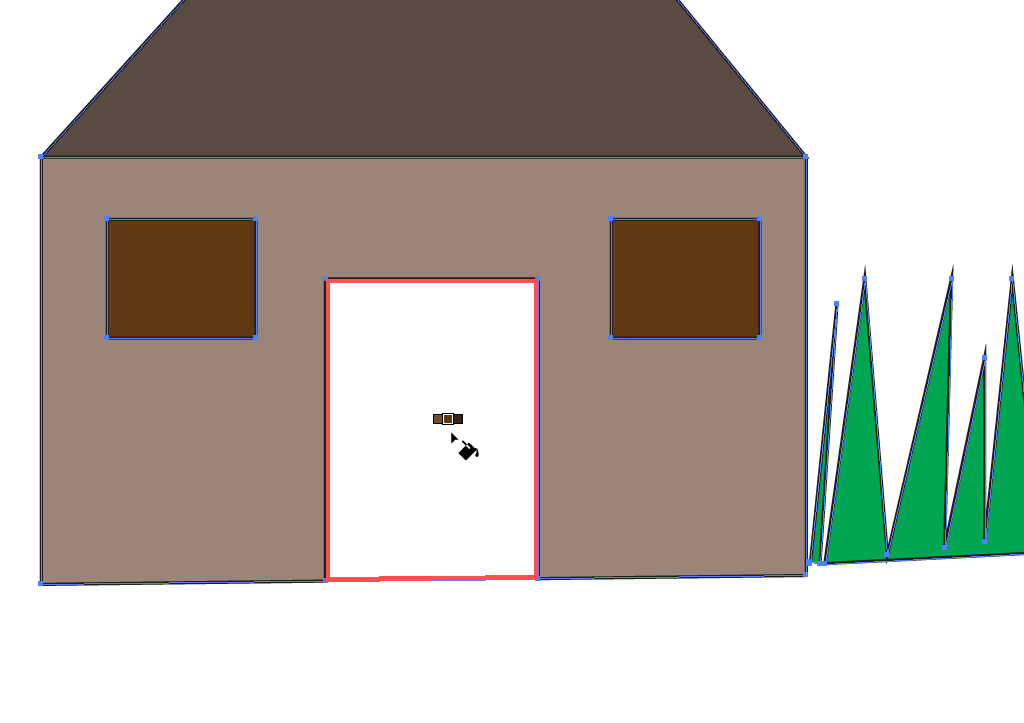
Now click on the object you want to fill with the color. you will see three blocks of colors each time you click on the object to fill. You can use the arrow key from the keyboard to change the color from the three colors given in the box.

The Live Paint Bucket tool works perfectly on closed-path artworks. However, using the Live Paint Bucket tool, you can also paint on the grids, and for that, you don't need to make the path as live pain groups.