How to Wrap Text in Adobe Illustrator
This page may contain links from our sponsors. Here’s how we make money.
Wrapping text in Illustrator involves wrapping the text around an object. It works as an effective visual aid and makes your text stand out.
There are a few ways to wrap text in Adobe Illustrator. In this article, we'll focus on a few methods.
Method 1: Wrap Text Around an Object in Illustrator
In this method, we will put an object over the text and wrap the text around the object using wrap text. The object can be anything. It could be a triangle, semicircle, or other shapes drawn by shape tools, or you can import any object from another source (like a photo).
Step 1
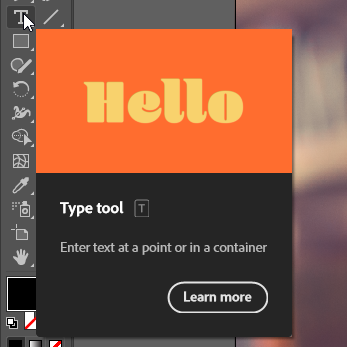
Select the Type Tool from the left toolbar or use the shortcut key (T) to activate the type tool.
Step 2
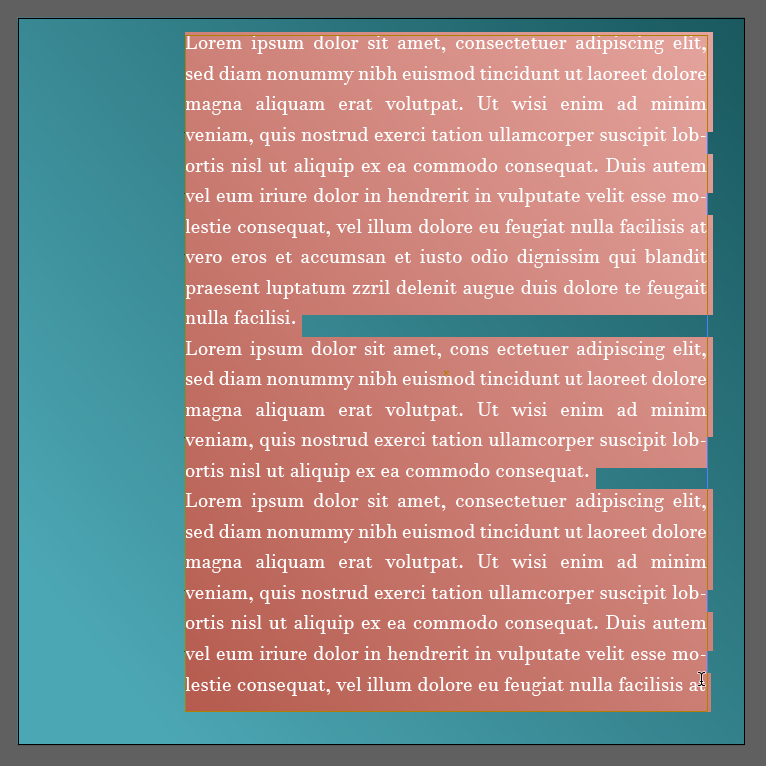
With the Type Tool activated, select an area for your text and input your text there.
Step 3
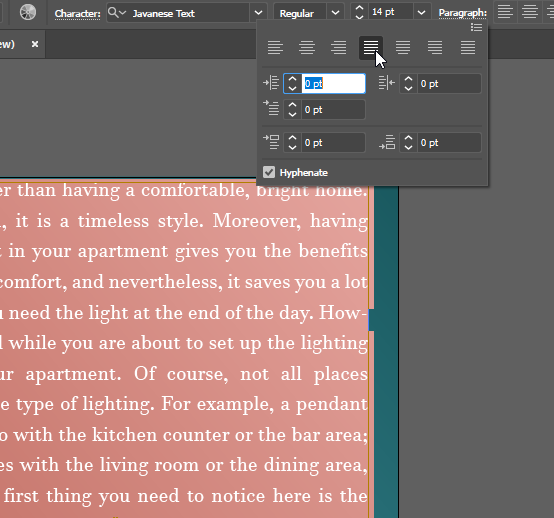
Assemble and arrange your text before you bring the object to wrap your text around it. Select the text and go to the paragraph option, which you can find either in the top toolbar or in the Properties panel on the right-side toolbar. In this case, I'll justify the text.
Step 4
Import the object you want your text to wrap around and place it on the artboard. It doesn't matter if you bring the object first or the text, just make sure the object is on top of your text. Otherwise, the text will fail to wrap around the object.
(Photo by Pierre Châtel-Innocenti)

You can use Arrange and Bring to Front to ensure the image is on top of the text.

Step 5
Now that you have your object placed over the text, choose the object. Go to the Object menu from the top toolbar and choose Text Wrap and select Make from the extended menu.

Step 6
Your text is now wrapped around the text. Now you can move the object and rearrange it to set up the text as you like it. For example, the screenshot below shows how the text wraps around the image if it's brought to the center of the text.

Related reading: How to Curve Text in Illustrator
Method 2: Wrap Text Around a Shape in Illustrator
Wrapping text around a shape in Illustrator is fun and easy. You can change the layout, shape, size, and even location anytime you want.
Step 1
First, Select the Type Tool (T) from the left toolbar to activate the type tool. Select an area for your text using the type tool and input your text there.
Step 2
Arrange your text before you bring the object and wrap your text around it. Select the text and go to the paragraph option, which you can find either on the top toolbar or in the Properties panel on the right toolbar.
Step 3
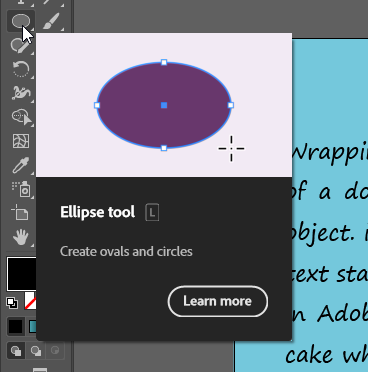
Select the Rectangle Tool and draw any shape you want the text to wrap around it. Make sure the shape is on top of the text.

Step 4
Now select the shape, go to the Object>Text Wrap>Make. Your text is now wrapped around the shape.

Step 5
Once you have wrapped the text, you can move the shape around the artboard and place it wherever you want, and the text will be changed accordingly. You can also resize the shape if you want.

Method 3: Wrap Text Using the Pen Tool
Sometimes you may have an image, and you want your text to be wrapped in a certain way. The methods above work well but don't give you ultimate control over how the text is wrapped. In this case, we need to make a path and make the text wrap around that path. We'll use Pen Tool to create the path.
Step 1
Place the image on the artboard. Go to File, select Place, choose the image you want to use, and embed the image. The embed option appears in the properties panel under the Quick Action option when you select an image.
Note: Make sure the image is arranged properly on the artboard because anything outside the artboard will not be included in the final outcome.

Step 2
Select Type Tool (T). Paste your text on the image using the type tool.

Step 3
Arrange your text using the elements of the Paragraph panel. I'm going to justify the text.

Step 4
Select the Pen Tool from the left toolbar. The shortcut key for the pen tool is (P).

Step 5
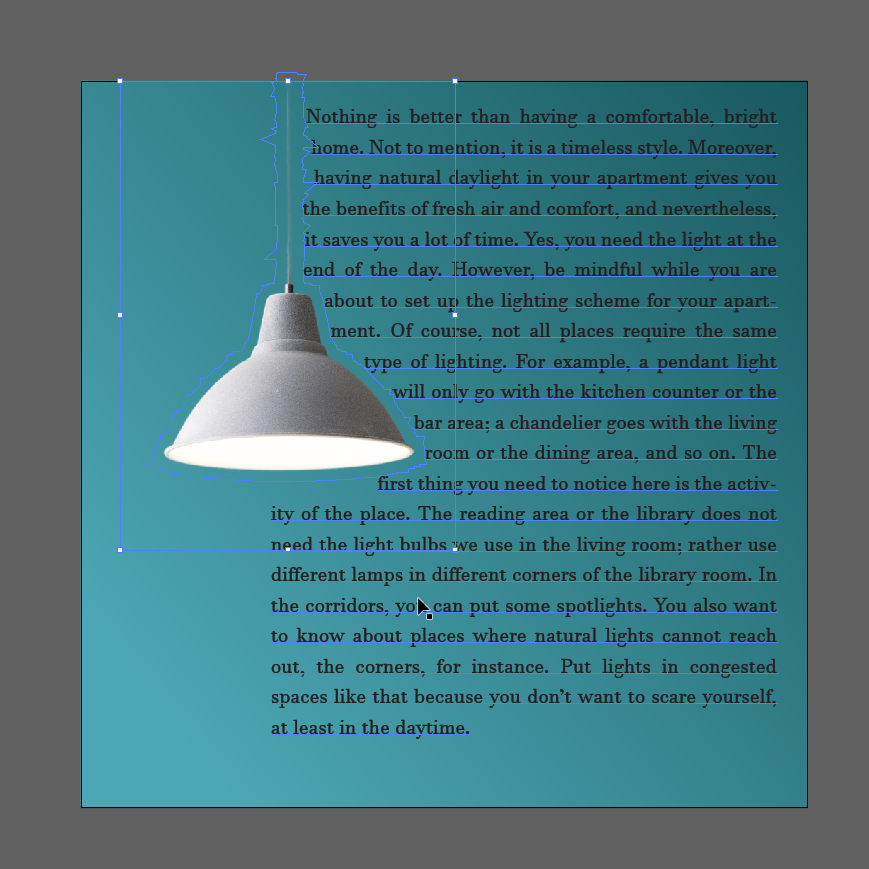
Now you have to make a path for the text wrap using the pen tool. With the pen tool activated, draw an area where you want to wrap the text. I'll create a path around the books in the image.
(Photo by Chris Lawton)


Step 6
Select the path and click the color fill option on the left toolbar. Choose (None), which will make this path transparent.


Step 7
Once you're done making the path, go ahead and wrap your text. Go to Object, choose Text Wrap, and from the extended menu of Text Wrap, select Make.


Adjusting the Wrapping Area
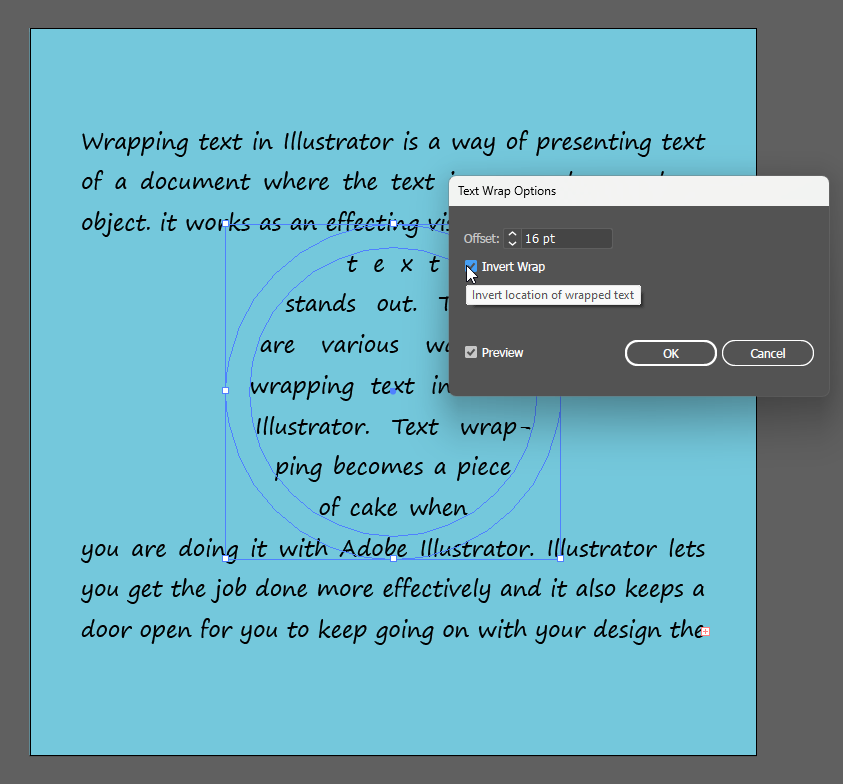
You can adjust the text wrap area from the Text Wrap option. Go to Object>Text Wrap>Text Wrap Options. You'll get a dialog box with the title Text Wrap Options.
In this dialog box, you can choose the gap or space between the wrapped text and the object. This gap or space is usually called the wrapping area. Choose how much wrapping area you want by decreasing or increasing the digits in the Offset box.
You can also invert the wrap by checking the small Invert box on the left side. This will wrap the text inside an object or a shape.

Wrapping text in Illustrator is easy when you understand the methods covered in this article. Illustrator also allows you to keep going on with your design of the text in real-time, even after the text is wrapped.