How to Use the Blend Tool in Adobe Illustrator
This page may contain links from our sponsors. Here’s how we make money.

When you work with vectors in Adobe Illustrator, it's likely that you might come to a point where you'd like to blend the colors of shapes. You might be struggling with the blending of colors and might want to make progress smoothly and seamlessly without making them choppy and unnatural.
When it comes to the blending of colors when dealing with vectors, Adobe Illustrator proves to be the best among all other vector-creating programs. With Illustrator, you can make a large number of color palettes and even when you are dealing with 3D objects, it proves to be unparalleled.
In this article, we'll look at how to use the Blend Tool in Illustrator. To start, please create a new document.
After creating a new document, two different methods can be followed to blend the colors. These methods are described below.
Method 1: Using Blend Tool in Illustrator
On the new document, draw the shapes you want. These could be circles or squares of different colors and sizes. You can make these using the Shape Tool on the left in Illustrator. Here, I've made squares of different colors.

After creating objects of different colors, you simply select the Blend Tool from the toolbar, or use the keyboard shortcut “W.”

After selecting the Blend Tool, you simply click on each shape to make a smooth nice blend between these colors.
And here you go, you've successfully blended the colors of the squares.
Change the Blend Color Direction
If you want to change the direction of the blend, go to the menu bar above the window and select, Object>Blend>Reverse Spine.

There you go, you've changed the blend color direction successfully.

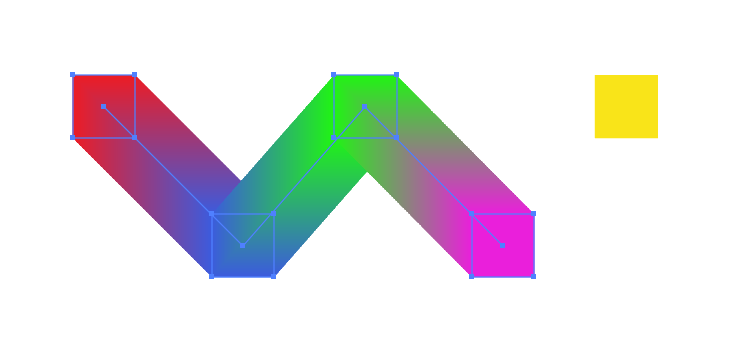
Using the same steps, you can also blend the colors of overlapping shapes. For instance, take the two shapes shown below.

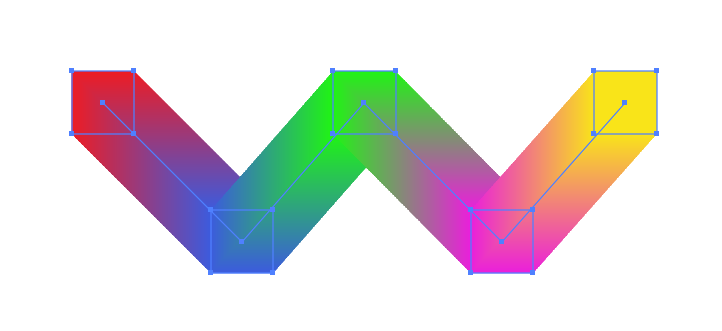
To blend these two overlapping shapes, you simply select the blend tool (‘W' key) and click on both shapes. And we've got a nice seamless blend of colors.

Even after this, you can change the colors and sizes of shapes by selecting them.

Gradient/Blend Over a Path
You can also add a blend or gradient over a path easily. To understand this, let's look at an example of a path and a blend of shapes.
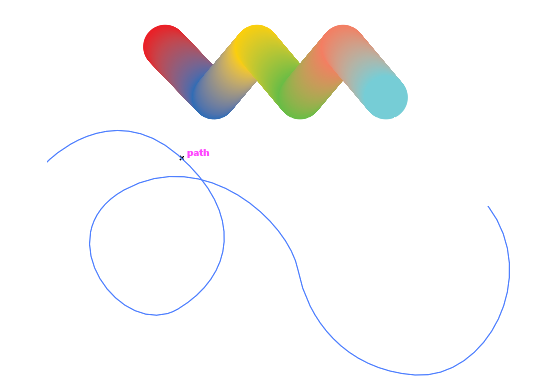
Now, you select both the path and blend, as below.
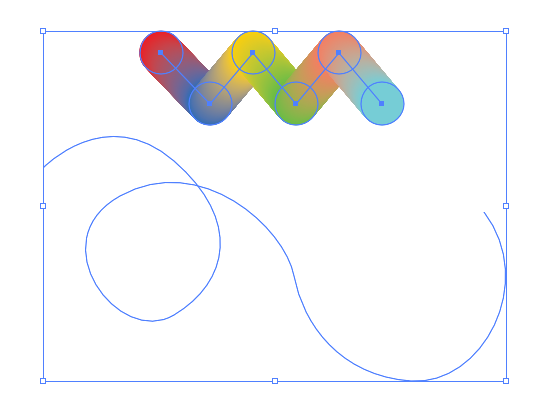
After the selection, you go to Object>Blend>Reverse Spine.

And here, you have successfully added the blend to the path.
Method 2: Using Object>Blend>Make
In our second method, we can also add the blends to the shape without clicking on the shapes directly.
For this method, let's take an example of the following texts.

Add the outlines to both texts by selecting them and using the shortcut “Shift+Control+O” (for PC), or Shift+Command+O (for MAC).

Make one of them smaller and place it anywhere you like on the artboard. As in the following case, I have placed it above.

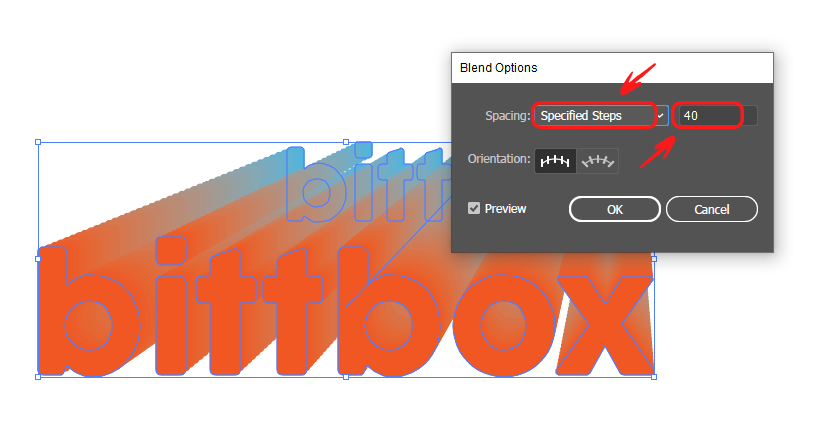
After the placement, on your Menu bar, go to Object>Blend>Make. The results will be like this

To get your desired fading effect, on your Menu bar, you simply go to Object>Blend>Blend Option. Then select ‘Specified Steps‘ in the bar and add the numbers. Click on OK when you think you have attained the results you want.
Using the same steps, you can also create the color pallets of your desired numbers.
Let's take two shapes of different base colors of your choice.

In your Menu Bar, go to Object>Blend>Make. You'll get something like this.

After this, you can change the Specified Steps, adding a smaller value depending upon the number of colors you want in between those two colors. Then press OK.

We have got a color pallet in between our base colors successfully.

Final Thoughts
You've just learned some quick methods to add the blend to your desired colored shapes and texts. You can use these methods to create incredible color transitions, text effects, and color palettes of your choice.
Be sure to play with this Blend Tool and create fascinating masterpieces in your design projects.