Photoshop’s Line Tool (How to Draw a Line)
This page may contain links from our sponsors. Here’s how we make money.

While working on any design project, a graphic designer realizes that small details are crucial for the design's overall look. There's a complete thought behind everything, and each tiny element a graphic designer puts in the design serves a purpose. Great designs come to life with these small and minor changes that complete the overall look.
Photoshop is such a powerful and robust tool that sometimes the simple tasks aren't obvious. Creating a line is a basic task that designers must be able to accomplish in Photoshop, but it's not immediately obvious how to do it.
Every designer comes up with his or her ways to find the solution. There are different methods you can use to draw a line in Photoshop.
In the next 5-7 minutes, you will learn the methods/ways that are the most common and widely used to draw a straight line with any thickness and color. So, let's take a look.
How to Draw a Line in Adobe Photoshop
Depending upon the nature of the line, Photoshop provides different tools and options to get the desired result. Some of them are explained below:
Draw a Line Using the Line Tool
One of the best and quick methods to draw a line is using the Line Tool. You can find the Line Tool in the Tool Bar or Tool Panel under the built-in shape tools.
NOTE: To activate the Line Tool, click and hold the Shape Tool already being shown on the Tool Bar (That is Rectangle Tool by default), or right-click on the Shape Tool. You'll see the available shapes in the newly opened panel. Select the Line Tool.

After you've opened the image or new canvas in Photoshop on which you want to draw a line and you have selected the Line Tool, you can see the available options under the Menu Bar at the top.

There are three modes of Line Tool: Shape, Path, and Pixels. You can choose any one of them depending on the properties of the line you want. You can change the mode by clicking on the drop-down arrow Beside the Line Tool Icon in the upper left corner of your window on the Options Bar.

Shape Mode
Shape mode allows us to draw a line in vector form as a shape (having stroke and fill) which can be scaled to any length without losing the original properties because it will not act as a raster. It means the line in this mode works the same way as it works in Adobe Illustrator.
After activating the shape mode, you will see the different options on the Options Bar.
From there, you can change the color of your Fill and Stroke.

Besides Fill and Stroke, there's an option for Stroke Width. You can change its value to any pixel point you want to place on your canvas.

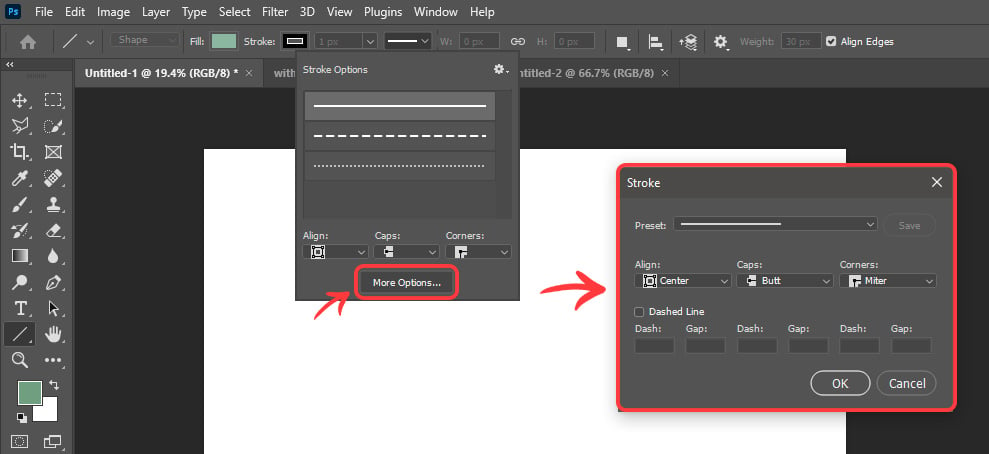
Besides the Stroke Width, there's a Shape Stroke Type. If you click on the drop down arrow, a Stroke Option Window will appear. From there, you can select the type of line you want. It could be Straight, Dashed, or Dotted. Also, you can change the way your line would look by changing the option of Align, Caps, and Corners;

From the More Options button, you can create your own custom dashed and dotted lines. And you can also save those custom-made lines.
Besides the Shape Stroke Type, there are options to put in the custom Width and Height of the line.

There are several different options along the Options Bar beside the Width and Height. And there is a button with a Setting Icon. As you click that, you'll see the Path Options and Arrowhead Options.
You can change the Path Thickness and Color.
Also, you can Add the Arrowhead in the line using the options at the bottom of the Stroke Option.

And at the end, there will be an option to put in the Line Weight of the line we would be drawing and Align Edges mark.

Keeping in mind and setting up the options of the desired line, draw the line on the Canvas.
To draw the line, bring your cursor on the canvas and then click and hold at the point where you want your line to be started from. Holding the mouse button, drag the cursor to where you want your line to end.
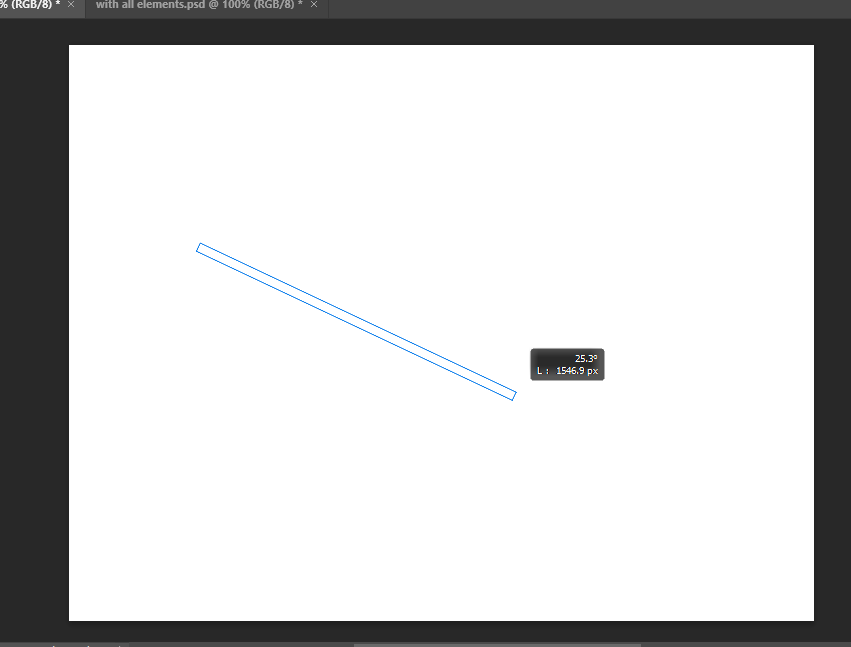
Then finally, release the mouse button. You'll get a line based on the properties you have set.

As you release the button, you'll see that you can still edit the line. You can change its properties. By going to the Properties Panel, you can change its Angle, Height, Width, Fill, Stroke properties, etc. Also, you can reflect it horizontally or vertically too.
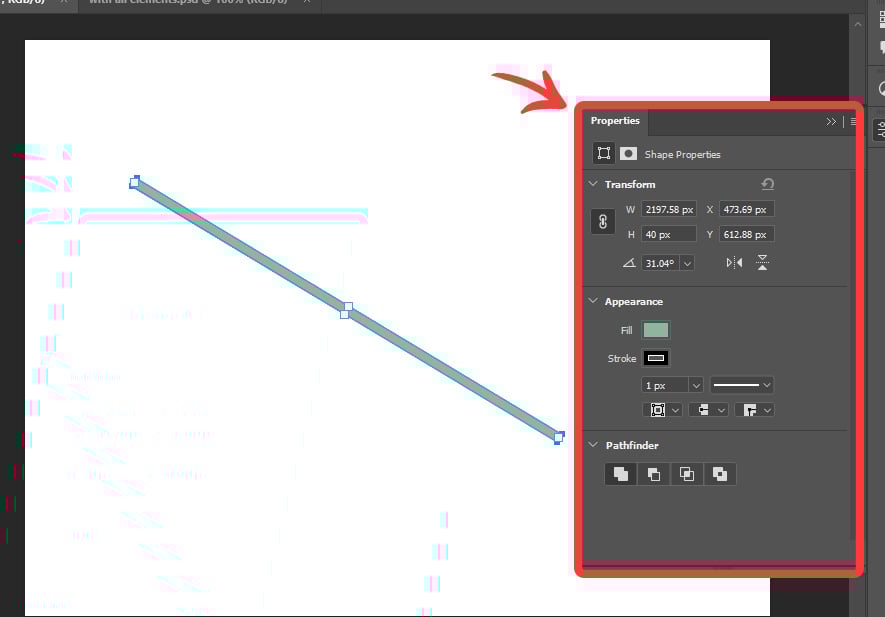
As mentioned earlier, the drawn line is a vector. You can scale it to any length you want. Also, you can change its properties however you want to change.
So, that was the Shape mode of drawing a line.
Path Mode
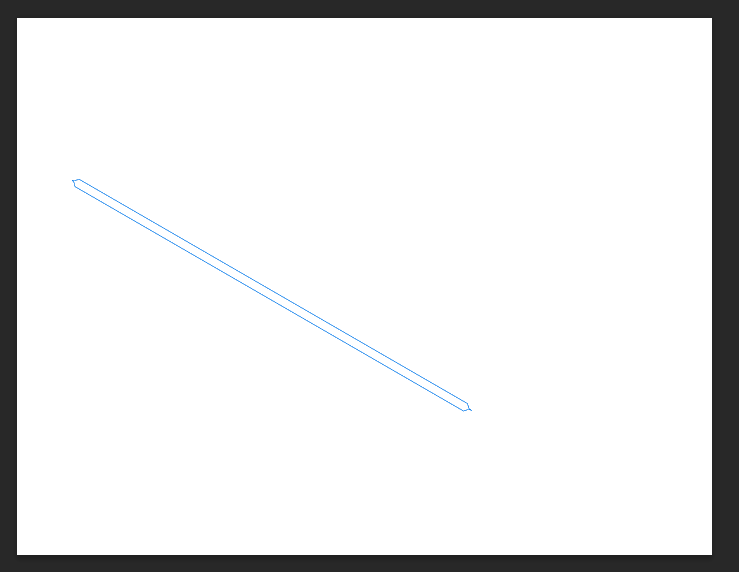
Path Mode allows you to draw the line in the same way as the Shape Mode, but it does not contain the Fill and Stroke or any other options that a visible line consists of. It consists of the path only, so you can change the properties of the path only in this mode.
The line using the Path Mode has been shown in the following;
Pixels Mode
Pixels Mode works the same way as Shape Mode. The difference between these two is that shape mode allows you t draw a line as a vector, while pixel mode allows you to draw the line in the raster format. Let's take a look at this by drawing a line.
As you activate the Pixels mode option in the Options Bar, you'll see that the whole Options Bar changes.

From the Options Bar, you can change the Blending Mode as per your desired result of the line. The default blending mode is Normal. And you can change the Opacity on the scale from 1 to 100.
Always tick the anti-alias setting to get a better final result of the line being drawn. The other options of Pixels Mode Line work the same as they do in the Shape Mode as Line Weight, Path Options, and Arrowhead Options.
As you draw the Pixels Mode line, you'll see that there's no difference between the Shape Mode Line and Pixels Mode Line as they appear the same, and the drawing methods of both of these are the same. But the difference is in the nature that has been discussed before (raster vs. vector).

You can not change its properties once you have drawn it on the canvas, so make sure to set all the options before you draw the final line.
This way, you can draw a straight line on your image using the Photoshop Line Tool.
Draw a Line Using the Brush Tool
Another quick and easy method to draw a straight line in Adobe Photoshop is using the Brush Tool. The brush tool allows us to draw straight lines in no time. The final line we get from the Brush Tool is also raster-based or pixel-based, which means once it's drawn, we can not change the properties and options of the lines (like you could with a vector shape). To understand it better, let's draw a line using Brush Tool.
After you've opened the canvas or image on which you want to draw a line, select the Brush Tool from the Tool Bar.
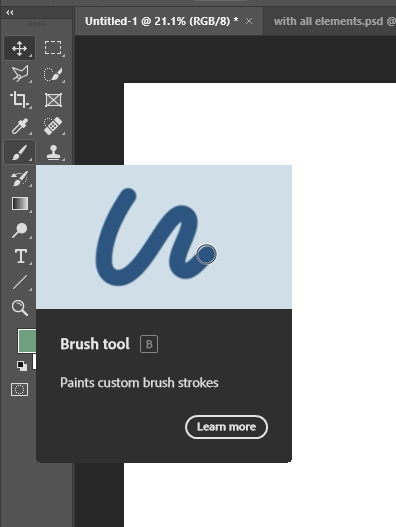
Using the Brush Tool, you can draw any straight line depending upon the brush type you have selected while drawing the line. To understand it better, we will use the Hard Round Brush to draw a line. Further, there are two ways to draw using a brush.
Drawing Horizontal or Vertical Lines
Once you've selected the Brush Tool, adjust the size or thickness of your brush as you adjust it while using it normally. After that, bring your cursor on the canvas, Press and Hold the Shift Key, using your mouse, Click and hold at the point where you want your line to be started, and drag it through the point where you want its endpoint to be.
You will see that you will get a horizontal line if you drag your mouse in the left or right direction. On the other hand, if you drag it in the up or down direction, you will get a vertical Line.
NOTE: Make sure to work on a new layer to keep your original image intact in its original form. It means this will allow you to edit the canvas non-destructively.

Drawing Random Straight Lines
As we have done previously, once you've selected the Brush Tool after opening the canvas in Adobe Photoshop, bring your cursor on the canvas. And this time, click once on the point where you want your line to be started.
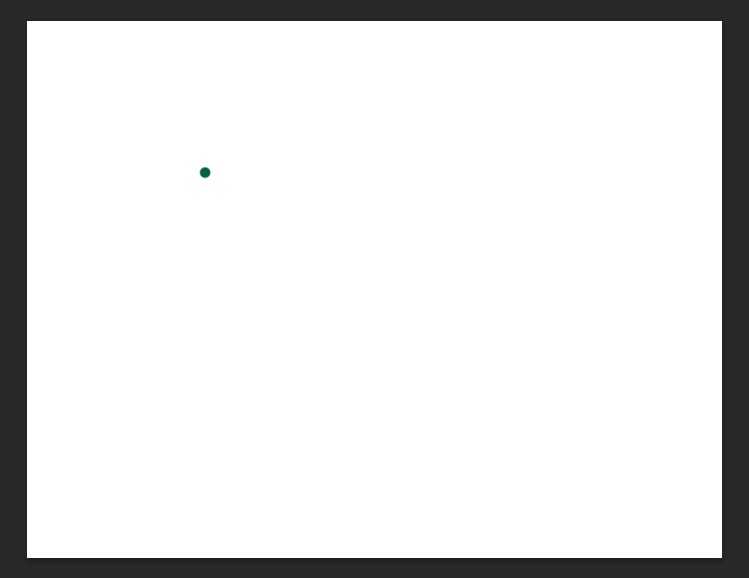
Now, press and hold the Shift key and click once at the point where you want your line to be ended. You'll see that you'll get a straight line joining the starting and ending point;

The resulting line is a raster image. You can change its color the only way you change the color of the other raster images. Also, you can edit it the only way you edit other raster images. It means you can not change the color of this line as a vector-based line.
There's one possibility through which you can change its color, which is to change the color of your brush before you finally start to draw the line.
Final Thoughts
You've learned how to draw a straight line in Adobe Photoshop using two different tools. Through practice, you can be a master at solving small problems like this and take your design skills to the next level. Keep solving the problems using your creativity.