How to use the Pathfinder in Adobe Illustrator
This page may contain links from our sponsors. Here’s how we make money.
Illustrator is all about making different shapes and objects, combining them, and turning them into a beautiful creation. Making shapes is a function of Illustrator thats is done by shape tools. However, if you're talking about making shapes and beyond that, Pathfinder is the tool you need.
Pathfinder doesn't only make shapes but it also takes shape-making to the next level by combining multiple shapes or objects.
In this article, we'll learn more about Pathfinder and how to use this tool. This article will brief you about the Pathfinder tool, introduce you to all of its functions, and guide you through the use of it.
What is the Pathfinder?
If you're new to Illustrator and hearing about Pathfinder for the first time, you may get confused by its name. Since the name is Pathfinder, anyone will think of it as a tool to find the path or something similar.
Surprisingly, this tool has nothing to do with finding paths. Pathfinder is a tool that helps you to create new shapes by cutting, merging, cropping, or dividing multiple shapes and objects.
Where to Find the Pathfinder Tool?
The Pathfinder panel is located with the other panels of Illustrator on the right side of the interface. If you cannot find the Pathfinder there, it's probably because the panel is somehow closed by accident and must be enabled.
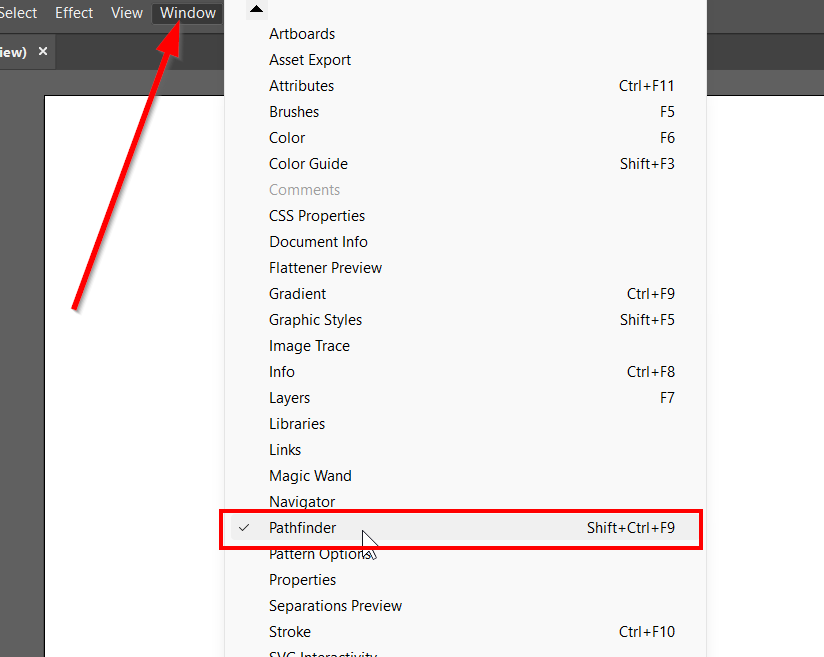
To enable the Pathfinder, go to the overhead menu, select Window, and choose Pathfinder from the drop-down menu. You can also use the shortcut key to open the panel. The shortcut key for the Pathfinder is Shift+ Ctrl+F9 (PC) or Shift+Cmd+F9 (Mac).

The Pathfinder Tools
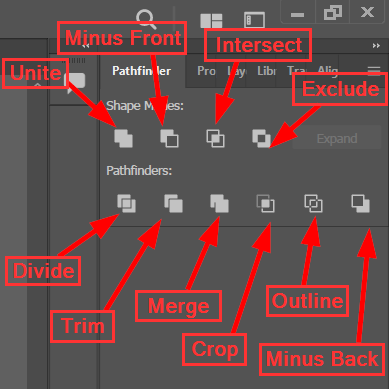
Pathfinder comes with a range of tools. When you open the Pathfinder panel, you will see the tools listed below:
- Unite
- Merge
- Minus Front
- Minus Back
- Intersect
- Exclude
- Divide
- Trim
- Crop
- Outline
So, these are the features you will have in the Pathfinder Panel. Using these tools is very easy. Each comes with a different outcome. The name of the tools is pretty much self-explanatory. Let's find out what each of the options does.
Unite
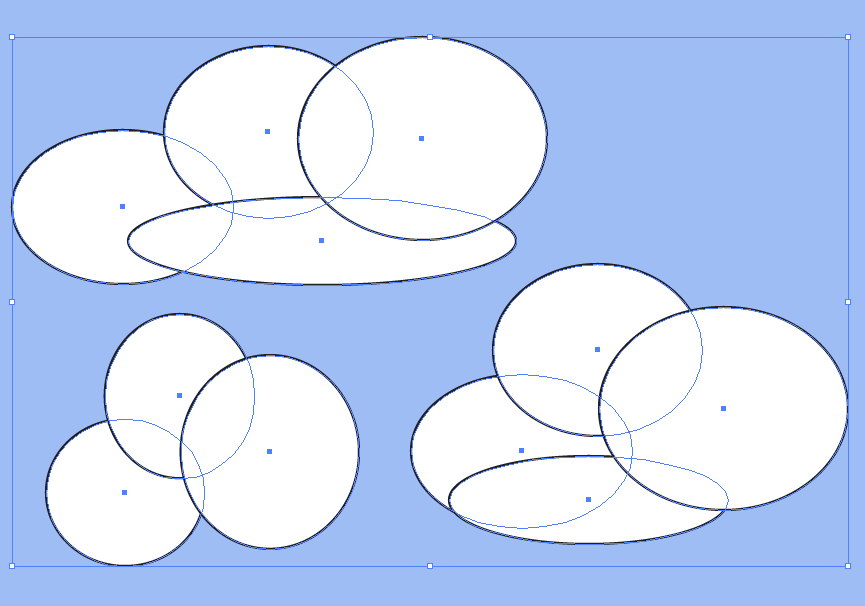
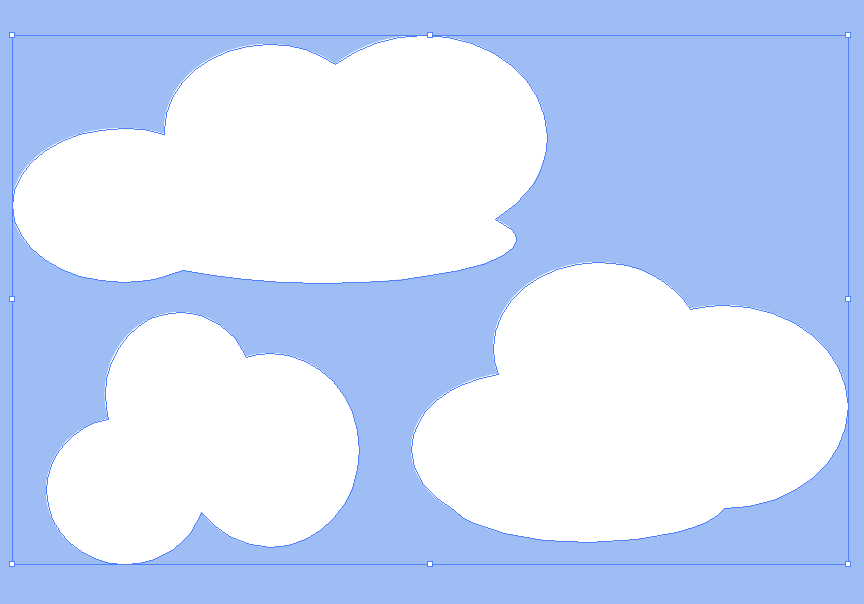
You can guess what the Unite tool does based on the name. This tool takes multiple shapes and turns them into a single shape. Draw some shapes, combine them to form a shape, and select the Unite tool from the Pathfinder Panel. Remember, the shapes must overlap each other. Otherwise, the Unite tool will not work on them.


Merge
Merge Tool, in a way, almost works like the Unite Tool. This tool also combine shapes to form other shapes, but the difference is when your shapes are different in color. When you combine shapes and use the Merge Tool, you can still see the shapes of different colors and their outlines. This is because the Merge Tool only combines the shapes of the same color.
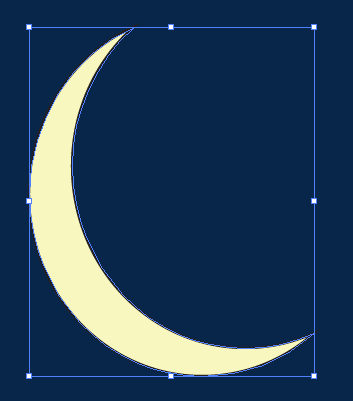
Minus Front
By using the Minus Front tool, you can delete the shape on the top. When you combine two shapes in a way that they overlap each other and use the Minus Front Tool on them, the shape on the top will be removed. You can see the example down below,

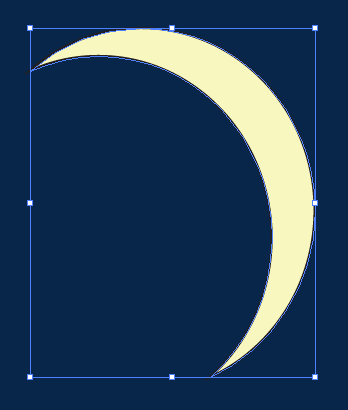
Minus Back
Looking at the name of the Minus Back Tool and Minus Front Tool, one can tell the obvious difference between these two. The Minus Back tool works exactly the opposite of the Minus Front. This means when you use the Minus Back tool on two overlapping shapes, it will remove the shape that is under the other shape.

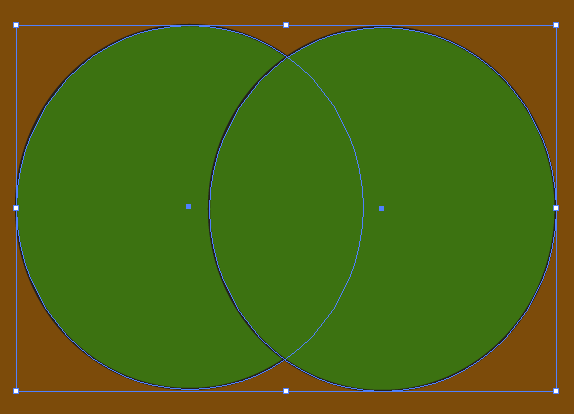
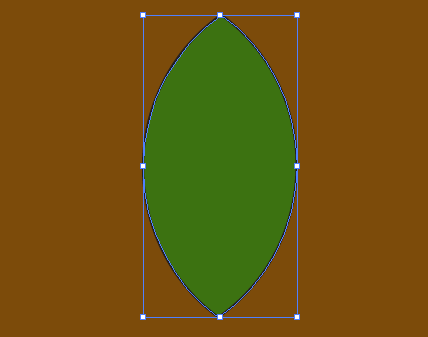
Intersect
The Intersect Tool helps you to keep the overlapping the area. Suppose, you combine two shapes and they overlap each other, and you use the Intersect Tool. The areas that are not overlapping each other will be removed.
Exclude
The Exclude Tool is just the opposite of the Intersect Tool. Whereas the Intersect Tool keeps the overlapping area of the two combined shapes, the Exclude Tool removes the overlapping area. Draw two shapes, place them on one another, and use the Exclude Tool from the Pathfinder Panel. This will leave you with areas that are not overlapping each other.


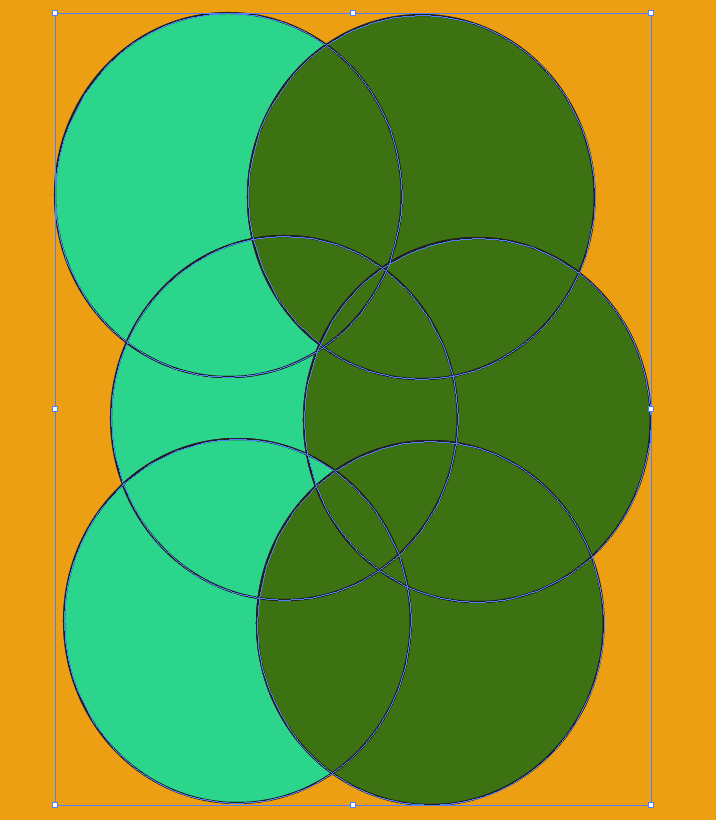
Divide
The Divide Tool works with multiple shapes and cuts the intersecting areas. This means when multiple shapes overlap, and you use the Divide Tool on those shapes, the divide tool cuts into each of the intersecting areas. Grab the Direct Selection Tool and pull out each section as individual cuts.

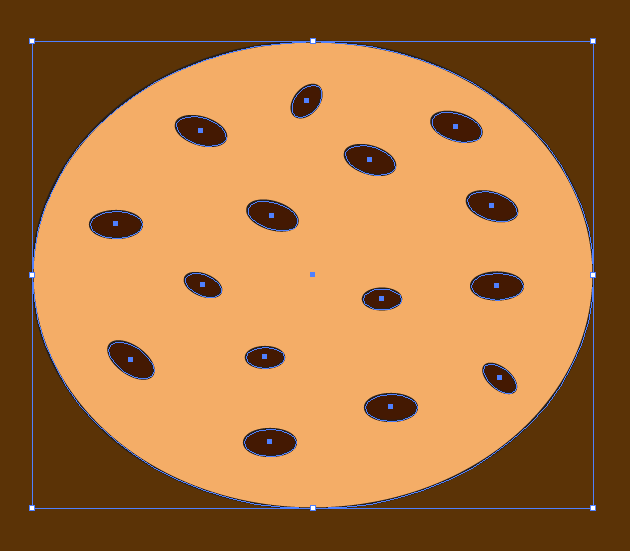
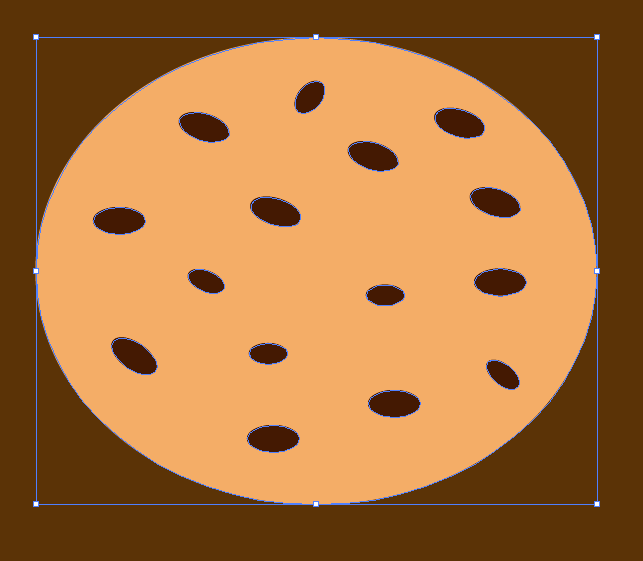
Trim
With the Trim Tool, you can give a paper-cut effect to your shape. This tool helps you cut multiple shapes by placing multiple small shapes on one big shape. Suppose you want to draw a chocolate chip cookie. In that case, draw a big circle and a few tiny circles with the Ellipse Tool. Place the tiny circular shapes over the big circle. Always ensure the smaller circles are on top of the larger circle. Select all the circles using the Selection Tool and select the Trim tool from the Pathfinder Panel. Now, grab the Direct Selection Tool and remove the tiny circles which will leave holes in the larger shape.
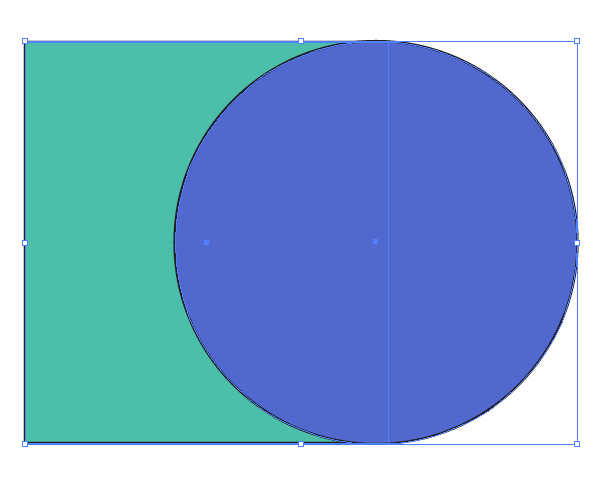
Crop
The Crop Tool eliminates the area that is outside the area of the top shape. When you have two overlapping shapes and use the crop tool on them, it will remove the area which falls outside the upper shape, but it will keep the fill color or pattern of the bottom shape.

Outline
The Outline Tool turns your shapes or objects into an outline. When you use the Outline Tool on shapes, the fill will disappear, leaving you with the strokes or outline of the shapes.

Once you explore the Pathfinder, you'll know how this tool opens up the door to creativity. Plus, this tool is incredibly easy, even for beginners who just started working in Illustrator. I hope this article helped you learn about the Pathfinder.