How to Use the Shape Builder Tool in Adobe Illustrator
This page may contain links from our sponsors. Here’s how we make money.

The Shape Builder Tool
In Adobe Illustrator, the Shape Builder Tool can quickly build shapes with just a few clicks. We can easily add, subtract, and merge overlapping shapes using this handy tool.
It involves two simple steps:
- Selecting the shapes
- Using your mouse to draw through the shapes to get your desired results
Of all the other tools used for drawing shapes in Illustrator, Shape Builder Tool is the quickest and easiest to use. Yes, you can draw the shapes using the Pen Tool and Group Image Method, but as you get comfortable with the Shape Builder Tool, this tool will become your favorite in no time.
In the next 5-10 minutes, you're going to learn the Shape Builder Tool and improve your workflow.
So, let's get into this.
Note: Before starting, you need to keep in mind that the Shape Builder Tool only works with closed paths or simple shapes. So, before you proceed ahead, make sure that you're working on enclosed shapes and that all lines are overlapping or intersecting.
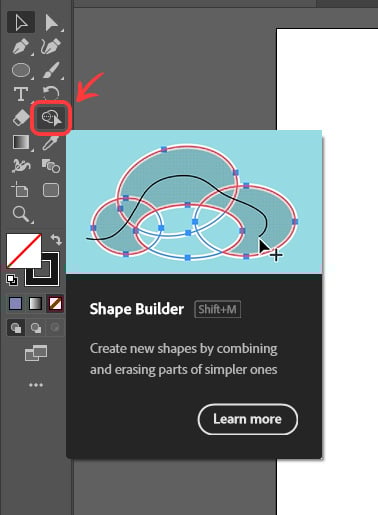
You can easily select the Shape Builder Tool using the shortcut on your keyboard, Shift+M.
Or You can select it directly from the Toolbar, as shown below.
To make the use of this tool easier to learn, let's look at two examples.
For more drawing tutorials, please see How to Make a Semicircle in Illustrator, and How to Make a Triangle in Illustrator.
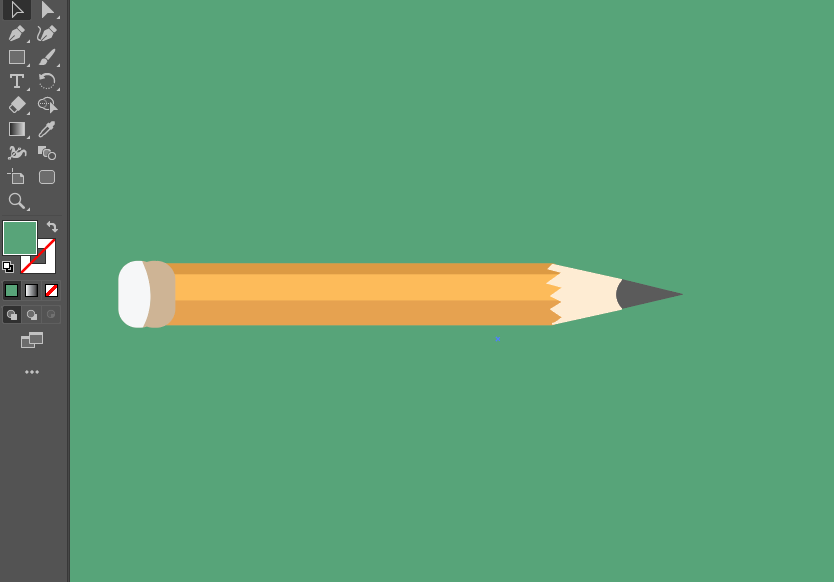
Example 1: Drawing a Pencil
In the first example, a simple pencil has been illustrated using different drawing tools in Illustrator. I've used the Rounded Rectangle Tool and Pen Tool to draw the pencil.
You might notice in the following pencil drawing that I made sure to extend the lines beyond the edge of the shapes. This is because Shape Builder Tool works best when shapes or lines are at least touching. So, extending the lines beyond the shapes makes it more comfortable to detect the corners.

To see whether the shapes/lines are overlapping or not, you can select all the components of the object and then use the shortcut Control+Y (PC) or Command+Y (Mac) to preview the overall shape. The shape will look like this.

You can use the same shortcut (Control+Y or Command+Y) to turn off the preview mode on the window.
Coming back to the normal view, we'll use the Shape Builder Tool to refine the shape of the pencil.
First, we'll refine the eraser of a pencil at the back of it. For this, we'll select the overlapping shapes for the eraser at the back of the pencil using the Selection Tool. The shapes will look like this.

After selection, we select the Shape Builder Tool and place our cursor into a selected shape when the area shows a dotted screen highlight.

Now, we click, hold, and drag through the three rectangles.

This will look like the screenshot below.

Now, we'll refine the whole drawing by selecting them using the Selection Tool and then building the shapes of different areas using the Shape Builder Tool. The drawing will look like this.

Now, we would like to complete the drawing by removing the remaining extended lines. These lines can easily be removed by the Shape Builder Tool. For this, let's take an example of the tip of the pencil. We select the arc and shape that make up the tip;

Then, we select the Shape Builder Tool and bring the cursor to the tip until the dotted area of the shape appears;

Now, we click once on the shape. This will convert the highlighted area into a separate shape. Now, we select the unwanted lines using Selection Tool.

To delete all the unwanted lines, we repeat the same step. Selecting with the Selection Tool and building the shapes using Shape Builder Tool, and finally, deleting the extended lines. Our final drawing will look like this.

Now, we can fill the shapes with our desired colors to give this pencil a final look.
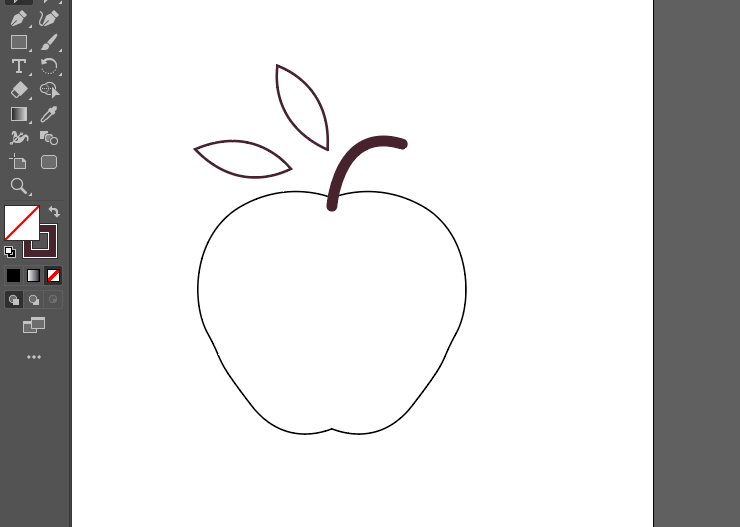
Example 2: Drawing an Apple
Consider the following drawing of an apple consisting of different elements. I have used the Pen Tool to draw these elements.

Let's refine all the elements using the steps or methods from the previous example. This can be done by using Selection Tool and Shape Builder Tool.

The drawing will look like this.
Let's place all the elements in their positions.

Now, let's say we want to add bites to the apple. For this, we would want to remove parts of the apple. To remove a part of the shape, we place the shapes over the apple, as, in this case, we have placed two circles that overlap the shape.

In the next step, we simply select both shapes using Selection Tool, and then after selecting the Shape Builder Tool, we place our cursor on the part of the apple we want to remove;

Then, we press and hold the Alt on our keyboard. Under the cursor, we will see a minus sign (-), which means we are subtracting this shape from the apple.
Now, press and hold the Alt key, left-click, and drag over to the end of the shape we want to remove.

Our shape will look like this.

We repeat the same steps to subtract the other shape from the apple. Our overall shape will look like this.

That's it! Our drawing is completed. Now we can add colors and shadow to the apple to make it look complete.

Congratulations!
You have just learned one of the most used tools of Adobe Illustrator. The Shape Builder Tool is a powerful tool that was first introduced in Adobe Illustrator CS5. Since then, it has made Illustrator users' lives easier. This tool makes it easy to build the most complicated shapes in just a few minutes.
That's it! Now, go ahead and play with this tool to master it. This can only be done by practicing along with dedication.