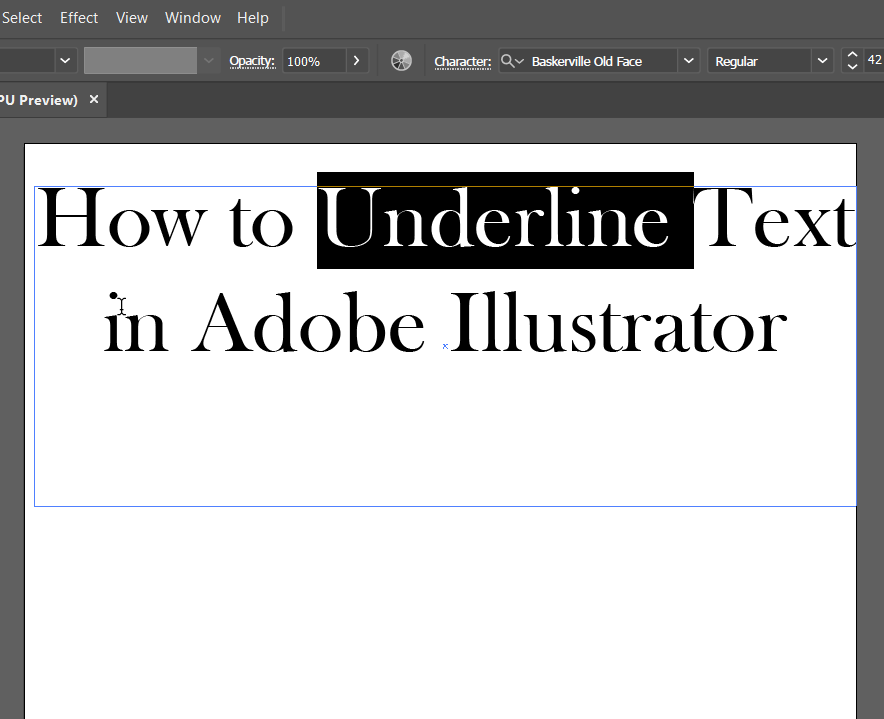
How to Underline Text in Adobe Illustrator
This page may contain links from our sponsors. Here’s how we make money.
Underlining text in Illustrator is not the same as the usual underlining we do in Microsoft Word or Google Docs. It's different than just selecting the text and pressing Ctrl + U (or Cmd + U on a Mac). In Illustrator, you can underline your text in various ways.
In this article, we'll cover a few methods of underlining text in Illustrator. Let's get started with the tutorial.

Method 1: Underlining Text with the Character Menu
In this method, you'll select the text and give a command from the character menu.
Step 1
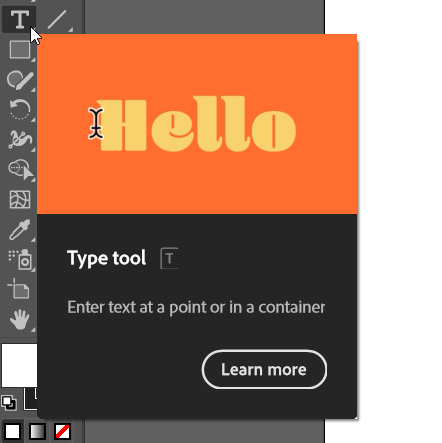
Open your file and type the text using the Type Tool (T).

Step 2
Activate the Selection Tool from the left menu or press the keyboard shortcut key (V). Select the text you want to underline using the selection tool.
Step 3
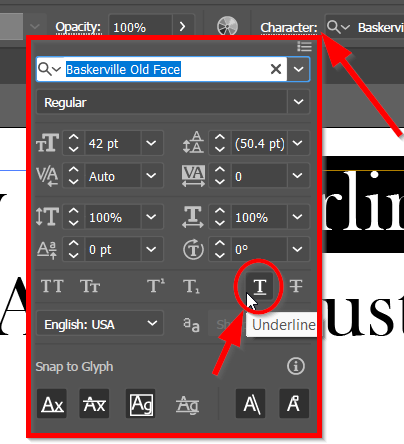
Now, open the Character Panel. You'll find this panel in the Character Toolbar which is situated just below the Top Toolbar. Select the Character to open the character panel.
Step 4
In the character panel, you'll find various styles and options to customize your text. To underline the text, select the Underline icon. This is a button with a tiny underlined T written on it. As you click this button, your text will be underlined.

How to Edit the Underline Made by Character Panel
When you draw an underline using the character panel, you cannot customize it much through this panel. For this method, we need to expand the object first.

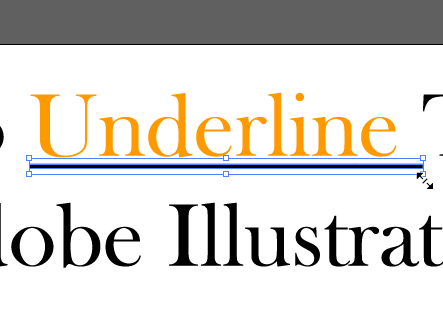
When you finish underlining, select the object using the selection tool (V).
Now you need to expand the object to edit it. For expanding the object, go to Object, select Expand, and click Ok. This will turn the line into an editable shape.
Your object is now expanded. Double-click on the entire object. Then click on the underline and drag the anchor points to make it thicker, thinner, bigger, or smaller.
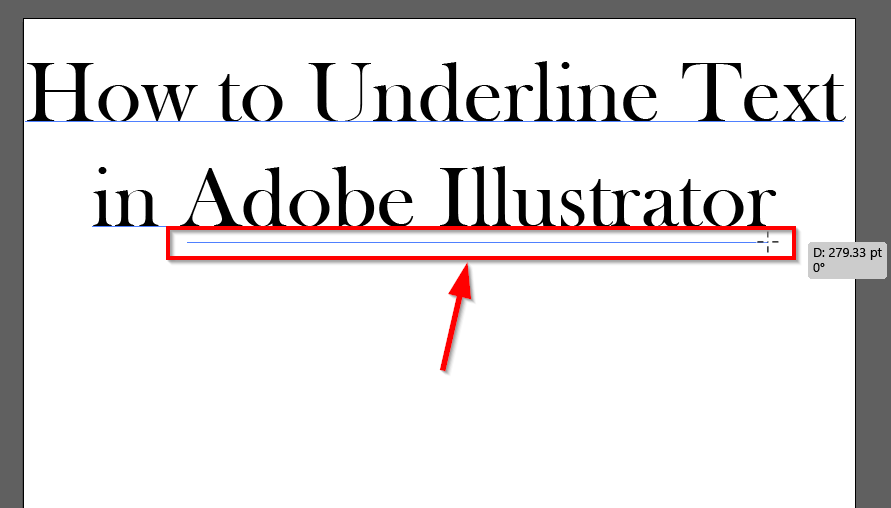
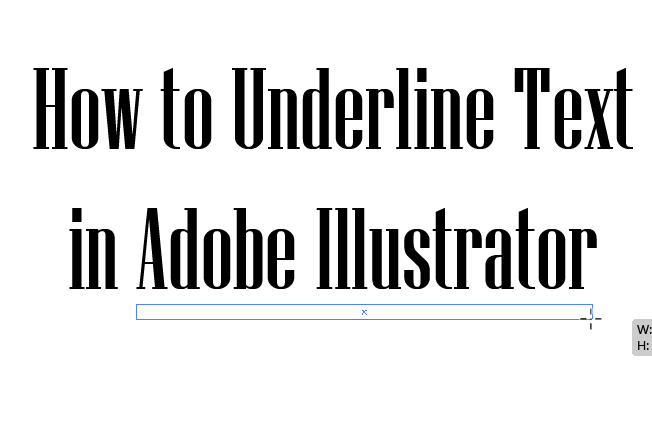
Method 2: Underlining Text with the Line Segment Tool
In this method, all you need to do is to prepare your text. Select the Line Segment Tool and click-drag a line underneath the text you want to underline. Here are the specific steps.
Step 1
Prepare the text you want to underline.
Step 2
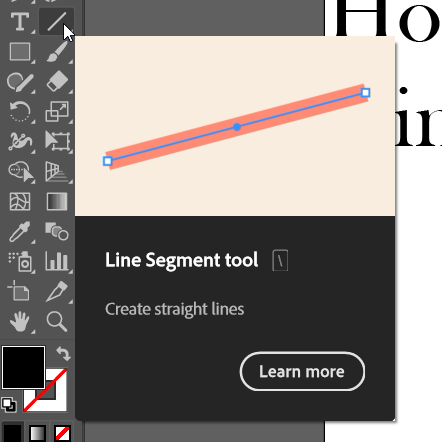
Select the Line Segment Tool from the left toolbar. The shortcut key for the line segment tool is (/).
Step 3
Place the cursor under the text you want to underline. Now, click and drag the cursor to draw a line. Stop dragging the cursor when you're done underlining your text. Holding down the shift key will allow you to draw a straight line.
Related reading: How to Draw a Line in Adobe Illustrator
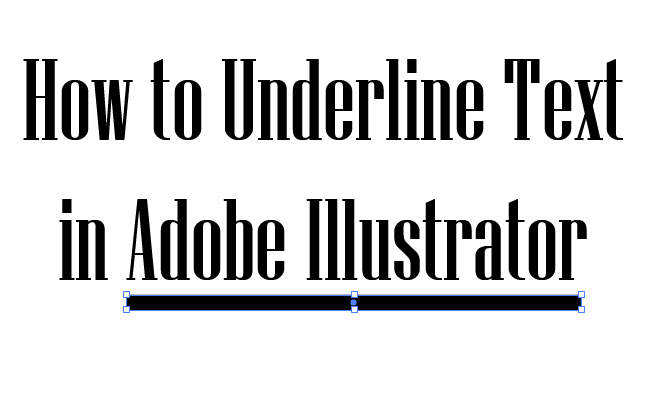
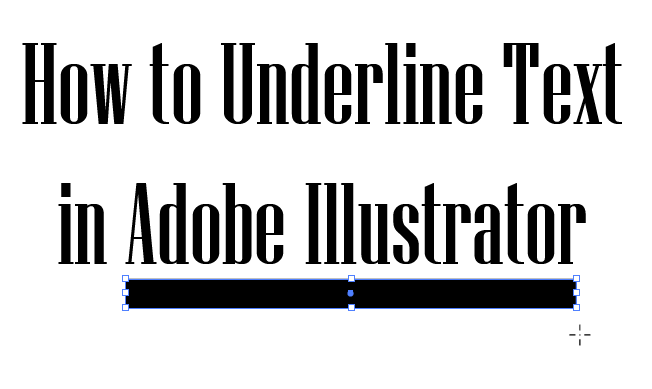
How to Edit the Underline Made by the Line Segment
- Select the object (the underline) using the Selection Tool (V).
- Go to the Properties Panel. Under the Appearance section, you'll find the Stroke option. Reduce the stroke to get a thinner line, or increase the stroke value to make it thicker.
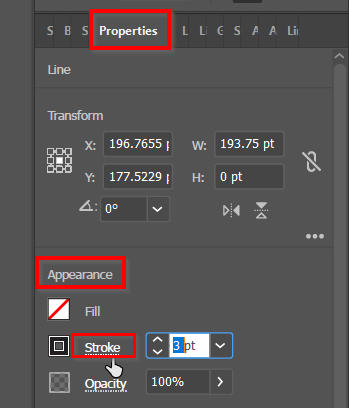
Note: You can also change the stroke value from the Appearance panel or the properties options on the top toolbar.
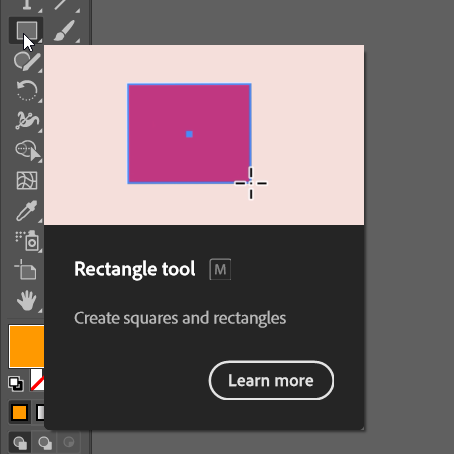
Method 3: Underline Text with the Rectangle Tool
This method is like the previous one. The only difference is that we will use Rectangle Tool.
Step 1
Type your text using the Type Tool (T).
Step 2
Select the Rectangle Tool from the left toolbar. The shortcut key for the Rectangle Tool is (M).
Step 3
Using the Rectangle Tool draw a thin rectangle under the text you want to underline. Draw a thin rectangle so it will look like an underline.
How to Edit the Underline Made by the Rectangle Tool
The underline made by this method does not require much to edit. Since it's a rectangle, you can easily change the size by dragging the anchor points directly.

I hope this article helped you to understand different ways of underlining text in Illustrator. So, which one is your favorite?