How to Make a Seamless Pattern in Adobe Illustrator
This page may contain links from our sponsors. Here’s how we make money.
Creating seamless patterns in Adobe Illustrator can be a great way to add some extra flair and personality to your digital design projects. Whether you're creating backgrounds, textures, or just adding an interesting element to the design, learning how to make these repeating patterns will give you a valuable technique you can use over and over again!
In this tutorial, I’ll show you step-by-step how to create beautiful seamless patterns right in Illustrator, so get ready to unlock a world of creative possibilities!
Before we get started with the tutorial, let's brush up on the idea of the pattern. A pattern is a decorative design made by using one or more design elements in a repeated manner. They may be referred to as seamless patterns, tileable patterns, or repeating patterns. In short, a pattern is simply a repeated decorative design.
Using the Default Pre-Installed Patterns in Adobe Illustrator
Where to Find the Default Patterns
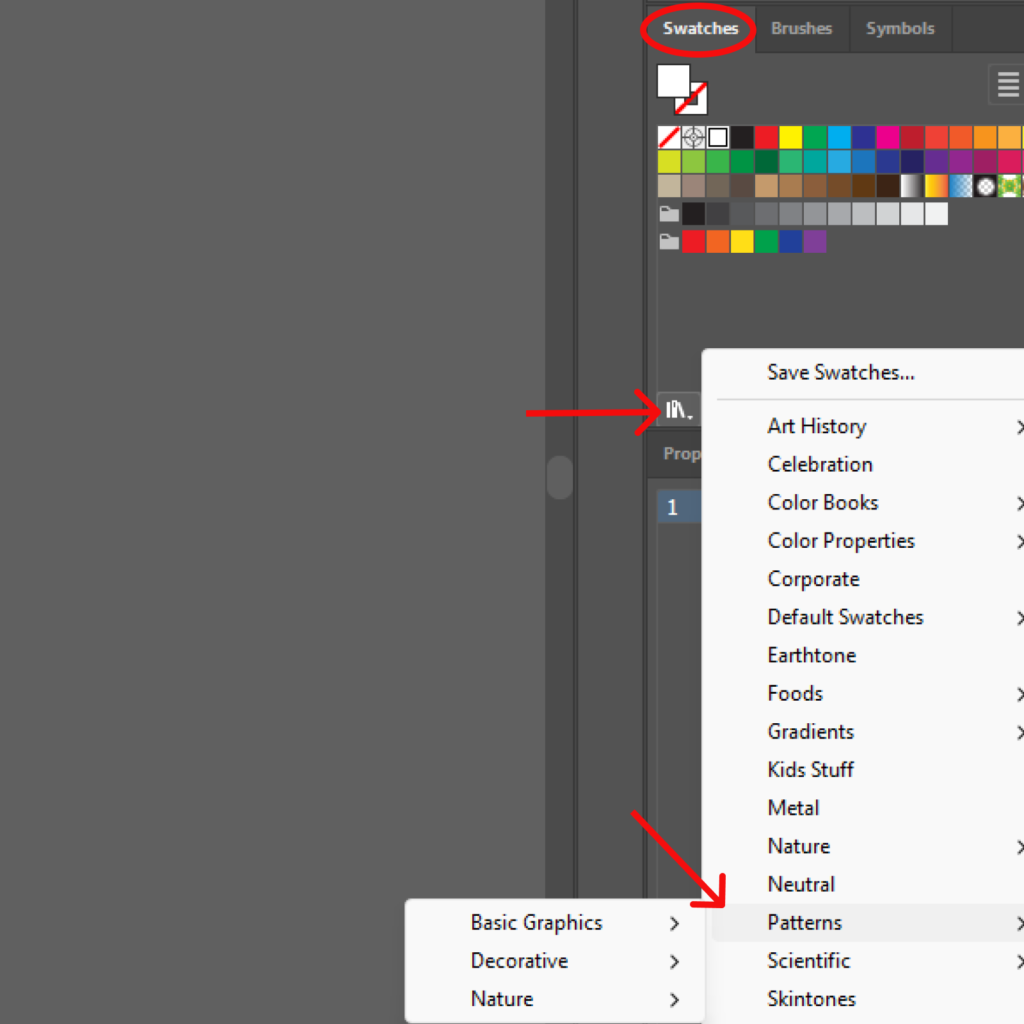
Adobe Illustrator comes with some default patterns, which is a great way to start making a pattern for beginners. You'll find them on the swatches panel on the right-side tool. If you can't find it there, then go to Window menu and select Swatches. This will add the swatch panel to your Adobe illustrator screen.
How to Use the Patterns
Now that you know where to find the default patterns, just grab the pattern you want to work with. Select a shape or any other element you want the pattern to be applied. The pattern you selected now works as fill for the drawn object or shape.
How to Apply the Pattern to Existing Objects?
Applying a pattern to an existing object is no different than selecting a color for text or shape in Illustrator. Select your text or the shape to which you want to apply the pattern, then select the pattern as its fill.

Making Patterns from Scratch
You can always make your pattern symbol/elements on your own. You can form a unique design pattern of your own by combining different shapes. Even a few circles can stand out as a unique design if you can be creative with them.
Decide on Your Design:
Decide what design you want to turn into a pattern. You can gather inspiration from various sources online, or you can sketch out some of your ideas on paper. Pen and paper can be very useful if you're making patterns from scratch as you have more control over the design, and it also gives a visual presentation of your ideas.
Decide Which Tool to Use to Create Your Design:
You can use a single rectangle tool (M) to create your design pattern. You can be more creative with Pen Tool (P) too. This will help you to come up with eccentric and creative designs.
Decide on the Color Palette:
When you're happy with the design element you created, decide which color you want to use. Select your design and click on Recolor Artwork on the top toolbar.

Finalize Your Design Element:
Now that your design is all set, you can finalize it by using expand or group.
Start Turning Your ‘Design Element' into a Pattern:
You can start adding a pattern to the design element simply by copying and pasting them next to each other. When you're happy with the outcome, select your pattern design. Now, go to Object>Pattern>Make.
Create Your Own Pattern
Step 1:
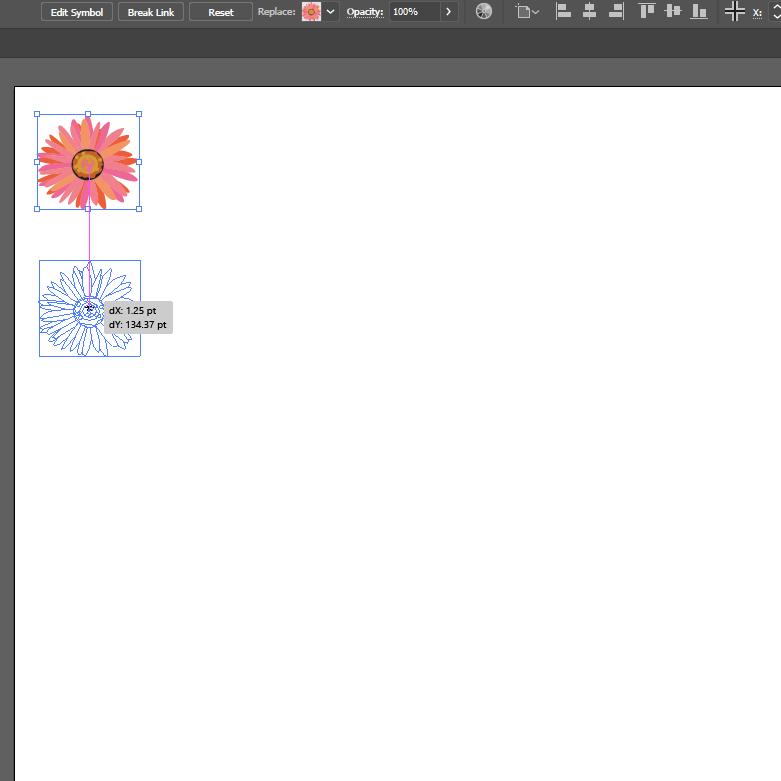
Choose the element you want to make a pattern of. You can choose any object depending on what pattern you're aiming to create. For instance, if you want a floral pattern, choose a flower. Bring your object to the artboard. You can drag your object from Symbol, which you can find in the right-side toolbar in Adobe Illustrator.

Step 2:
Now that you have your object on your artboard, you can design it as you want. For example, you can change the color or reshape it.
Related reading: How to Move Artboards in Illustrator

Step 3:
Once your object is all set, it's time to ‘Group' it. Remember to group it before you go ahead and try to make the patter. Otherwise, the result will be messy. Select your object, go to the Object menu and choose Group.
Related reading: How to Merge and Group Layers in Illustrator

Step 4:
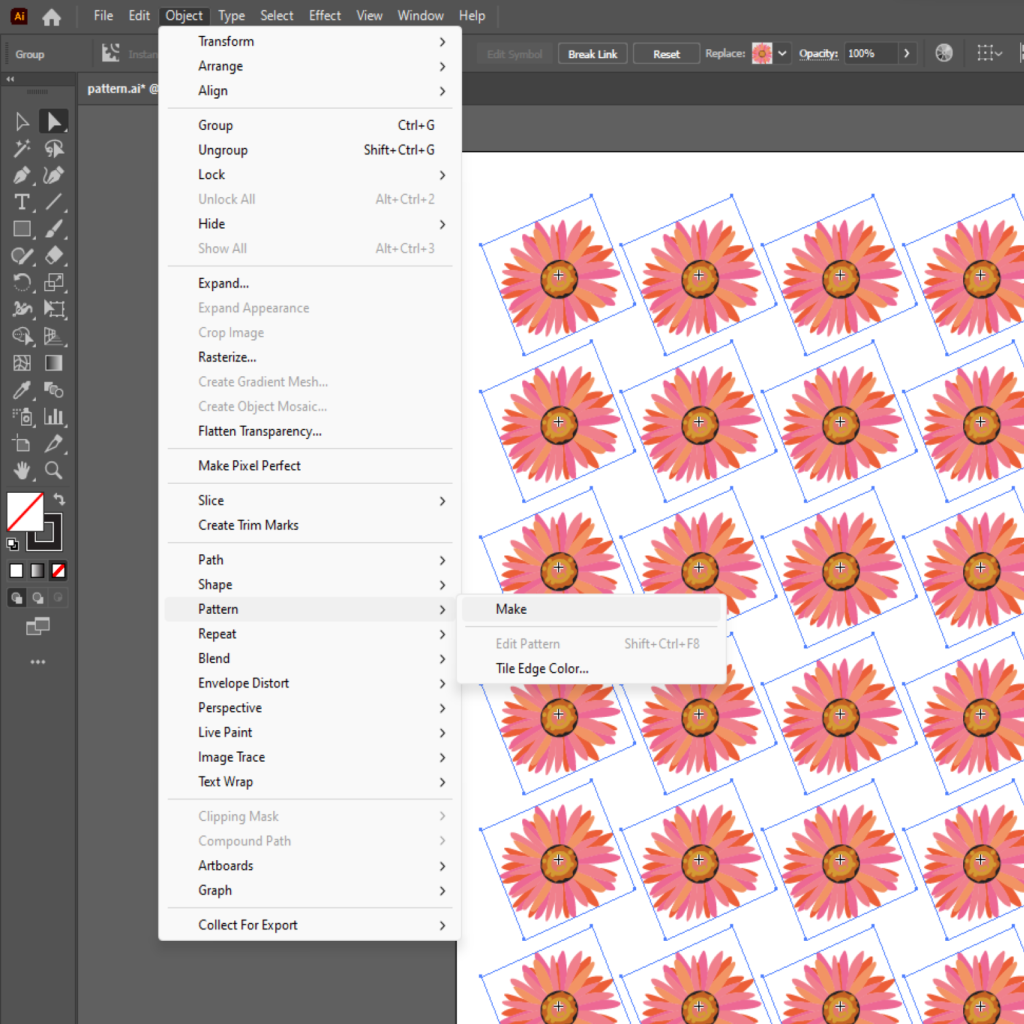
Your object is now ready! It's time to turn it into a pattern. Now copy your object by pressing Alt + Shift and dragging it. Now, press Ctrl + D to continue the process for few times. Then select all the copied objects and copy a few rows to fill up the artboard.

Step 5:
Select all objects you created and go to the object menu. From the object menu, go to Pattern and choose ‘Make.‘ (Object>Pattern>Make)
Step 6:
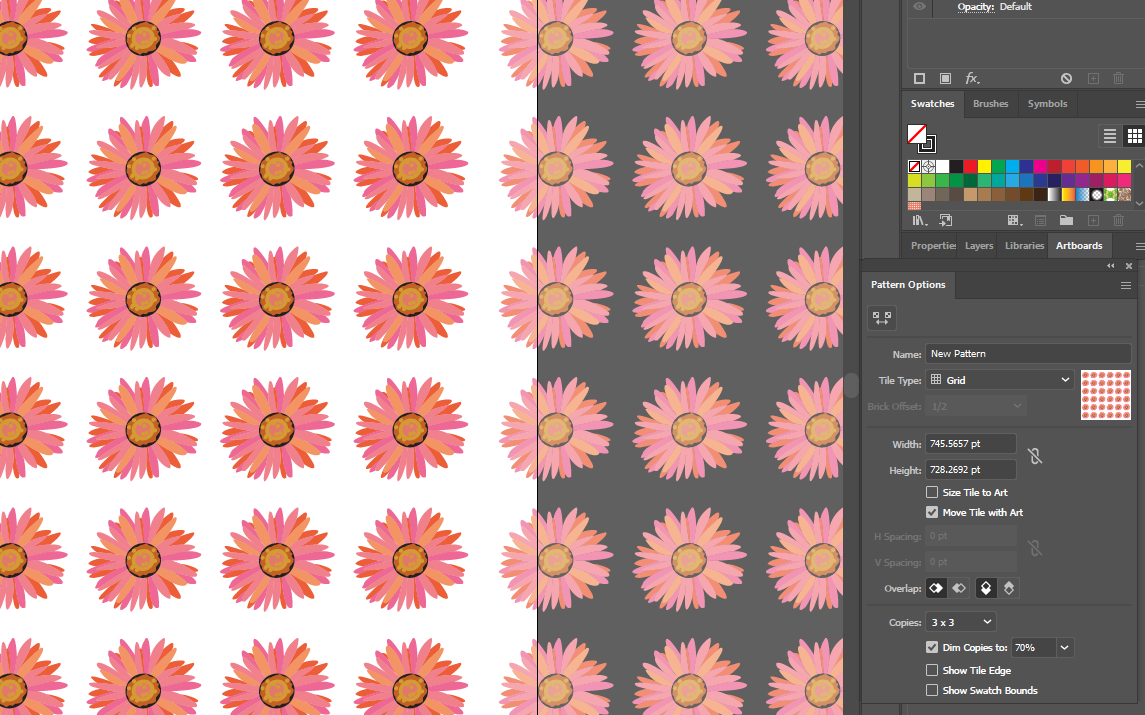
Your pattern is created. You'll have a pattern prompt window where you can make some changes.
In the pattern window, you can choose how your objects should align by choosing different Tile Type and Brick Offset.
You can also change the gap between tiles by changing the Width and Height. Now in Copies, select 9×9 so you can have a bigger pattern.

Step 7:
Finalize your pattern by selecting Done on the upper side of the screen. Your pattern is now saved in the swatches panel, which can be found beside the symbol menu. To use the pattern, draw a shape, select it and choose the pattern from the swatches panel.

Note: When you select your pattern from the swatches panel, you might not like the size or scale. In that case, you can select the object, then go to Object>Transform>Scale. Uncheck Scale Strokes & Effects and Transform Object boxes and check the Transform Patterns box. Now you can scale the pattern according to your need.
Related reading: Illustrator Scale Tool: What It Is and How to Use It

How to Make Your Pattern Seamless
One of the crucial parts of creating a pattern is making it seamless so it can be tiled endlessly without visible seams. There are various ways to make your pattern seamless.
Step 1:
Start with a square artboard. Keep the ratio of the artboard in your mind. You're going to need it later on.
Step 2:
Put your design objects/elements on the artboard so that a little bit is outside the edge of the artboard.
Step 3:
Now Select the top element and copy-paste it by Copy and Paste in front . Go to the Transform option while selecting the pasted element, in the Y box input +400 pt (here I have followed my artboard size). Select the entire row and do the same as mentioned here.


Step 4:
Now that you've covered the right side and left side, we will copy some of the elements on the top edge by holding down the Alt+ click and drag. Align them the way we did in step 2. Select the newly copied elements and copy them by Copy and Paste in front. Go to the Transform option. This time, put +400pt in the X box.
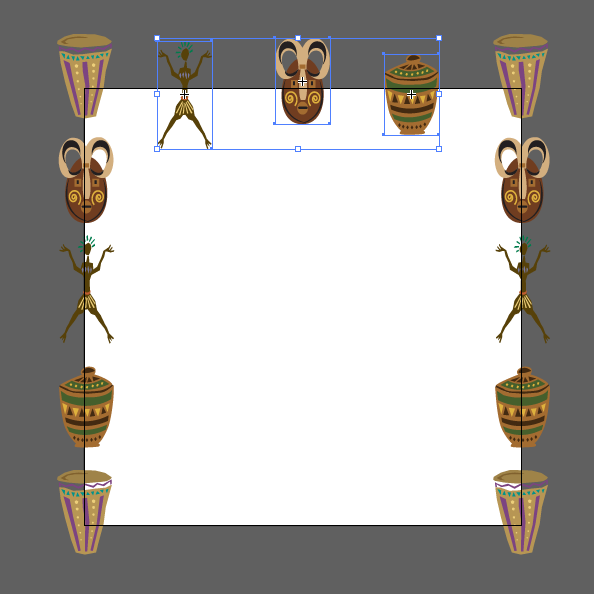

Note: Covering the edges in this way will make your pattern look seamless since there will be no hard lines or grids.
Step 5:
After you're done aligning the elements on the sides of the artboard, you can fill up the middle part of the artboard with the elements. When you're satisfied with the look, go ahead and expand the design. Select all the elements and choose Expand from the object menu.

Step 6:
In the layer panel, create a new layer and draw a rectangle of the same ratio as the artboard (here, I created a square 400×400) . Toggle off the visibility of the layer where you have your design elements.
Step 7:
Make a square with the same ratio as the artboard and align the square with the canvas. Unselect the Fill box. Now toggle on the visibility of the old layer.
Related reading: How to Average Points for Perfect Alignment
Step 8:
Select all elements along with the bounding box of the 2nd layer. Go to the Pathfinder menu and select Crop. In the cropped version, you'll see every individual object takes its lead from where it finished on the other side. This will help you in making the pattern look seamless.

Step 9:
Click and drag the pattern to the pattern panel. Voila! Your pattern is ready to use.

Hopefully, this article helps you understand the concept of patterns in Illustrator. Now, you can be an expert in unique pattern-making by following these simple steps.