How to Add Texture in Adobe Illustrator
This page may contain links from our sponsors. Here’s how we make money.
Texture is an excellent feature of Adobe Illustrator. Adding texture to your design not only makes your design unique but also adds more detail and character. This is an easy yet effective tool to make your design stand out.
There are various ways to add texture. In this article, we'll cover two methods to add texture in Illustrator.
Adding Texture in Illustrator: Method 1
Illustrator comes with some default textures. In this method, we'll use those default textures in our design.
Step 1
Select the shapes or objects you want your texture to be applied.

Step 2
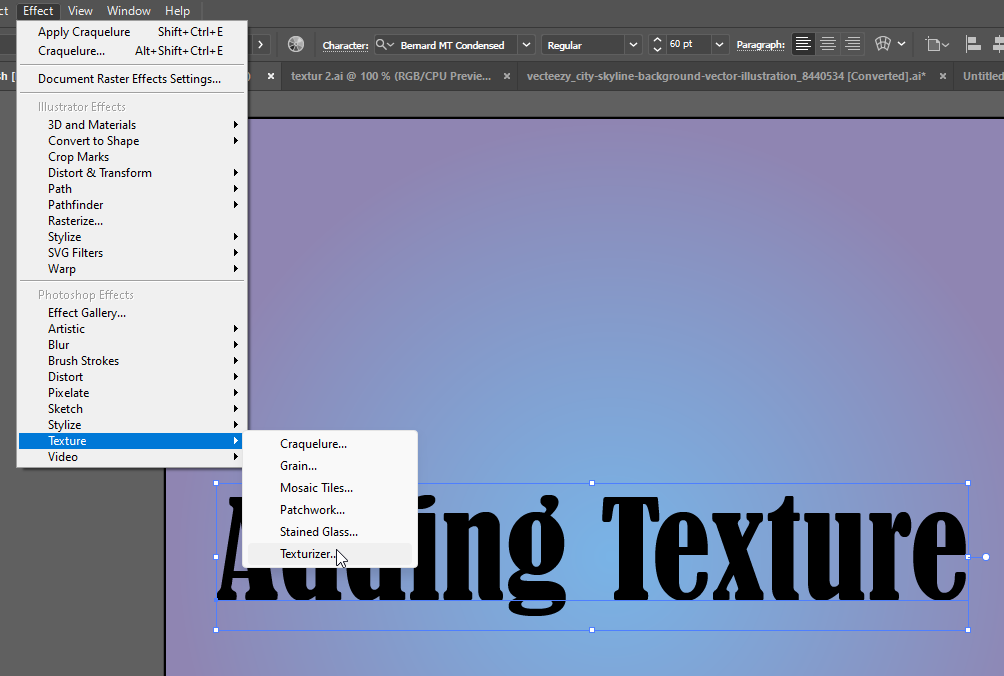
Go to Effect and choose Texture and select Texturizer from the dropdown menu.
Step 3
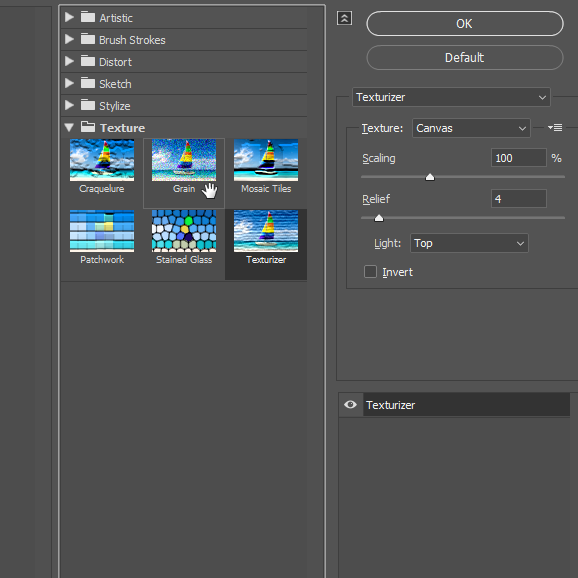
You'll find six different textures to select from. Select one of the textures.
Step 4
Now you'll have an extended panel on the left, letting you edit and customize the texture. You can select different modes for applying the texture. This panel determines the size, contrast, depth, intensity, and many more.
Texture in Illustrator: Method 2
In this method, we'll use images as a texture by overlaying them on a design object. All you need to do will be group, mask, and copy-paste the image, and you are good to go. Let's look at the step-by-step process.
Step 1
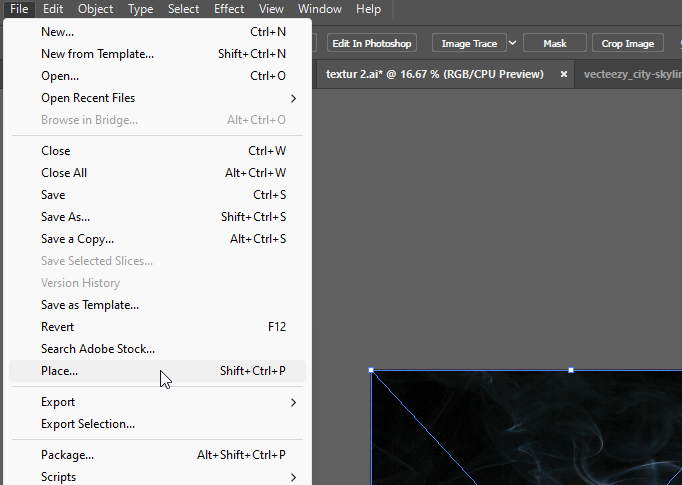
Place your image beside your artboard and embed it if necessary. To place or insert an image in Illustrator, go to File> Place and select the image you want to use for your project's texture. For the tutorial, I'll use this smoke image from Mulyadi.

Step 2
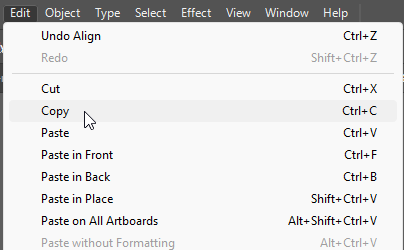
Copy your image before proceeding.
Step 3
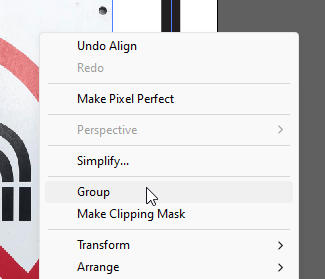
Select your object. If you have more than one object that you want to apply the texture to, then you have to group the objects first. To group objects, select your objects and select Group from the right-click menu, or you can use the shortcut key Ctrl + G.
Step 4
Once you've grouped your objects, open the Transparency Panel. If you cannot find this panel, it's probably not enabled yet. Go to Window and select Transparency.
Step 5
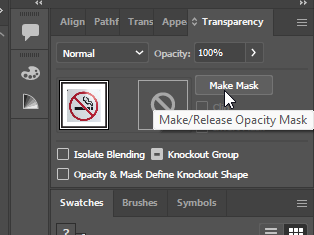
From the Transparency Panel, open the side menu and make sure the thumbnail is showing. Now click on mask and click on the black box that appears on the right side of the thumbnail.

Step 6
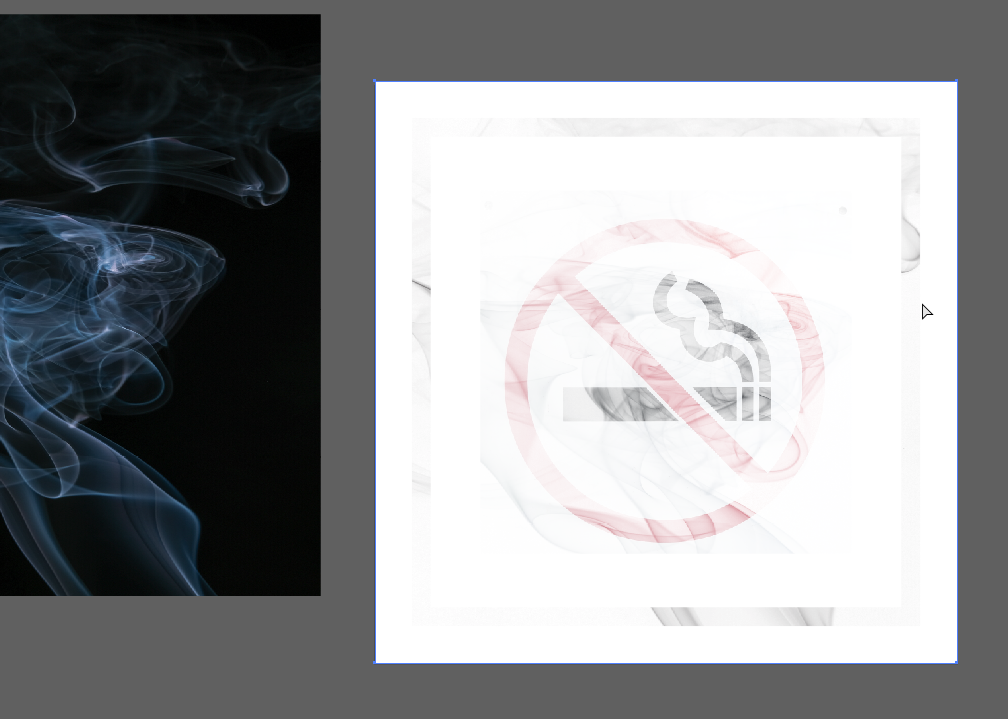
Now paste your image and place it over the object. You can resize or move the image according to your preference for texture.
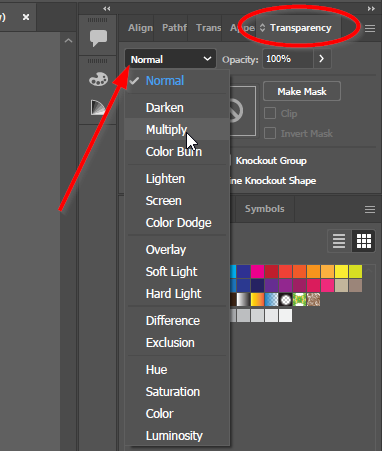
Step 7
The Transparency Panel has a dropdown menu for different modes for your textures. You can choose any mode to darken or lighten the texture.

Texture in Illustrator: Method 3
In this method, we're using one of the effects from the Effect menu as a texture.
Step 1
Place your object on the artboard. Once you are ready with the object, you can start customizing your texture.

Step 2
Select the Rectangle Tool and draw a square. This will be the area for your texture. Go ahead and select a color to fill the shape. You can also use a gradient for a different touch.

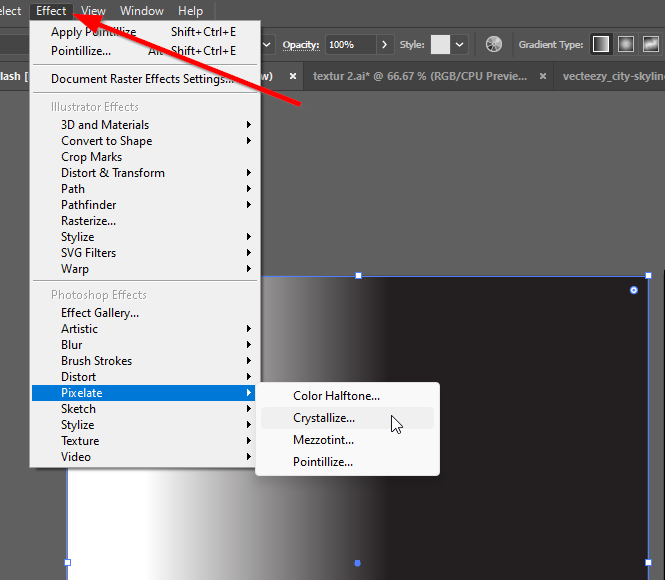
Step 3
After selecting the shape, go to Effect from the top toolbar and select an effect that goes with your design. Here we're using Pointillize effect from the Pixelate option.


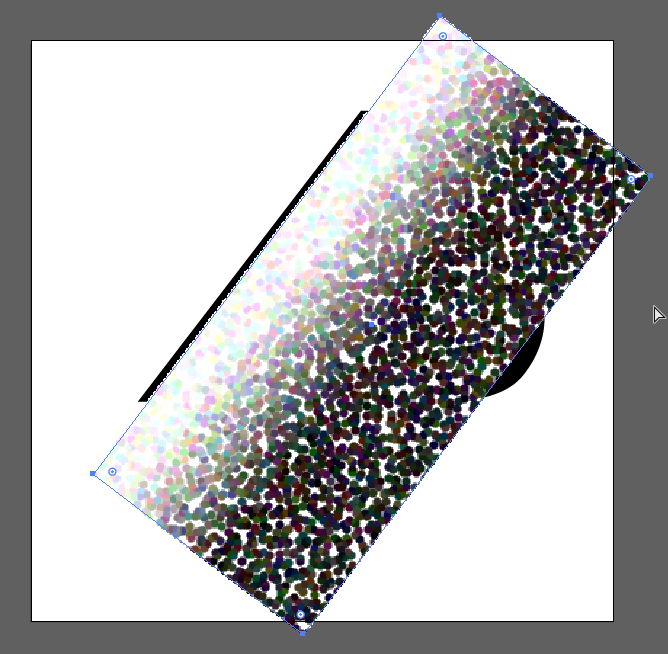
Step 4
Once you choose an effect, place it over the object you want your texture to be applied to.
Step 5
Now it's time to rasterize the texture. To rasterize it, go to Object and select rasterize.


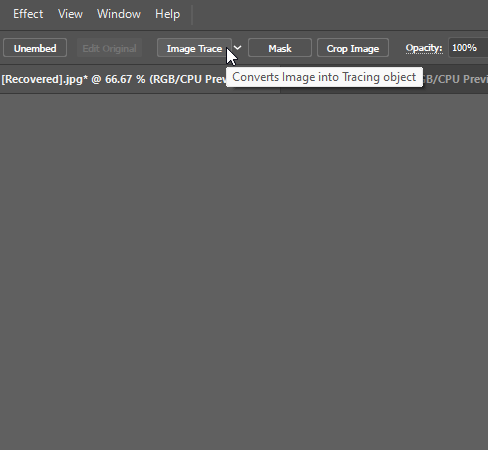
Step 6
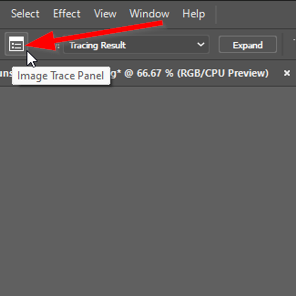
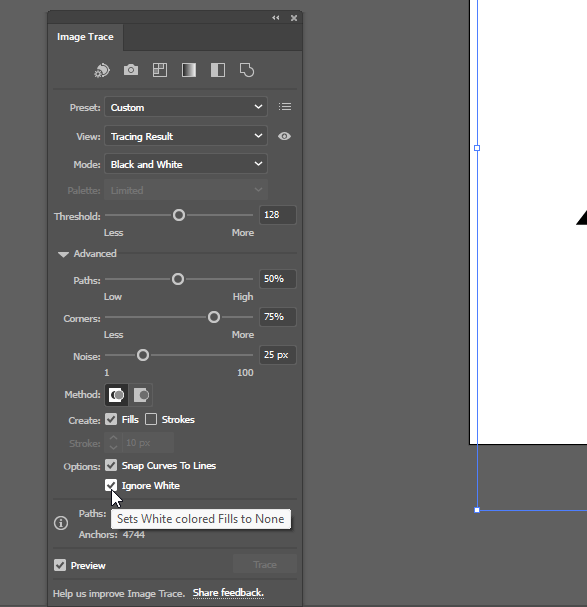
When you finish rasterizing, click Image Trace from the top toolbar. You'll find it beside the Crop Image option. After tracing the image, open the Image Trace Panel and select Ignore White.
Step 7
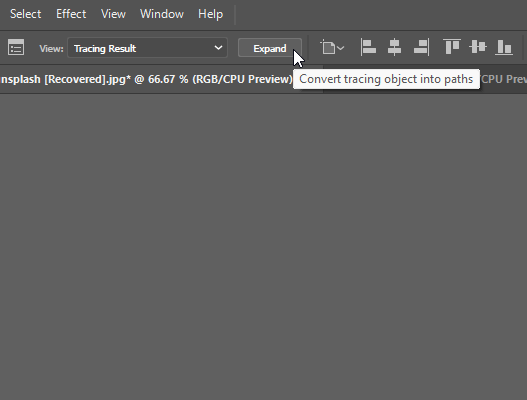
When you're happy with the texture, finalize it by selecting Expand.
Step 8
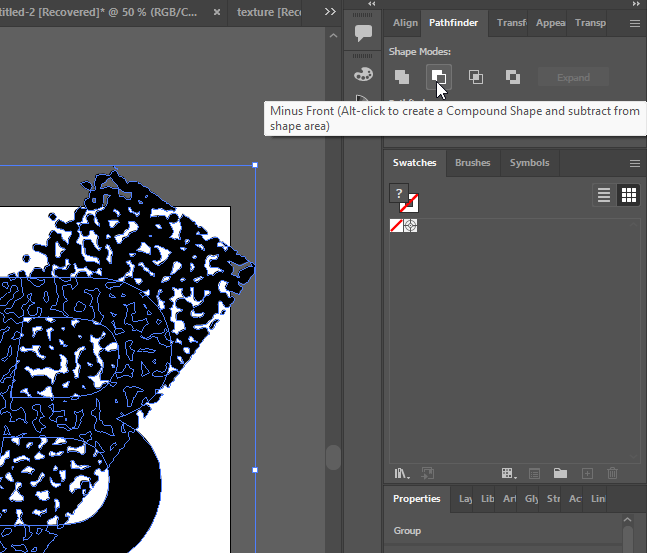
Now select the texture and bring it to the front. Go to the Pathfinder panel and select Minus Front from the pathfinder panel.


Final Thoughts on Adding Texture in Illustrator
Adding textures in Adobe Illustrator is easy, and you can use your preferred method. I hope you find this article helpful.