How To: Create a Seamless Diagonal Line Pattern in Illustrator
This page may contain links from our sponsors. Here’s how we make money.
Over the years, I've gotten plenty of emails about how to create a seamless diagonal pattern in Adobe Illustrator, so here we go!
Illustrator comes with some default pattern brushes, but no diagonal love. Diagonal line patterns are a bit more tricky to make than a simple horizontal, or vertical pattern, but with some rock-solid alignment, and manual input into the Transform Panel, you'll be making diagonal patterns in no time.
You'll learn to blend different geometrical Illustrator patterns and figures. You'll also learn to set different geometrical figures to the appropriate place by selecting the proper dimensions for your graphic design.
Creating the diagonal stripes pattern is an easier process than sketching the horizontal or vertical lines. In the end, you will be able to fit the pattern of diagonal lines into a small box. Let's get started with an example.
Creating a Seamless Diagonal Pattern in Illustrator
Seamless means the pattern is continuous without any break or obstacle (also called a repeating pattern or tileable pattern). Many beginners struggle to create seamless diagonal or other such patterns that cannot be created manually. But once you know how to do it, this approach can be very useful in your design or illustration work.

1. Start with a Square Artboard
It doesn't really matter what size but if you want to follow along, I'm using a 600px x 600px artboard with a white background.

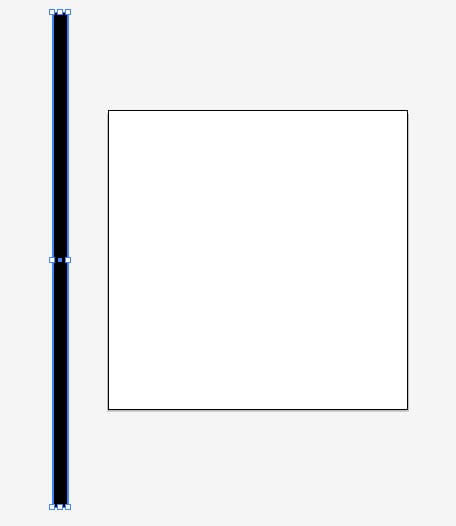
2. Create Your Vertical Line
Again, the size and shape are up to you here.

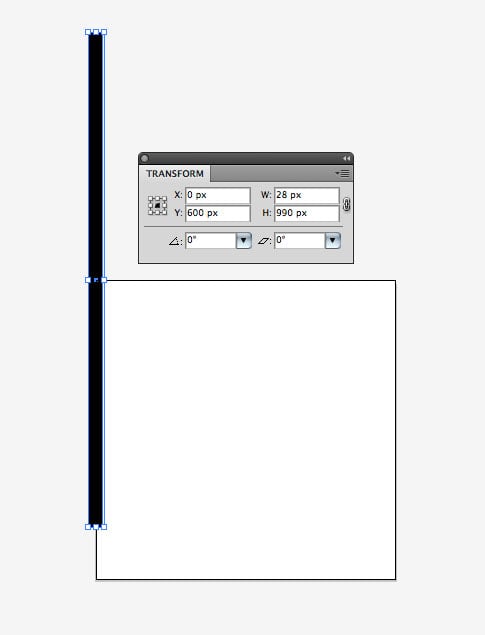
3. Align Your Shape to the Top Right Corner
Here we are going to be using the Transform palette to make our shape align exactly to the upper left corner. Select your shape and in the Transform, set the “X” value to 0, and the “Y” value to 600 (or the document size you chose). The middle of your shape should now be aligned exactly to the upper left corner.

4. Rotate 45 Degrees
Next, rotate your shape 45 degrees either using your mouse and holding Shift, or right-click, and enter the value manually. Now you've got your first diagonal line or stripe.

5. Duplicate Your Shape and Align it to the Opposite Corner
Now we need to duplicate our shape, and align it the same way we did above, but to the opposite corner. Again, select your new shape, and using the Transform palette, set your X value to 600 (or the document size you chose) and the Y value to 0. Now your two shapes should be aligned perfectly to opposite corners of the artboard.

6. Make a Blend Between the 2 Shapes
Using the Blend Tool click on 1 of your shapes, then immediately click on the other to make a blend.
Then double-click on the Blend Tool, and you should see the ‘Blend Options” dialogue box. Set it to “Specified Steps” and then select a number that you think looks good. I recommend making this an odd number.
Blend it according to the size of the box that you want to sketch. Be specific about all the dimensions so that you get more accurate and precise results in the end. You should have something that resembles the image below.

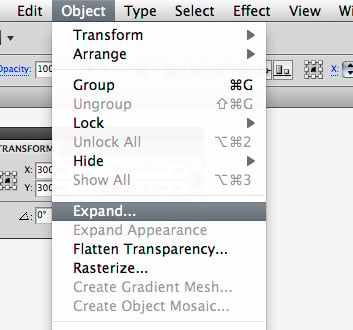
7. Expand Your Blend
Select your new blend, and then go to Object > Expand, then click “OK.”

8. Create a Square to Crop With
Select the Rectangle Tool, and click once on the artboard. You can now enter the exact dimensions you want your square to be. Set it to 600 x 600px (or the document size you chose), and click “OK.”

9. Align Your Square to the Artboard
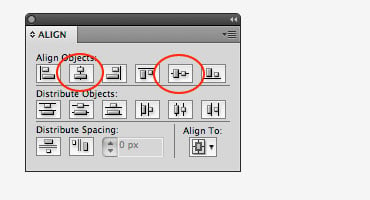
Select your square, and in the Align palette, make sure you have “Align to Artboard” selected.

Now hit these two buttons to align your square exactly on top of the artboard.

10. Crop.
Do a Select All (Command/Control + A), and then hit the Crop button in the Pathfinder palette.

Done!
Now you have a nice, seamless Illustrator diagonal line pattern that can be put to use.

If you want to add this seamless pattern as a Pattern Swatch, just select it, and then go to Edit > Define Pattern, and it will appear in your swatches panel. You can now add these types of graphic styles to your work as a graphic designer. With lots of practice and creatively applying these tools in different manners will enhance your designing skills, and you'll be operating Illustrator like a pro.

