How to Use the Paint Bucket Tool in Photoshop
This page may contain links from our sponsors. Here’s how we make money.
When we talk about filling an area with color in Photoshop, the Paint Bucket Tool is one of the quickest ways to do it. The paint bucket tool comes with many options to make your artwork look more appealing. It does not only fill an element of your artwork but also gives in-depth details to your artwork.
You can download the floral illustration used in this tutorial from Vecteezy.


What is the Paint Bucket Tool?
The Paint Bucket Tool is an advanced tool that lets you fill design elements with various other options to enhance your design. This tool gives you more control over filling an object. For instance, you can change the tolerance value to apply shades to an object while painting with the paint bucket tool.
It has the ability to fill adjacent pixels that are similar in color to the selected pixel, and you can fix the area by changing the tolerance value. We'll learn about Tolerance and other tools that come with the paint bucket tool in detail later in the article.
Where to Find the Paint Bucket Tool
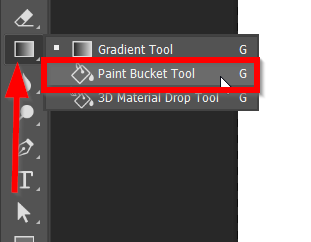
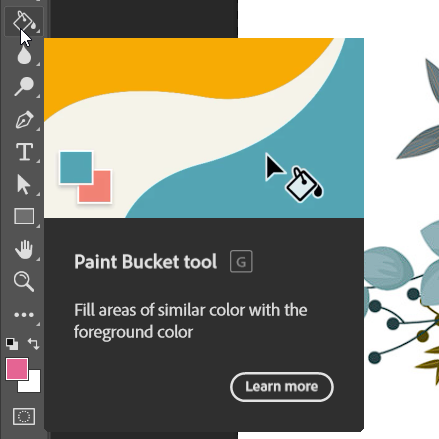
If you're new to Photoshop, you might be lost in finding the paint bucket tool because you cannot find this tool individually in a separate place. The Paint Bucket Tool is located inside the submenu of the Gradient Tool. The shortcut key for the gradient tool is (G). However, you can switch to the next tool of the gradient tool menu by pressing Shift + G.
The Paint Bucket Tool Settings
Before we start the tutorial, let's learn about the options the paint bucket tool offers us. When we select the paint bucket tool, a toolbox appears on the top of Photoshop. Here, you can modify how you want to paint with the paint bucket tool.
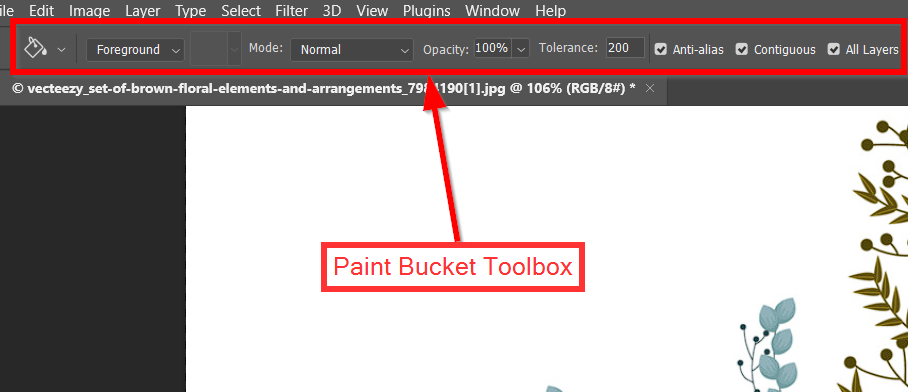
- Fill Option: The paint bucket tool comes with two options for filling. One is foreground, and the other is pattern. Foreground lets you fill objects with plain color while using pattern adds a pattern to the fill.
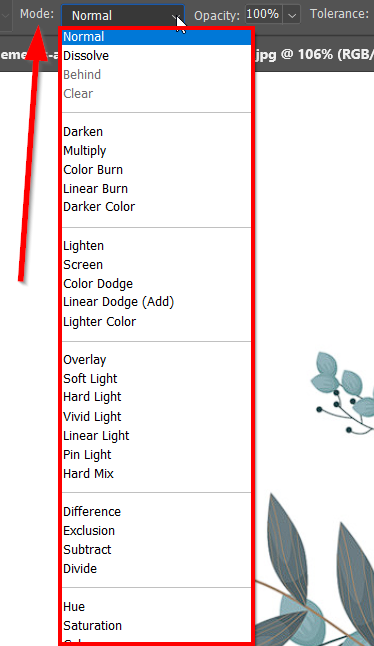
- Blending Mode: While using the paint bucket tool, you'll get plenty of options for mode to choose from. If you want a darker fill, you can choose multiply or color burn. And if you want a lighter version you can choose the color dodge or the other options like screen, linear dodge, lighter color. However, there are so many other options you will see here.
- Opacity: With this option, you can reduce or increase the visibility of the fill you are applying. All you need to do is change the value between 1-100%.
- Tolerance: The paint bucket tool allows you to paint a huge area with just one click. However, you can fix this area by changing the tolerance value. Basically, if you want to paint all the pixels with the same color, choose the tolerance value high like 255. And if you want to paint by filling a smaller area, choose a lower tolerance.
- Anti-alias: Checking this option will allow you to minimize the spikey jagged line, remove the harsh line, and give a smooth edge.
- Contiguous: Choosing this option will allow you to select the pixels that are connected to the one you have selected. Suppose you want to paint the pixels that are red. Once you chose to use the contiguous option, it will paint only the pixels of the same color that are directly attached to the one you have selected. In a nutshell, enabling the contiguous option will allow you to paint only the pixels that are close to each other.
- All Layers: Basically, when we use the paint bucket tool to paint, it only paints the selected layers. However, sometimes we may want to paint all the layers simultaneously. Selecting the All Layers option will allow you to paint all the layers together.
How to Use the Paint Bucket Tool
Step 1
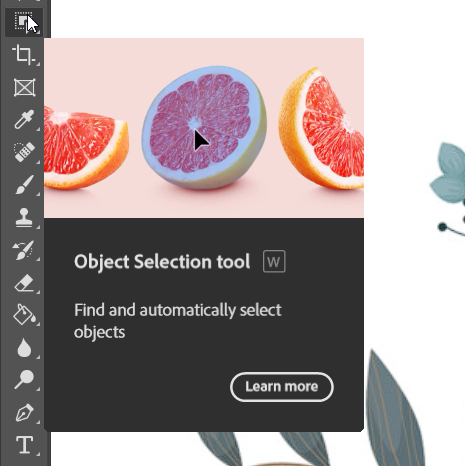
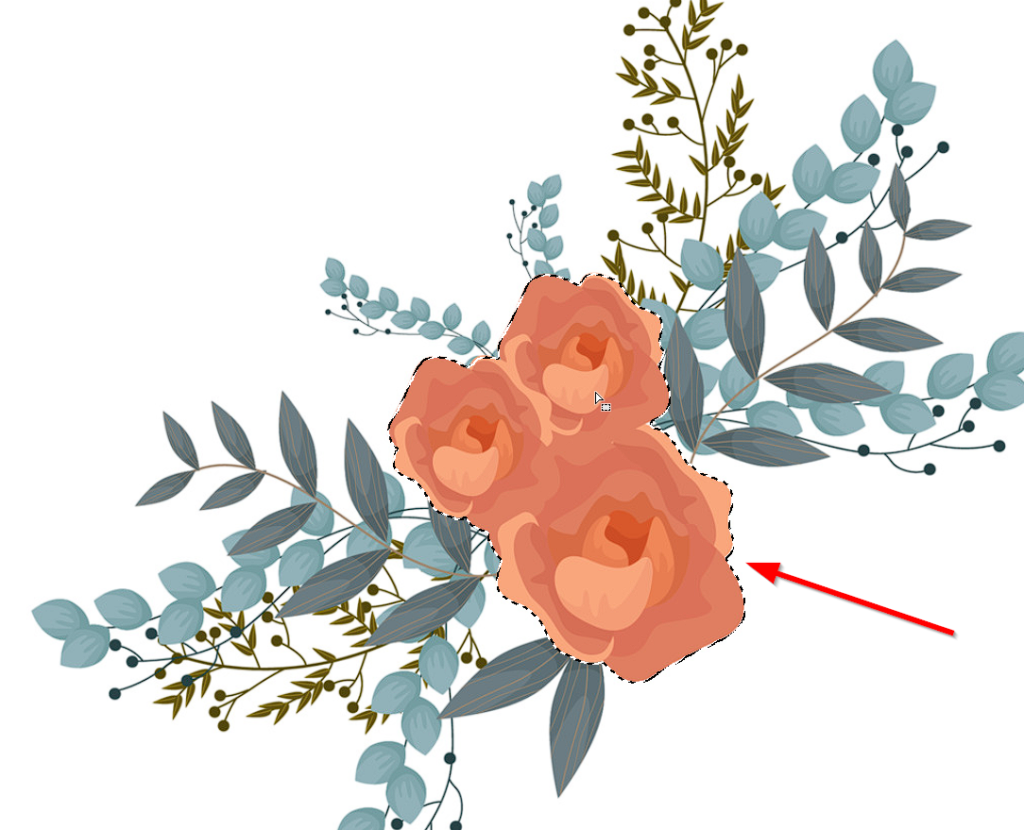
Select the Object Selection Tool from the left toolbar. The shortcut key for this tool is (W). Using the Object Selection Tool, select the object you want to fill in with the paint bucket tool.

Step 2
Select the Paint Bucket Tool, which you can find under the submenu of Gradient, located on the left-side toolbar.
Step 3
After selecting the paint bucket tool, go to the paint bucket toolbox, which you can find on the top. Choose your setting for the paint. I am choosing the foreground as I want a plain color for the fill. As I don't want to fill one color in the entire area, I will reduce the tolerance to 20. In that way, I can add some shading effect to the object. Since I'm working on only one layer here, I will not check the All Layers box.

Step 4
Select the color you want to use for the fill. You can use multiple colors for different areas. I am using different shades of pink for the flower (object).
Step 5
After picking the color, all you are left to do is click on the areas to fill them in with the selected color. Just pick your color and keep clicking on the object to fill in with different colors.

The paint bucket tool is a quick and innovative way to paint any object. On the one hand, you can cover a large area with just one click. On the other, you can be creative by using its various settings. I hope this article helped you learn about the paint bucket tool.