How to Resize an Image in Photoshop
This page may contain links from our sponsors. Here’s how we make money.
Resizing photos is a common task in Photoshop. Perhaps you want an image with a lower resolution and fewer pixels for posting on a social platform, or you need to enhance the resolution for printing purposes. Regardless of the purpose, you may encounter unexpected results while resizing an image if you don't consider the quality of the image.
In this article, we'll discuss how to resize an image and how to do it without compromising the quality of the image.
Before beginning the tutorial, let's look at two features we'll use to resize an image in Photoshop.
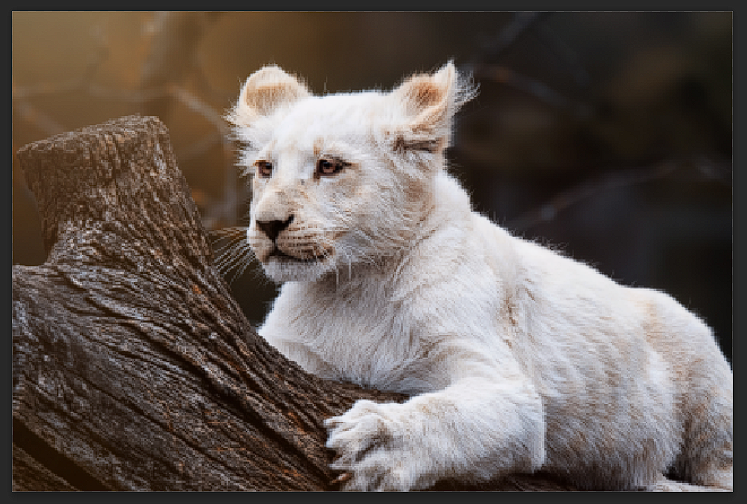
I'm using this lion photo from Vecteezy for this tutorial.
Transform Tool
The Transform Tool is a multi-functional feature in Photoshop that enables us to resize, scale, skew, distort, flip, warp an image, and more. To use it, simply select your object or layer and choose the desired option from the Transform menu.
Where to Find It?
You'll find the Transform menu in the Edit menu in the overhead toolbar. Go to the overhead menu and select Edit > Transform to access it.
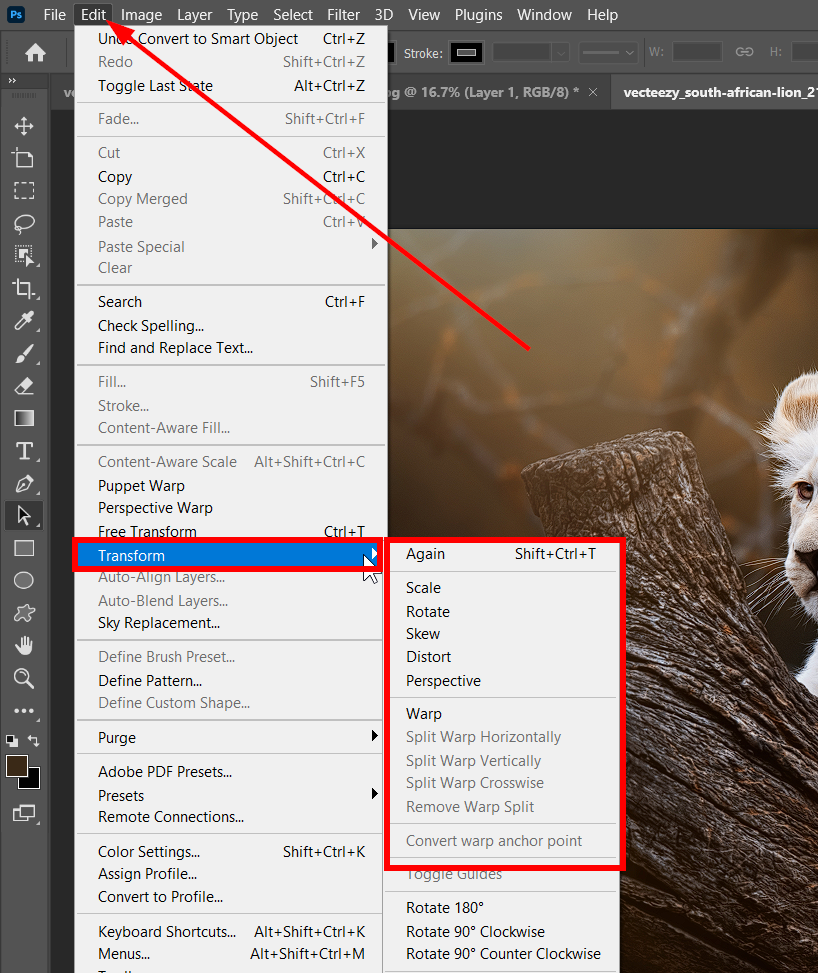
Image Resize
This feature allows us to make changes to the size of an image. When I mention changing the size of an image, I am referring to adjusting the image's width, height, resolution, and dimensions. This feature provides a variety of sizes you can choose from.
Where to Find It?
You will find the Image Resize option in the Image menu on the overhead toolbar. To access it, go to the overhead toolbar and select Image > Image Resize.
How to Resize an Image Using the Transform Tool
Step 1
Make a copy of the image in the Layers panel. To do this, right-click the layer you want to copy and select Duplicate from the right-click drop-down menu. Alternatively, you can select the layer and press Control + J (PC) or Command + J (Mac) to duplicate the layer.

Step 2
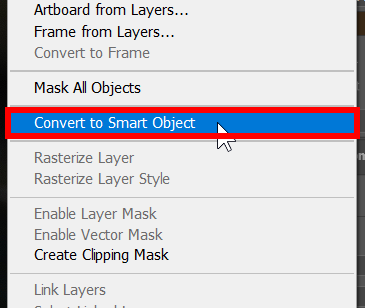
Convert the duplicated layer into a smart object. To do this, right-click on the empty space of the layer and select Convert to Smart Object from the drop-down menu.
Step 3
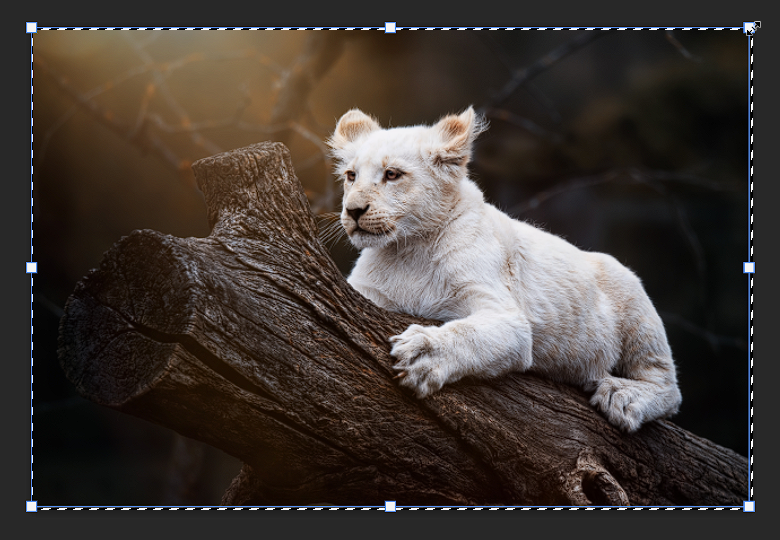
Select the image layer you want to transform and press Ctrl + A.

Step 4
Open the Transform Tool by going Edit in the overhead menu. You can also use the keyboard shortcut key Ctrl + T. Now you can resize the image by dragging the anchor points without worrying about any loss in quality.
How to Resize an Image Using the Image Size Properties
As we know, an image is composed of millions of pixels. When we try to enlarge an image, the pixels are spread out, resulting in a soft and pixelated appearance due to quality loss. Fortunately, Photoshop offers a feature to minimize this problem. Photoshop uses the Image Size command to fill in the pixel gaps to maintain the resolution.
Step 1
Select the image you want to resize from the layer panel.
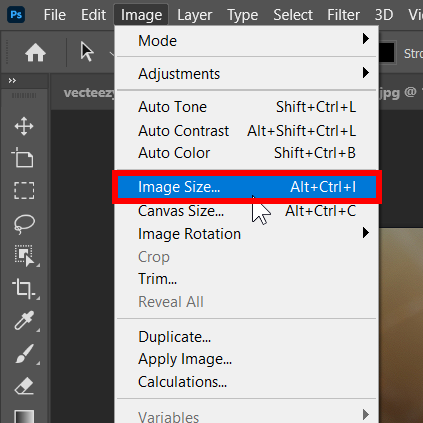
Step 2
Go to the overhead menu, select Image from the drop-down menu, and choose Image Size.
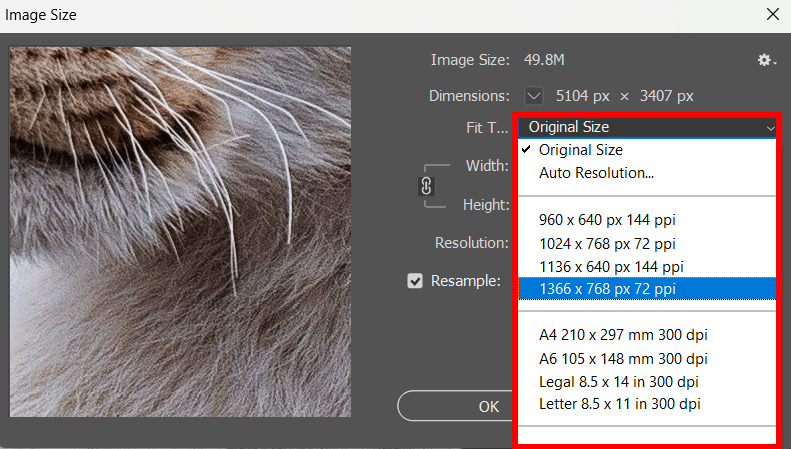
Step 3
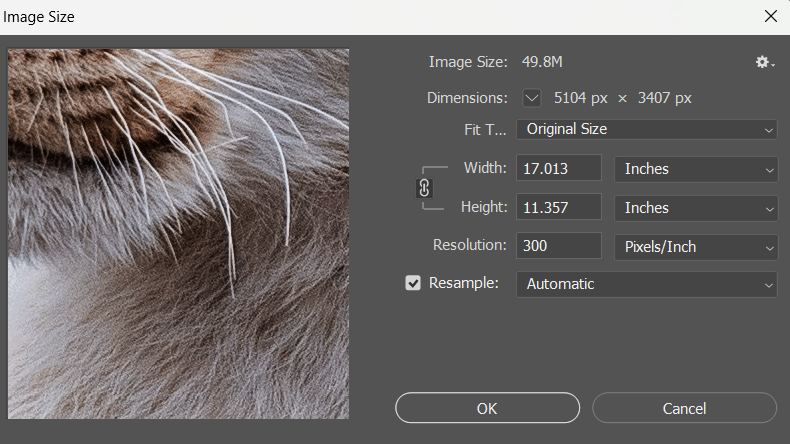
Once you select the Image Size, a new dialogue window will pop open on your screen. Choose the desired size for your image from the Fit To drop-down menu. You will find several options in the drop-down menu. Select whichever option suits your objective.
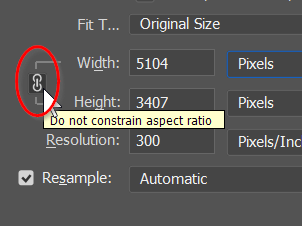
Alternatively, You can manually set your preferred size by changing the Width and Height values.
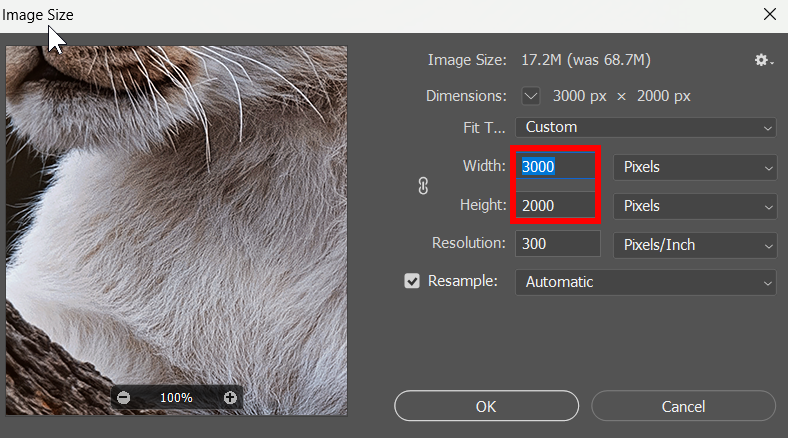
The proportions of the image are linked by default. If you want to maintain the image's aspect ratio, ensure that the chain link button next to Width and Height is selected. However, if you want to adjust the Width and Height independently, click on the link icon to unlink the connection between width and height.
Note: Keep the Resample option checked to maintain the image's dimensions unchanged, as they automatically change while you adjust the resolution.
Step 5
Click Ok to finalize your selection.

You can choose any of the methods mentioned in this article to resize your image in Photoshop without losing the quality of the image. I hope you find this article helpful.