How to Add Fonts to Photoshop
This page may contain links from our sponsors. Here’s how we make money.
Fonts are essential elements in the realm of graphic design as they hold the essence of the message you want to convey to your audience through your design. A font carries the tone of a design. The font will be the first to let the audience know what mood the design or artwork is setting for them.
There are no bad fonts but there is always one right font for every design. Just as choosing the wrong font will fail to express the true meaning of your artwork, choosing the right font will make everything fall into place.
A font creates the whole vibe for the entire design. A bold, rugged font will look good for an athletic poster, but if you use the same font for a party invitation, it will take all the fun out of the design.
Hence finding a proper and perfect font is important. Although Photoshop comes with a huge collection of fonts, you may not find your desired font there. I face this challenge all the time. So what will you do if you can't find a font that goes perfectly with your design? No worries! You can always add fonts to Photoshop.
In this article, we'll learn how to add fonts to Photoshop. Let's get started with the tutorial.
Method 1: Download and Install from Websites
As long as a font is installed on your computer, it will be accessible in Photoshop. So, we'll look at how you can download and install a font to your computer, and then use it in Adobe Photoshop.
Step 1
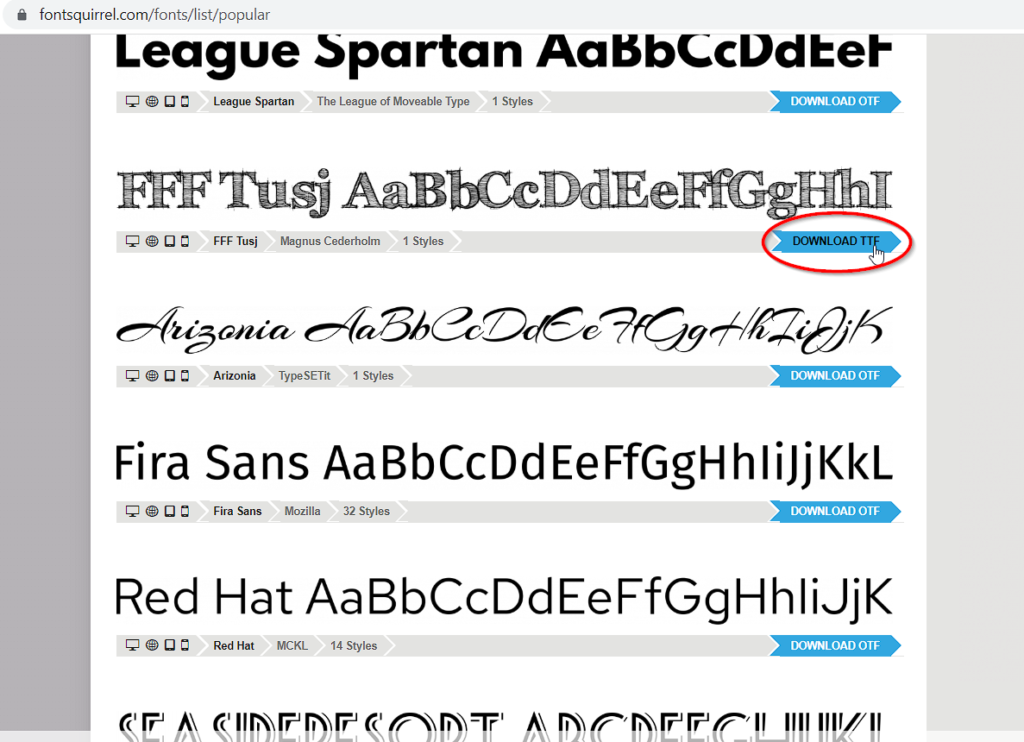
Choose a font for adding to your Photoshop. There are a lot of font websites both free and paid such as DaFont, Google Fonts, FontSpace, FontSquirrel, and so many more. Here, I'm using Font Squirrel.
Note: Be sure to check the license details of any font you download. The license dictates how you can use the font.
Step 2
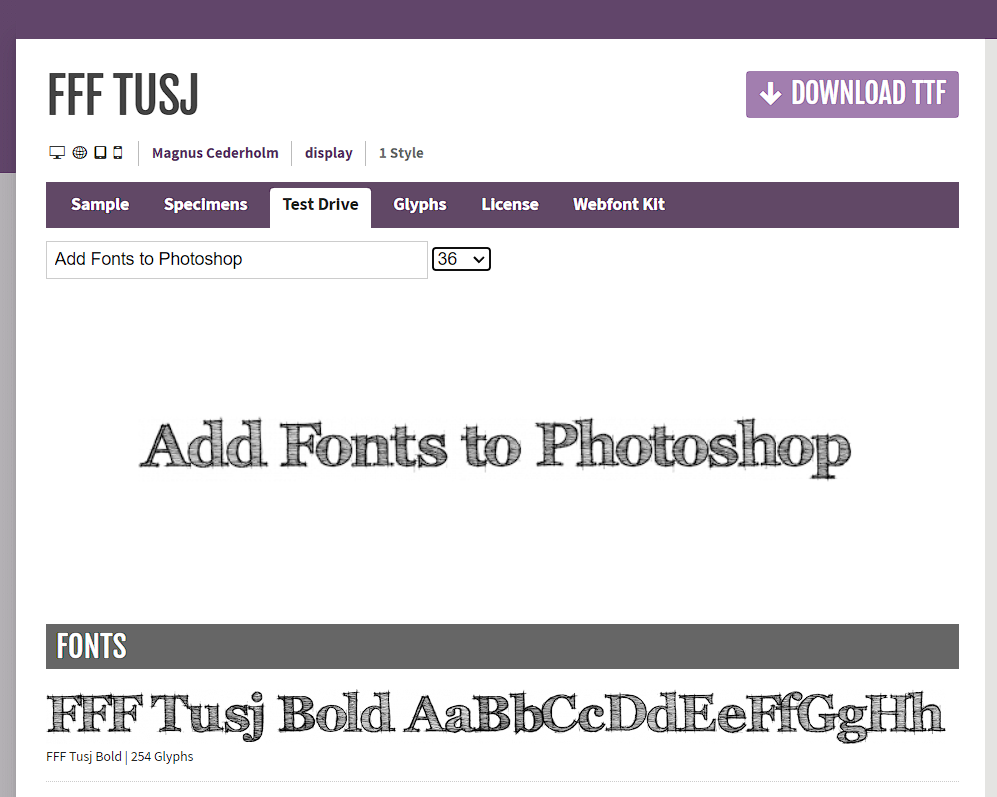
When you've selected your font, it's time to download it. Click on the right side of the font to download it. You can also check the font details by clicking on the name of it. Here, you can see the font sample, get more visual details of the font, and check the appearance of all the characters, alphabets, and numerals of the selected font.
Step 3
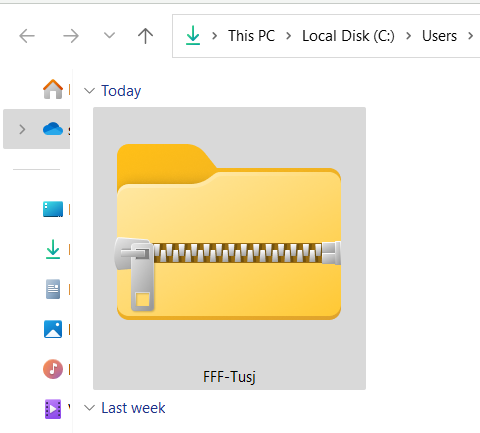
Open the file location of the downloaded file. You'll find it in the downloads where the downloaded files are typically placed. Once you've located the font on your device, it's time to install it. The downloaded font will be inside a compressed zip file. Double-clicking on it will open the font files inside.
Step 4
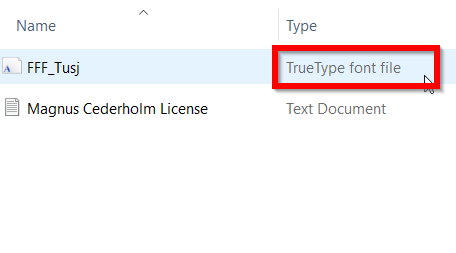
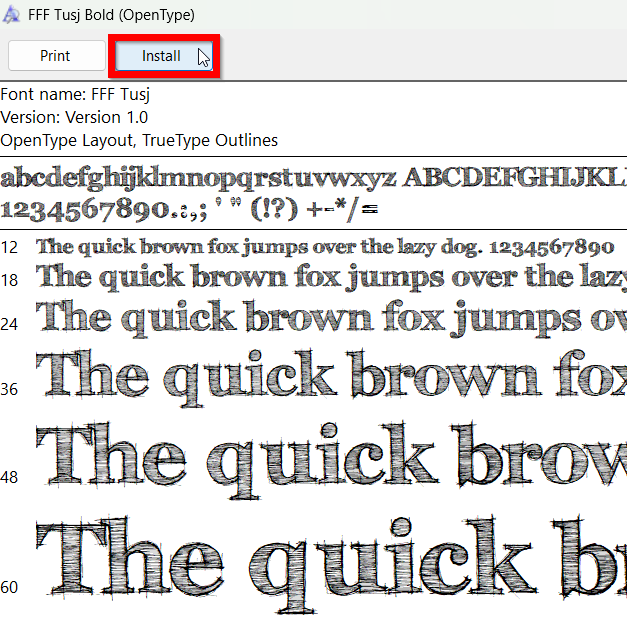
The font you've downloaded usually comes in TTF (TrueType Font) or OTF (OpenType Font) format. Here, you can see the file came in TTF format.
Double-click on the font and it will open a new window where you can see the appearance of the font. Click on the Install button to install it.
Step 5
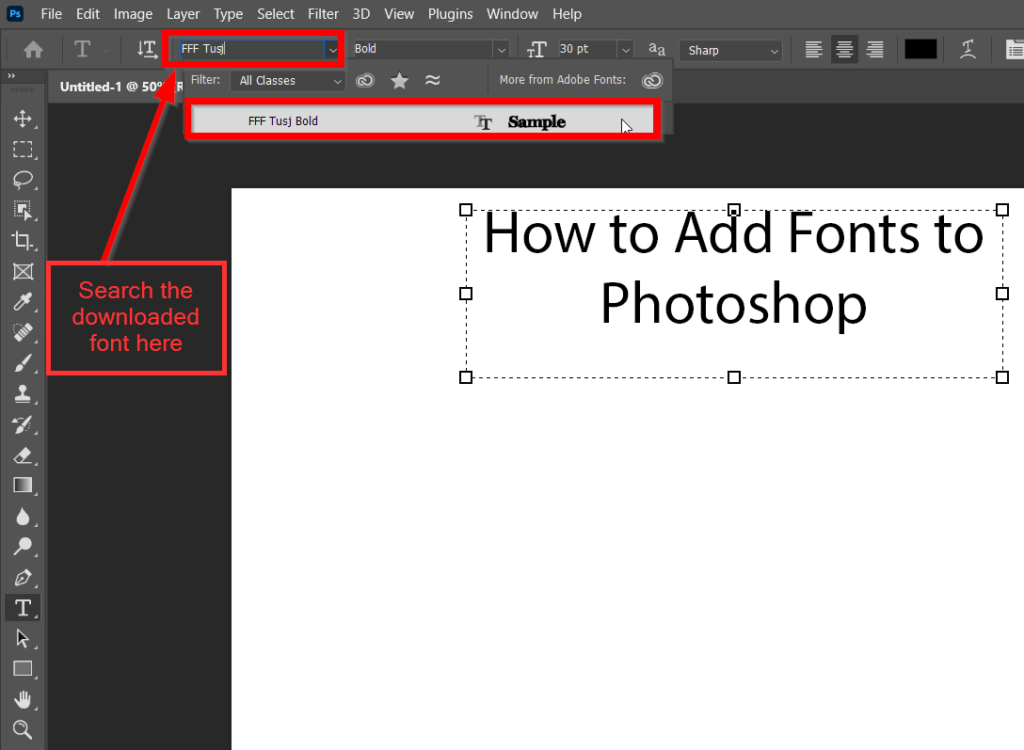
Now that you've downloaded and installed the font, it's ready to use. Just open Photoshop and use the Type Tool to find the font in the font list.
Method 2: Using Adobe Fonts
In this method, you don't need to go through downloading and installing the fonts. You'll simply choose your font and add it to Photoshop with just one click.
Note: You'll need an active Creative Cloud subscription to use Adobe Fonts in Photoshop.
Step 1
Open Photoshop, and select the Type Tool.
Step 2
Using the Type Tool, go to the fonts drop-down menu. Click on the Browse Adobe Fonts, and you're ready to browse for new Adobe fonts from the cloud.

Step 3
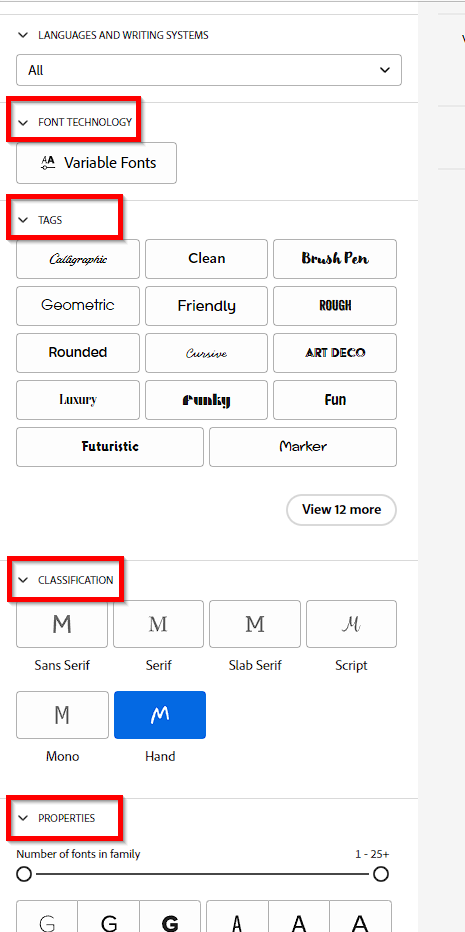
Clicking on Browse Adobe Fonts will open a browser where you'll find all the Adobe fonts. There's a search bar with various filters to find a font according to your preference. Choose the font you like to add to your Photoshop and click on it.

Step 4
Unlike the previous method, you don't need to download or install this font. All you need to do is activate the font. You'll see a toggle for “Activate” on the right side of the font. Toggle on the Activate button to instantly add the font to your Photoshop.

Note: Make sure to sign in with your account so you can use the font from any device you're logged in with.
Step 5
Open Photoshop and select the Type Tool. Go to the font search bar and look for the font you just activated. There you go, you just added a new font from Adobe Cloud.

Having a variety of fonts in your collection adds more productivity to your work. Fonts are essential, and it's even more important to use the correct font in the right place. I hope this tutorial made it easy for you to add fonts to Adobe Illustrator and Photoshop.