How to Use Photoshop’s Free Transform
This page may contain links from our sponsors. Here’s how we make money.
Free Transform is one of Photoshop's most versatile tools, offering many potential functions. It allows you to modify your design elements by applying transformations such as scaling, rotating, skewing, changing perspective, and more. The Free Transform tool manipulates images and objects for your design purposes.
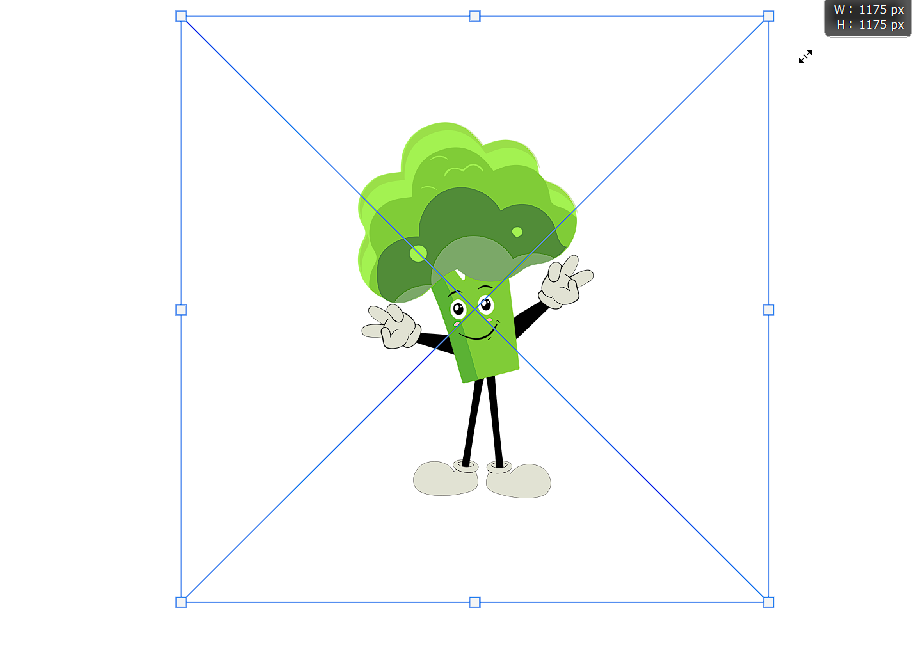
I'll be working with this broccoli cartoon vector throughout the tutorial. Feel free to download it from Vecteezy if you want to follow along.


What is the Free Transform Tool?
The Free Transform Tool in Photoshop is a feature-rich tool that allows you to distort, resize, rotate, scale, and skew design elements. It enables you to view your design element from a different point of view by reflecting and changing its perspective. In short, the Free Transform Tool grants you the freedom to easily and effectively modify your artwork and many ways.
Where to Find the Free Transform Tool?
There are two ways to activate the Free Transform Tool in Photoshop. Since this tool operates on individual layers, you must select the layer first. Then, follow either of the two methods mentioned below to activate the Free Transform Tool.
- Use the keyboard shortcut Ctrl + T.
- Alternatively, Go to the Edit menu on the overhead toolbar and select Free Transform from the drop-down menu.

The Features of the Free Transform Tool
As mentioned earlier, the Free Transform Tool has multiple actions that can be performed on your artwork. The features available in this tool are:
- Rotate
- Scale
- Skew
- Distort
- Perspective
- Warp
- Flip
In this article, we'll explore these features and learn how to apply them to your artwork.
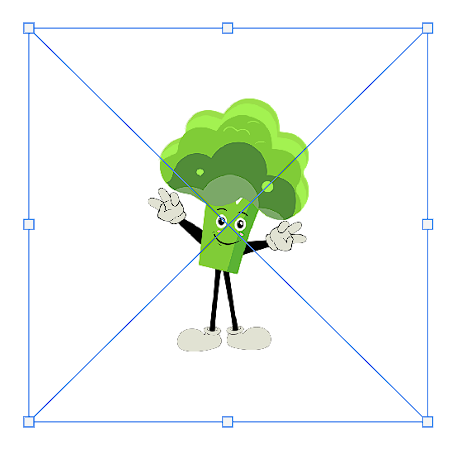
Rotate
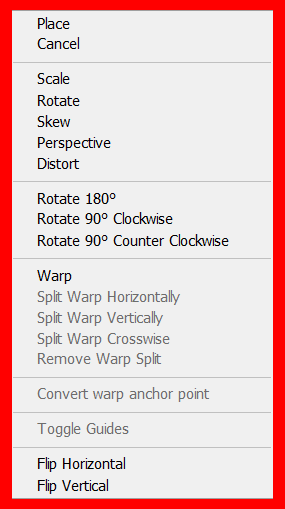
The rotate option of the Free Transform tool simply rotates objects. You can either manually use it by dragging handles around your object, or you can choose one of the default options you get in the right-click menu.
How to Rotate
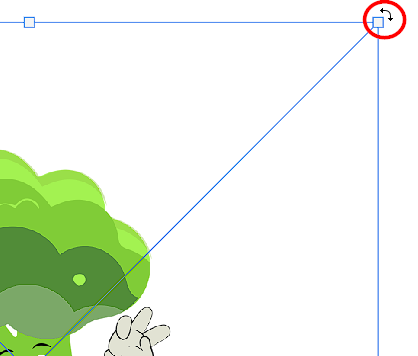
Activate the Free Transform Tool using the keyboard shortcut Ctrl + T. Right-click on the object and Select Rotate from the drop-down menu. Take the mouse pointer to one of the handles and hover around it until the cursor changes into a two-sided curvy arrow icon. Now click, hold, and drag the corner upward or downward to rotate.
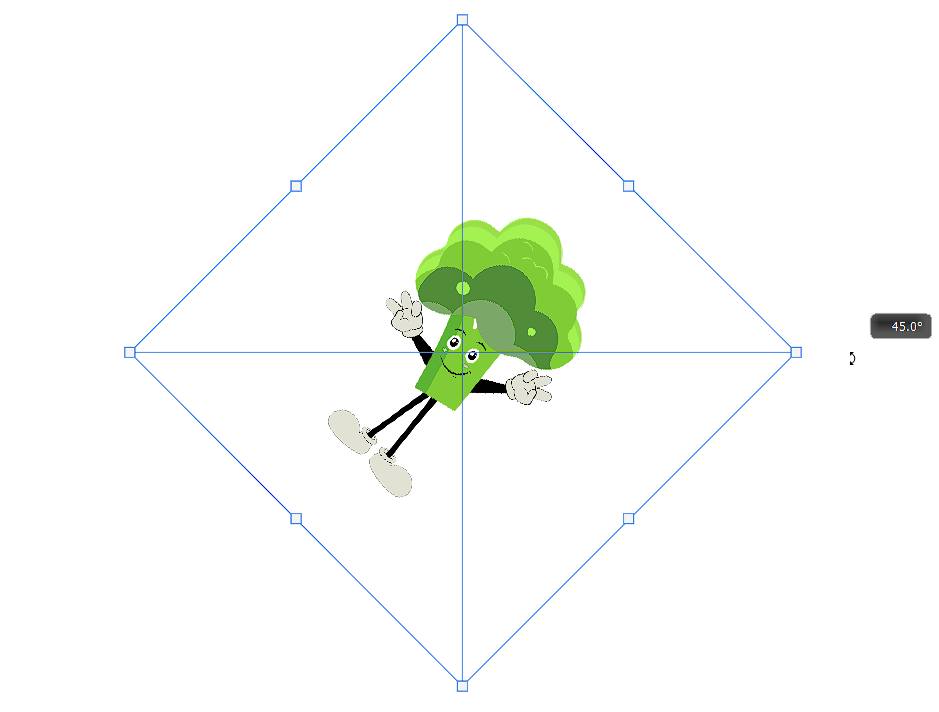
Holding down the Shift key while dragging the handles will enable you to rotate the element in 45-degree increments.
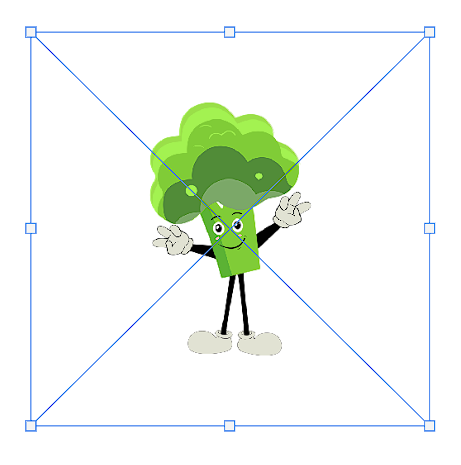
Scale
This action is selected by default when you activate the Free Transform Tool. This feature allows you to resize your image, object, or design elements.
How to Scale
When Scale is activated, you'll see eight handles around the image. Click any of the handles and drag it to scale the image/layer.
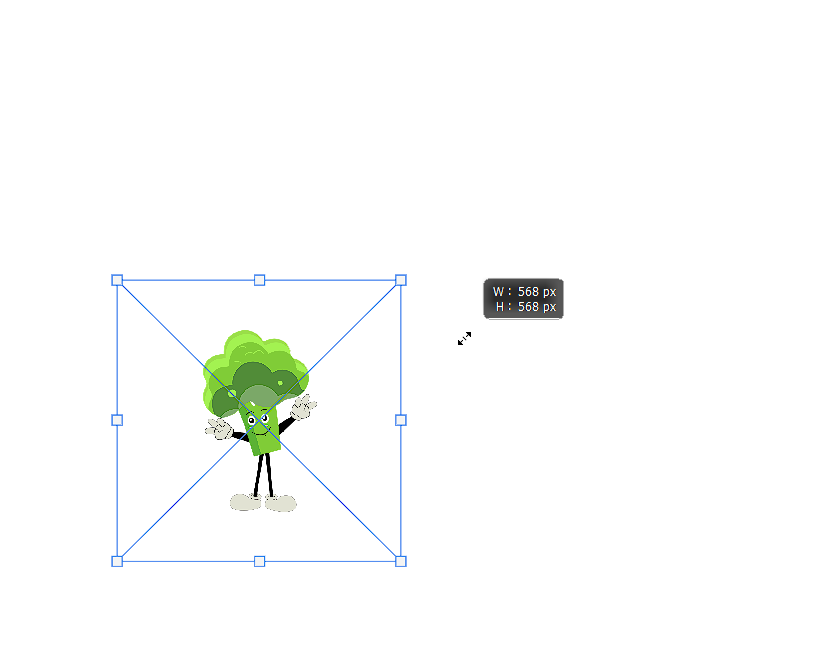
Note: Holding down the Shift key while dragging one of the corner handles will preserve the aspect ratio. This will prevent causing any distortion to the artwork while scaling.
Skew
Skew allows you to slant or tilt an object in a particular direction. You can also use this option on multiple objects.
How to Skew
You need to use both the keyboard and mouse to perform this action. Hold down the Ctrl key and drag one of the handles that are present in the middle.
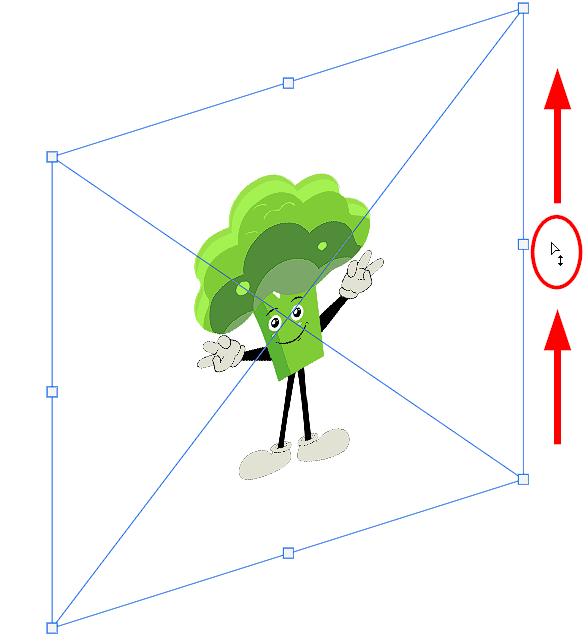
If you want to skew more than one object, first select the layers you want to skew and then activate the skew option. The layers will be displayed in one bounding box. Now you can drag any handlebars to skew objects up, down, left, or right.
Distort
The distort feature of the Free Transform Tool allows you to pull and stretch the layer in all directions. This option works similarly to skew, but unlike skew, distorting lets you stretch and compress an object in multiple directions. Distorting enables you to do more freeform manipulation of your artwork.
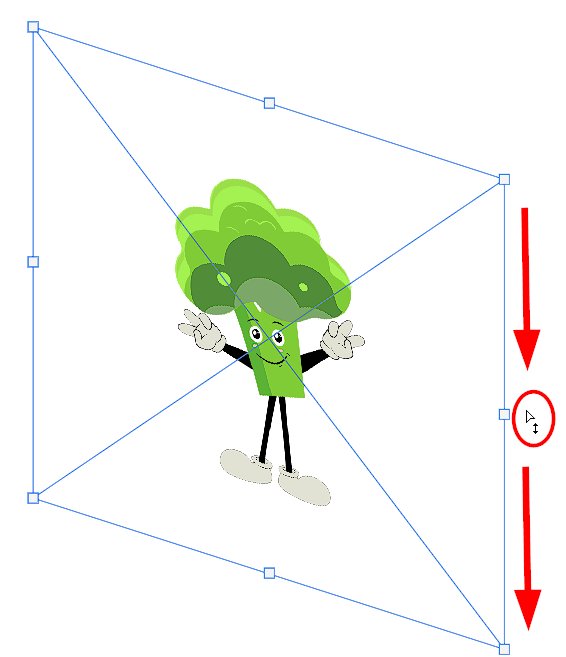
How to Distort
Hold down Ctrl, then click and drag one of the corner handles to distort the image in various directions. If you want to scale the shape inward or outward, drag the handles in the middle.
Note: Holding down the Alt key while dragging one of the handles will distort the opposite handle at the same time.
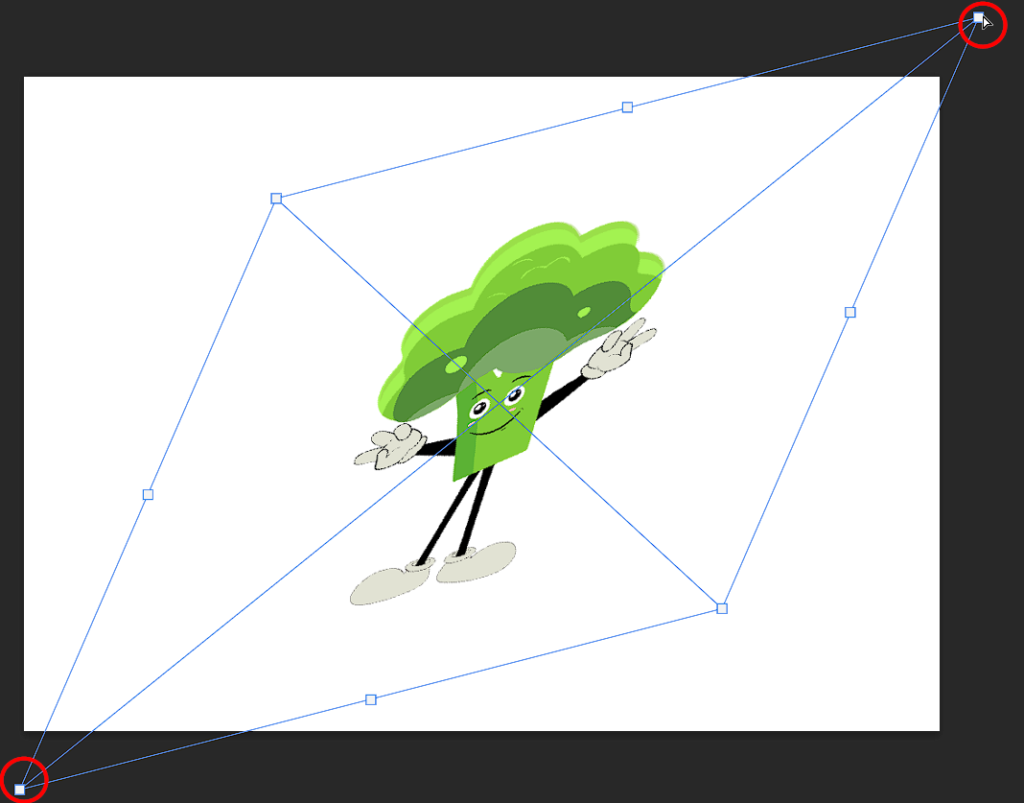
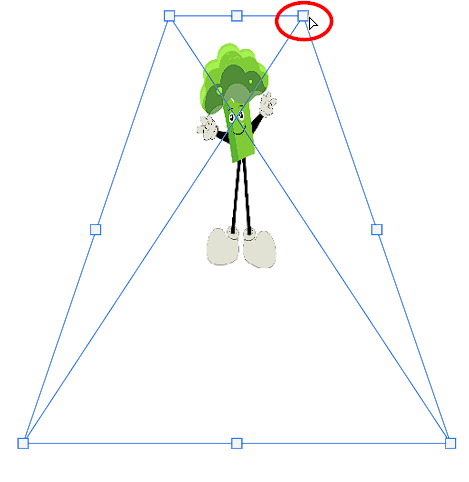
Perspective
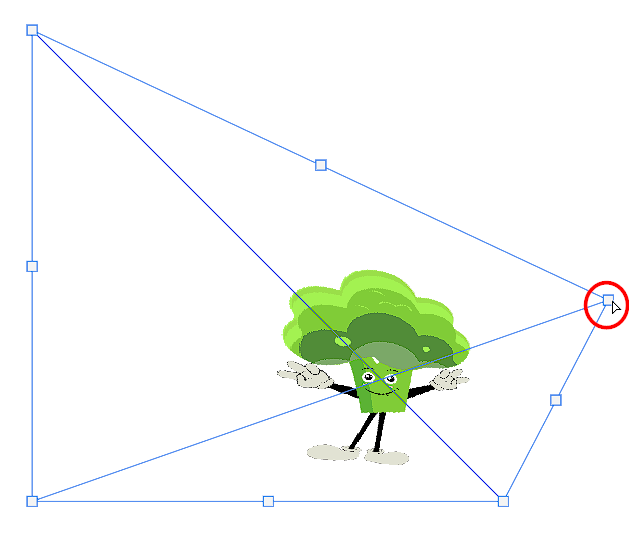
Perspective works slightly differently from distort and skew. Unlike distort and skew, the opposite handles move in the opposite direction when you use perspective to change one of the corners and add a perspective to your object. When you drag corners using the perspective option, the opposite corner tends to move the opposite direction. This transforms the layer as if you're viewing it from a different perspective.
How to Use Perspective
Hold Ctrl and drag one of the corner handles to move the opposite handle in the opposite direction, resulting in changing the perspective of an image or object.

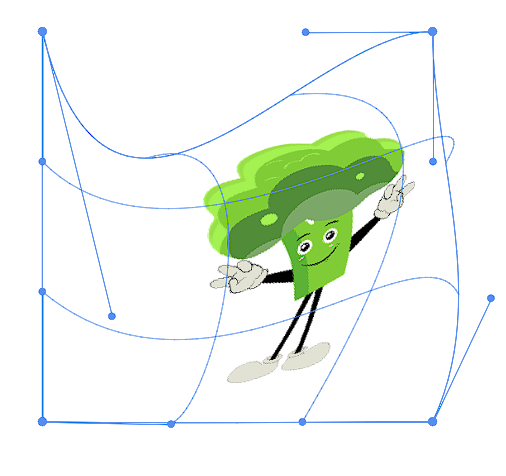
Warp
The warp option gives you the freedom to manipulate the shape of your design element however you want. This feature provides you with more control over the warped areas.
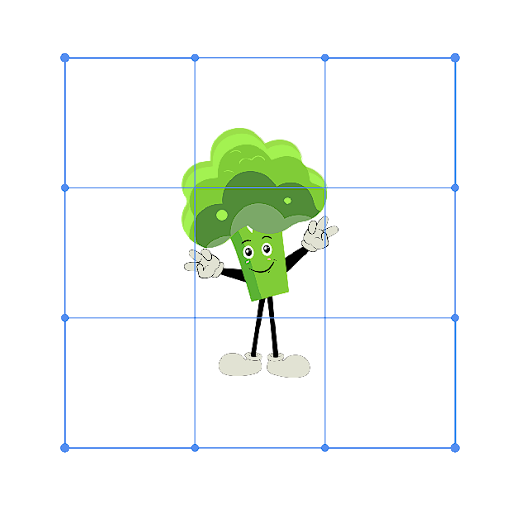
How to Warp
Activate the Free Transform tool from the Edit menu or by using the keyboard shortcut Ctrl + T. To access the Warp option, you need to turn on “warp” from the option bar.
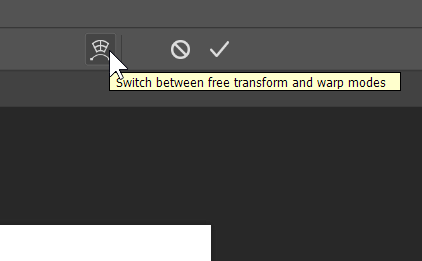
Once you activate warp, a grid will appear over your design element. Now you can alter any point in the grid by clicking and dragging.
Flip
You can flip an image or object using the flip option of the Free Transform Tool. You can flip your images both horizontally and vertically.
How to Flip
To access this option, activate the Free Transform Tool and right-click on the object to access the drop-down menu. Select Flip Horizontal or Flip Vertical from the drop-down menu.
The Free Transform tool is a great way to show your creativity in editing and manipulating images. It's way easier than it sounds. Once you start exploring the Free Transform Tool, it will become easier for you.