How to Rotate Text in Adobe Illustrator
This page may contain links from our sponsors. Here’s how we make money.
Rotating text in Adobe Illustrator sounds easy, but if you're not sure of the specific steps to take, it can be tricky. Sometimes we may confuse rotating text with a rotating text box. Remember, rotating the text box will only rotate the box, not the text, whereas you want your text to be rotated not the box.
Text has a great impact on any illustrator project, whether in making a logo or anything else. Angling the text can be a useful approach for grabbing the attention of your audience. However, to make your text interesting and stylish, you don’t always need to use complicated methods.
You can simply rotate your text in a unique way to make your text stand out in the crowd. And to make your work easier, this tutorial shows four easy ways to rotate your text in Illustrator.

Method 1: The Rotation Arrow/Bounding Box
Step 1: of all the methods, this one is the quickest and easiest. First, select the Type Tool from the left-side toolbar, or just use the keyboard shortcut (T) to add text. Add some text in your text box.

Step 2: Click on the Selection Tool from the toolbar, or you can use the keyboard shortcut, which is (V).
Step 3: Select the text you want to rotate. When you click on the text box using the Selection Tool, you'll see a bounding box around your text. The edges on the bounding box will help you to resize the text box.

Step 4: Now, if you go a little outside of the edges, you'll see a rotation arrow. Click, hold, and drag the arrow. As you drag that pointer, your text will rotate with it.


Metho 2: Using the Rotate Tool
Step 1: Select the text using the Selection Tool (V)
Step 2: Select the Rotate tool from the left-side toolbar menu. Or you can use the keyboard shortcut, which is (Shift + H).
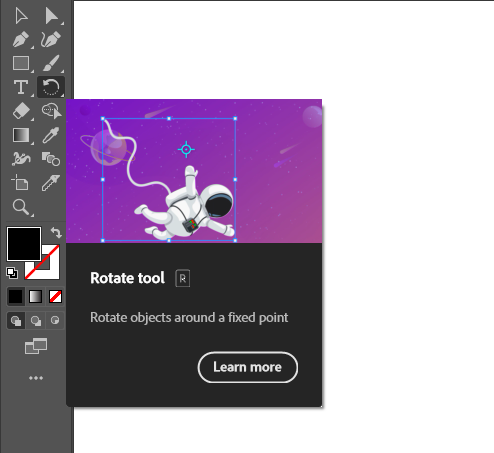
Step 3: Now left-click, hold, and drag your mouse to rotate the text. As you hold and drag, there will be a display of a rotating angle. You can rotate your text in whichever direction, angle, or degree you want.

Step 4: Once you reach your desired rotation angle, you can release the mouse, and your angle will be confirmed.

Method 3: The Free Transform Tool
Step 1: Use the Selection Tool (V) to select the text.
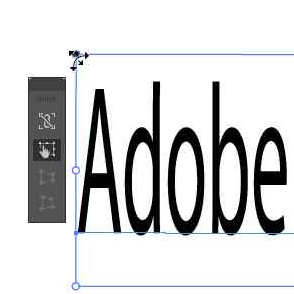
Step 2: After selecting your text, press (E). You will see a Transform Toolbar. Select the Free Transform Tool from the toolbar.

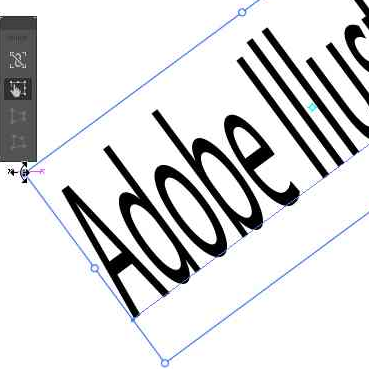
Step 3: Now you take your mouse pointer around the edges of the text box, and you'll find a 4-way curved arrow around your text. This will help you to resize the text box and rotate it.
Metho 4: Using Rotation Function
Step 1: Select the text using the Selection Tool (V).
Step 2: After selecting the text, right-click to open the Options Menu.
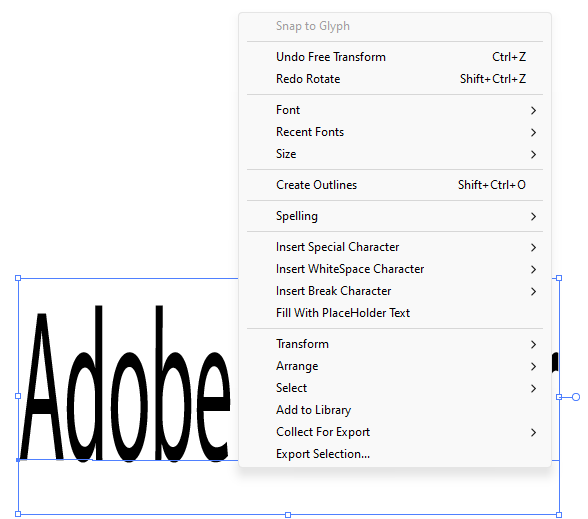
Step 3: Now, from the Options Menu, select Transform, and from the extended menu, select Rotate. (Option menu>Transform>Rotate).

Step 4: You'll have a Rotate window where you can set your desired angle for the text.

Step 5: When you're done setting your angle, click OK to apply it.

All of these options work for rotating your text in Adobe Illustrator. It's easy, yet worth trying this technique to give your text a whole new transformation.
