Fun with Illustrator’s Lesser Known, Yet Powerful Tools
This page may contain links from our sponsors. Here’s how we make money.
Believe it or not, Illustrator is capable of some amazing effects similar to those in Photoshop, all waiting at the tip of your finger in the Tools palette. These are NOT filters, but some lesser known Basic Illustrator Tools that , if harnessed right, can transform a single path into a work of art. I'll show you some simple examples, but I invite you to explore these really, really easy tools a little further using your imagination.
These effects may or may not be new to you, but I've been using Illustrator for over half a decade, and I felt like a kid at a candy store once I started playing around with them! Here is an example of what you can do in a matter of seconds (literally):

After reading the tutorial on Ndesign Studio about Abstract lines, and after I posted this story, I started digging deeper into Illustrator's (CS) Basic Tools palette. I discovered that there are a number of extremely powerful tools right under my nose that I've never taken advantage of. These tools include: Warp, Twirl, Bloat, Crystallize, Wrinkle, Scallop, and Pucker. The reason I find these tools so amazing is the fact that they not only look cool, and can be useful for a number of different things, they completely transform your paths into intricate, detailed shapes that would otherwise take days, if not weeks to achieve if you tried to draw them manually. And to top things off, guess what? These effects are completely vector WITHOUT a single filter! They actually manipulate the PATH itself, instead of just applying an appearance.
Examples of Experimenting in Illustrator:
I listed 7 tools above and they can all be found if you click and hold on the Warp tool. If you want you can detatch these tools as their own mini-palette by clicking on the little arrow at the end.
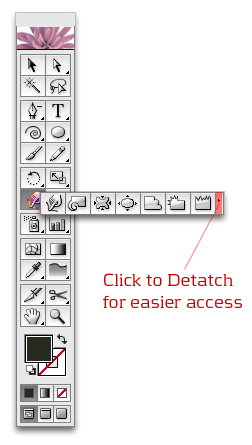
Here is a quick visual aid:
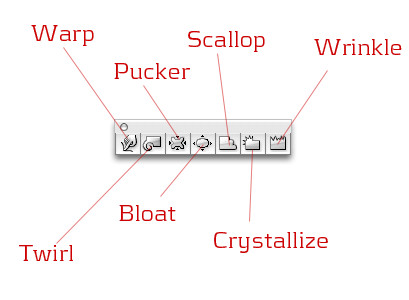
1. The Warp Tool
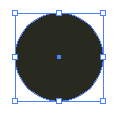
In these 3 examples, I will always start off with the same circle path, shown below at actual size. That's it, just a circle. Everything you see past this point (including the design above) was created from a single circle path in seconds, using these Illustrator tools. Here we go:

After you create a simple shape on the artboard, select the Warp Tool, and go to town on it. Here is what I did in a matter of seconds:


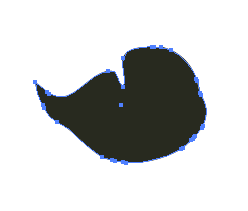
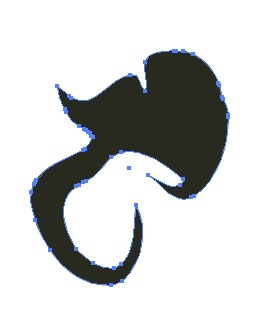

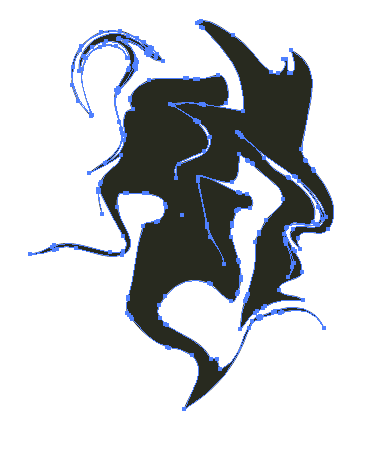
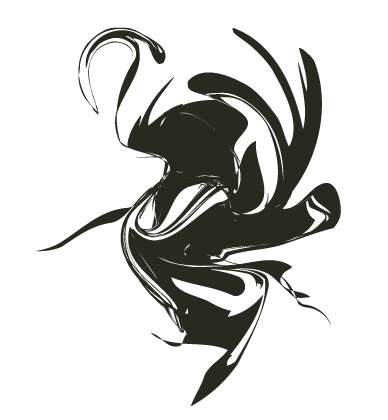
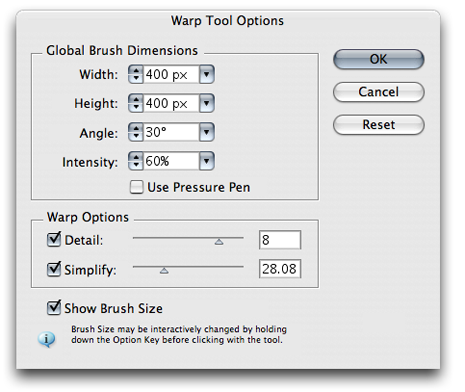
Warp Tool Options:
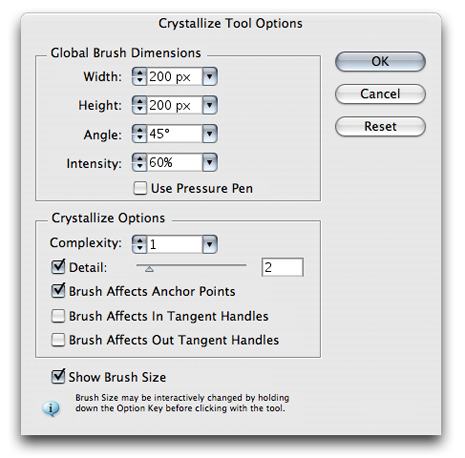
Play around with these to see what you can get as a result. Tip: while using any of these tools, hold down Option + Shift (Mac) or Alt +Shift (PC) hold and drag to resize the tool! Also, to access the options panel, double click on the tool icon in the toolbar.
2. The Twirl tool:
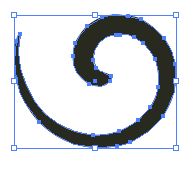
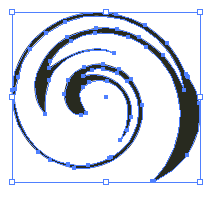
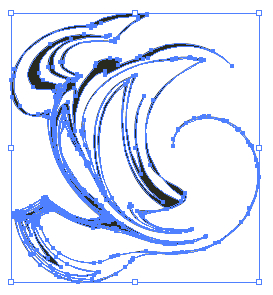
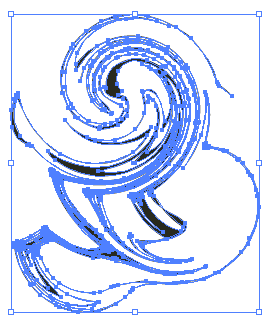
Again, starting off with a single circle path and using the Twirl tool, here is an example of what you can do with a few seconds of experimenting:

Twirl Tool options:
Tip: The “Twirl Rate” setting controls the direction of the twirl (clockwise, counter-clockwise). A positive Twirl Rate will give you a counter-clockwise twirl. A negative Twirl Rate will give you a clockwise twirl.
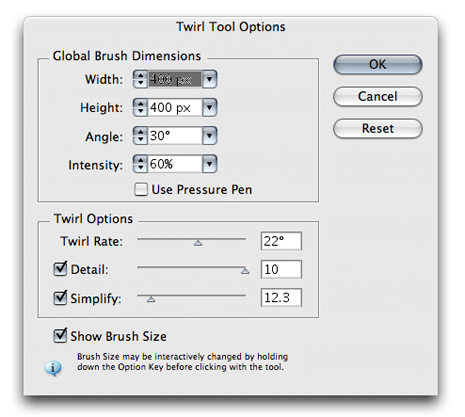
The Crystallize Tool:
Again, starting off with a circle. . .

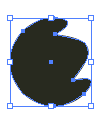
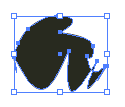
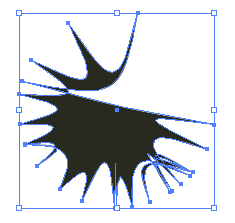
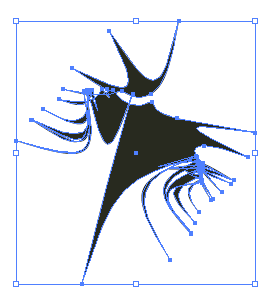
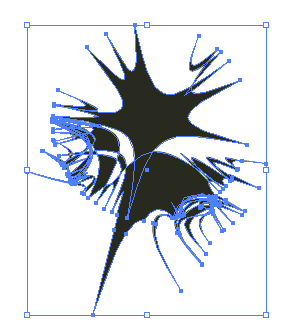
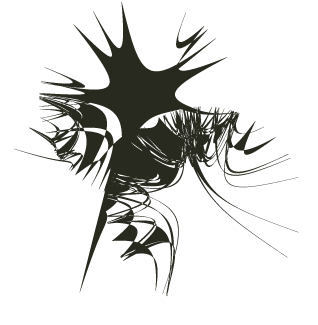
Crystallize Tool Options:
Tips for Exploring this on your own:
- Experiment with gradient fills to see what kind of effects you can get.
- Try different stroke sizes and/or brush strokes on your shape before you distort it and see what happens.
- Experiment with opacity and layering. Duplicate shapes distort, duplicate, distort.
The possibilities are literally endless, but be careful how complex you get. You can easily crash your machine with these complex paths! I hope this inspired you, at least a little bitt 🙂
