How to Add Bullet Points in Adobe Illustrator
This page may contain links from our sponsors. Here’s how we make money.
It's always great to look at a nicely organized document. Adding bullet points to a document makes it reader-friendly. It helps you to organize listings and emphasize particular pieces of information so readers can easily see the main points.
In this article, we'll look at various ways to add bullet points in Adobe Illustrator.
Adding Text
Before adding bullet points, you need to add text first. And the steps for adding text are simple and will be the same for all methods of adding bullet points covered in this article.
Step 1
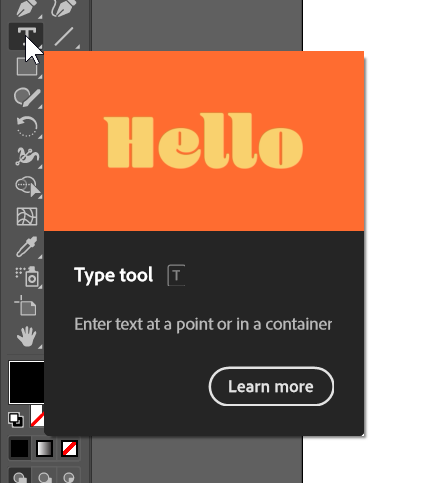
Select the Type Tool and add text to your document.
Step 2
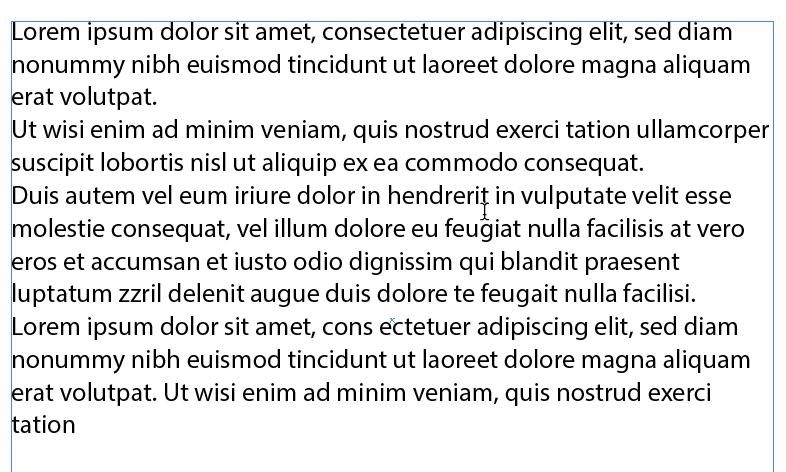
Arrange your paragraphs and decide where you want to add bullet points. Separate the paragraphs that you want to add bullet points to by pressing enter.

How to Add Bullet Points in Illustrator
Method 1: Using the Keyboard Shortcuts
Keep the cursor at the beginning of the sentence and press Alt+ 8 (Mac) or Alt + 0149 (PC). This will add bullet points to your text.
Method 2: Using the Type Menu
- Go to the overhead menu and Select Type.
- From the type drop-down menu, select Insert Special Character > Symbols > Bullet.

Method 3
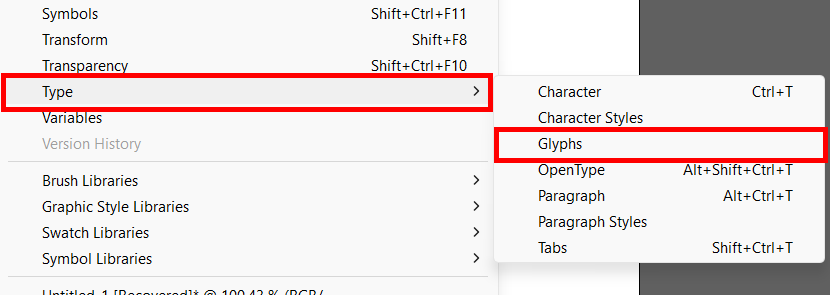
- Go to the Glyphs panel by going to Window > Type > Glyphs.
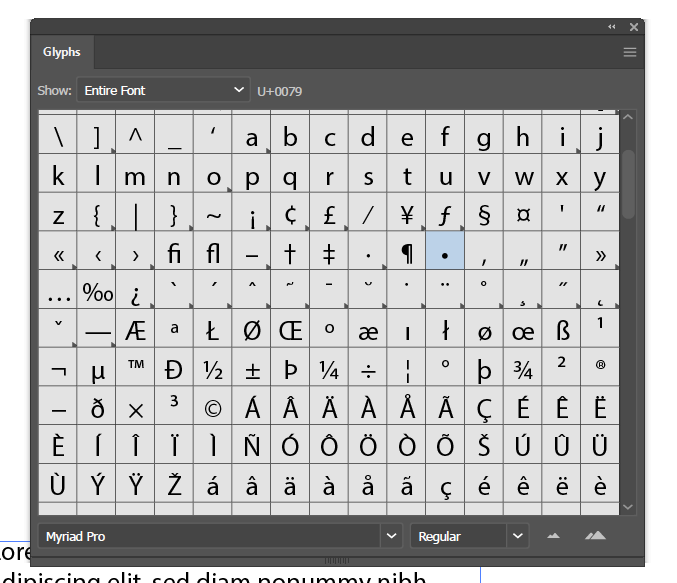
- From the Glyphs panel, select the bullet symbol.
- With the Glyphs panel, you can use any symbol as a bullet point. (For example, an arrow instead of a round bullet point.)
Format Tabs of the Paragraph
After you add bullet points, you may need to make some changes in the alignment or the indent of the text. This will make the bullet points more visible. The following text shown in the screenshots is the default text of Adobe Illustrator


- Take the cursor to a bullet point and enter Tab from the keyboard. This will create a longer space between the paragraph and the bullet point.
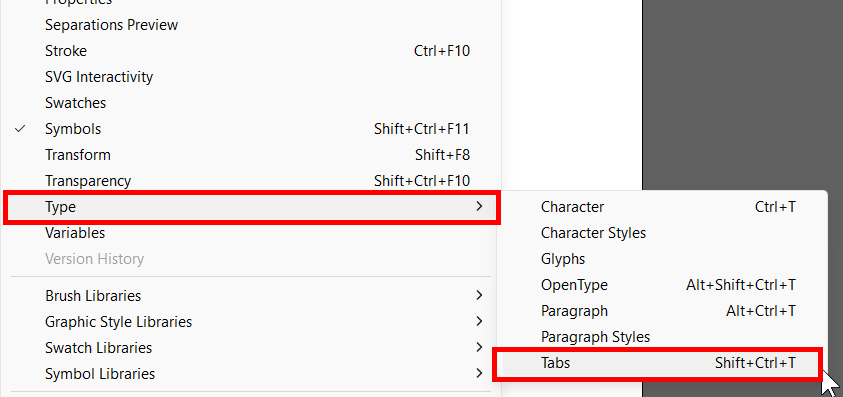
- Select the entire text and go to Window from the overhead menu.
- Select Type and choose Tab from the extended menu.
- Selecting the Tab will open the tab option menu, where you can determine how much spacing you want for the tab.
Creating a New Paragraph Style
Tired of repeating all the steps for adding bullet points? Here's a solution. Once you're happy with your paragraph style, you can save it for later use.
Step 1
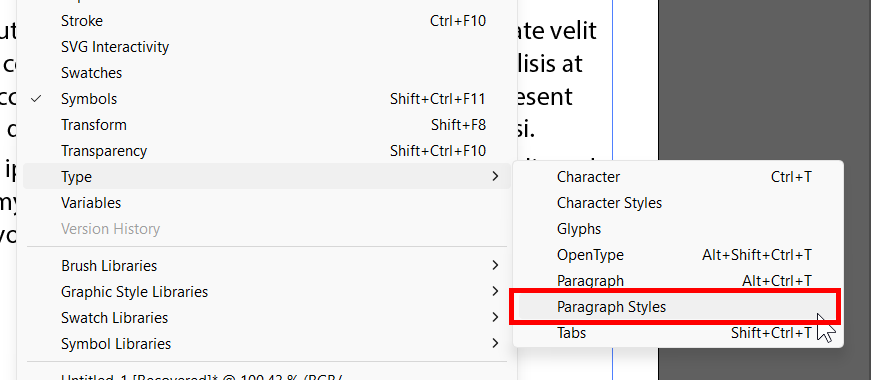
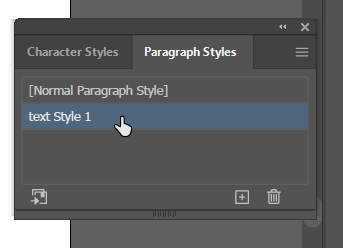
Go to Window from the overhead menu. Select Type and choose Paragraph Styles from the drop-down menu.
Step 2
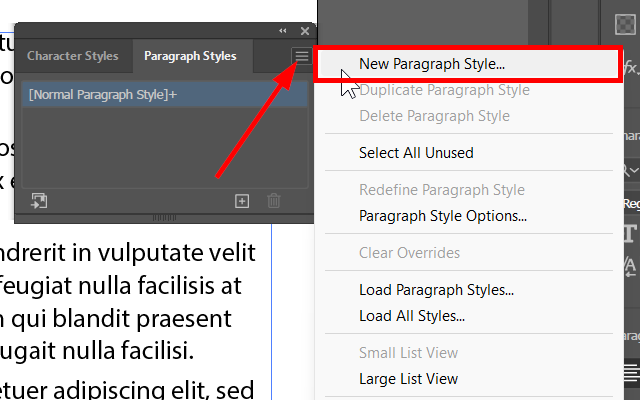
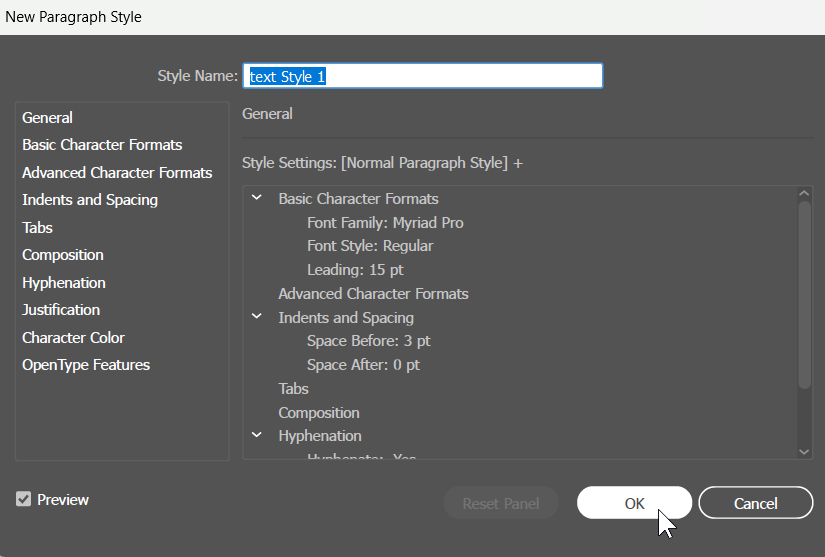
A menu will pop open. Click on the more options menu (3 horizontal lines) and select New Paragraph Styles. Give your paragraph style a name and click Ok.
Step3
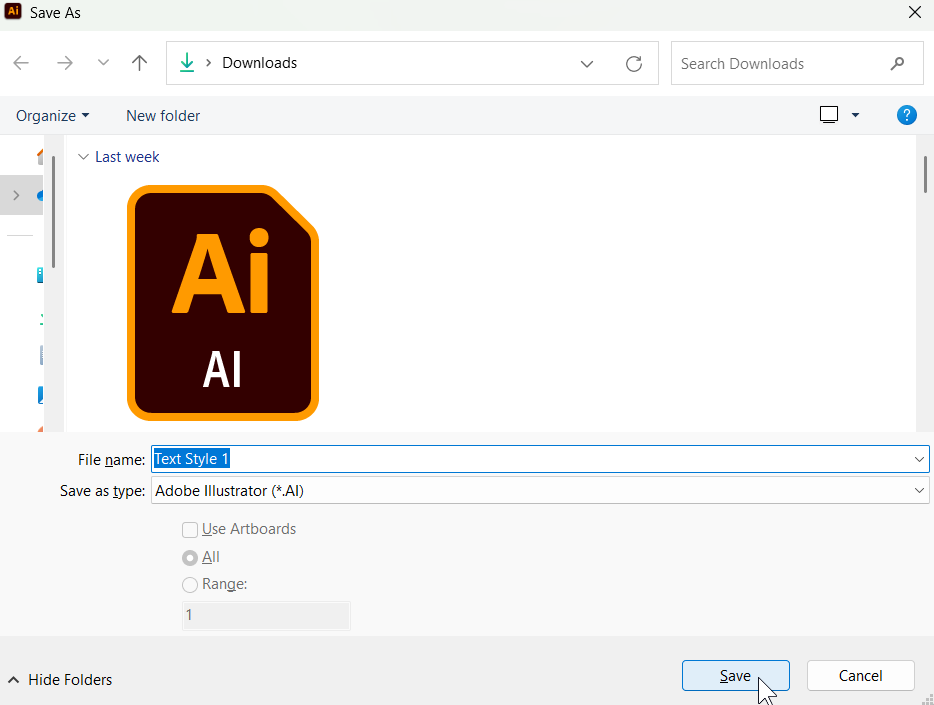
Select the paragraph style you just saved. Go to the overhead menu and select File > Save As to save the file.
You can now use this paragraph style in any document by loading it from the Paragraph Styles menu and applying it to your document's text.

Now, you can add bullet points to your text in Illustrator by following any of the methods mentioned above. I hope you find this article helpful.
